Introduction
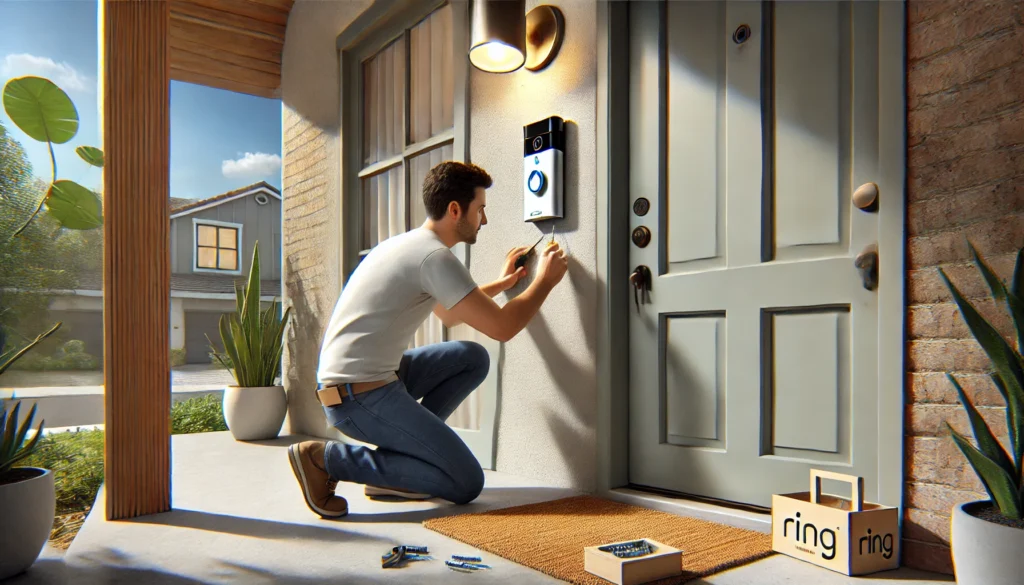
In this day and age, getting a ring doorbell camera is a must have. It not only adds more security to your home, allowing you to monitor any visitors and deliveries but even lets you communicate with people at your door remotely! But of course, proper installation is also needed to ensure your ring doorbell functions just the right way. Here’s our guide on setting up your Ring Camera. Although, you may do it yourself, you can always contact us, TheHandyGeeks for reliable and fast installation!
Tools You’ll Need:
- Power drill (for mounting the device)
- Screwdriver (Phillips head, often included with the Ring camera)
- Level (to ensure the camera is mounted straight)
- Tape measure (for precise placement)
- Pencil (for marking mounting holes)
- Smartphone or tablet (for connecting the Ring to Wi-Fi)
Steps to Install a Ring Doorbell Camera
1) Choose and Mark the Installation Spot:
- Position the Camera: Choose a location with a clear view of your entryway. The optimal height for placing the camera would be 4 meters as this would give you a full view.
- Mark Mounting Holes: Now, you have to hold the Ring camera bracket against the wall and mark the spots you want your screws to be drilled.
2) Drill Holes and Attach the Mounting Bracket:
- Drill Holes: Use a power drill to make holes at the marked spots. And for surfaces like brick or concrete, use the provided wall anchors.
- Attach the Bracket: Now, you must place the mounting bracket over the drilled holes, and secure it with screws. You should use a level to ensure that your mounting brackets are properly aligned before fully tightening the screws.
3) Connect the Wires (if Wired Model):
- Turn Off Power: If you are installing a wired camera, you must shut the power off to avoid any sort of electrical hazards. This is to ensure your security.
- Connect the Doorbell Wires: Now you have to attach the wires from your doorbell to the back of the Ring camera as per the given instructions, securing them with screws.
4) Attach the Ring Camera to the Bracket:
- Align and Secure: Now you have to place the Ring camera onto the mounting bracket, securing it with the provided screws.
- Tighten and Adjust: You must ensure your camera is tightly attached and adjust its angle if necessary to get the best view of your entryway.
5) Connect to Wi-Fi and Set Up the App:
- Download the Ring App: Install the Ring app on your smart device.
- Connect to Wi-Fi: Follow the Ring app’s prompts to connect your Ring camera to the Wi-Fi. Ensure your wifi is stable enough to for a good video quality.
- Adjust Settings: Set up all the features as per your requirements using the app. And this is it. You are done with setting up your ring doorbell camera!
Why Choose us?
At The Handy Geeks, we are understanding of your need to save time and ensuring quality. Our team of professionals ensures that every project is handled with care. Whatever your needs may be, we’re here to cater. Why would anyone want to struggle with all of this hassle, when we are just a call away?
You can check our all 5-star review google maps page.

Here’s our phone number : +1 818-835-0556. Hit us up.
Submit your request for installing a ring doorbell camera here by filling the form. You can look at our other services and their forms here
Conclusion
Our guide covers the general steps for installing a ring doorbell camera, but keep in mind that following your manufacturers manual is a must! And if DIY isn’t your preference you can let us, The Handy Geeks install your ring doorbell camera exactly the way you want! Contact us today!

