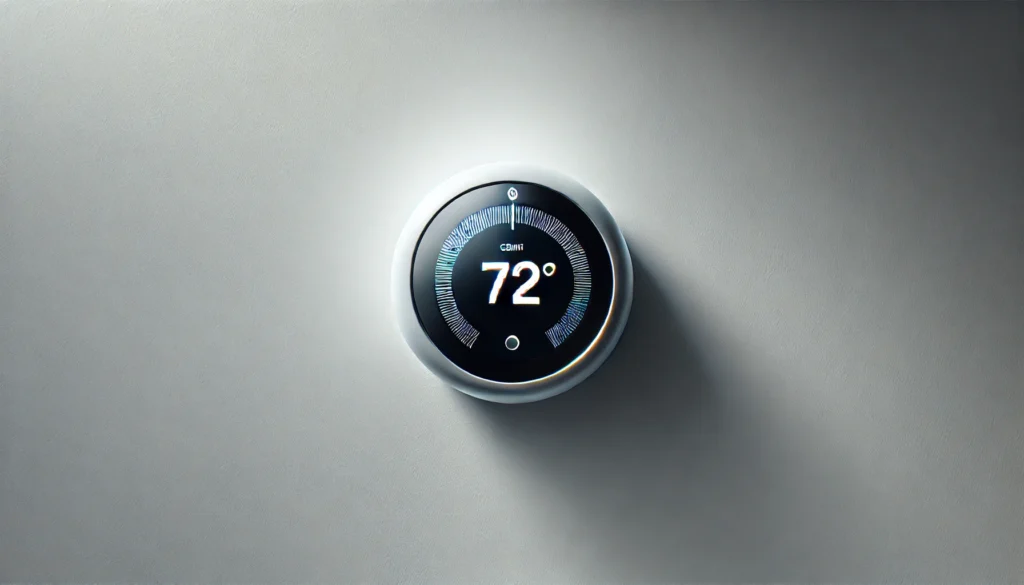
Installing a new thermostat can help you save energy, increase comfort, and give you greater control over your home’s heating and cooling systems. Whether you’re upgrading to a programmable thermostat or a smart thermostat, proper installation is key to ensuring it works efficiently. This guide will walk you through the steps to install a thermostat safely and correctly.
Steps to Install a Thermostat
1. Turn Off the Power
- Before starting, turn off the power to your HVAC system at the breaker box to prevent any risk of electrical shock. Double-check that the power is off by attempting to turn on your heating or cooling system using your old thermostat.
2. Remove the Old Thermostat
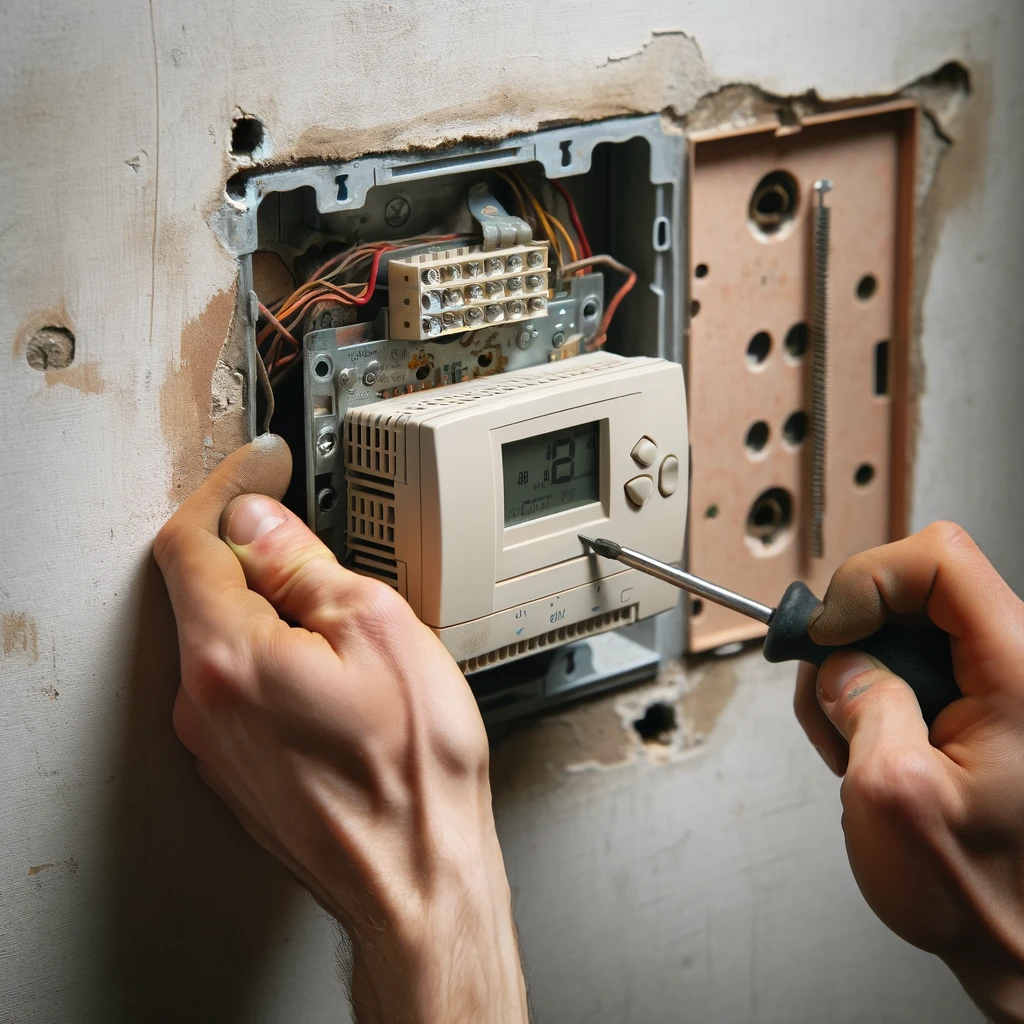
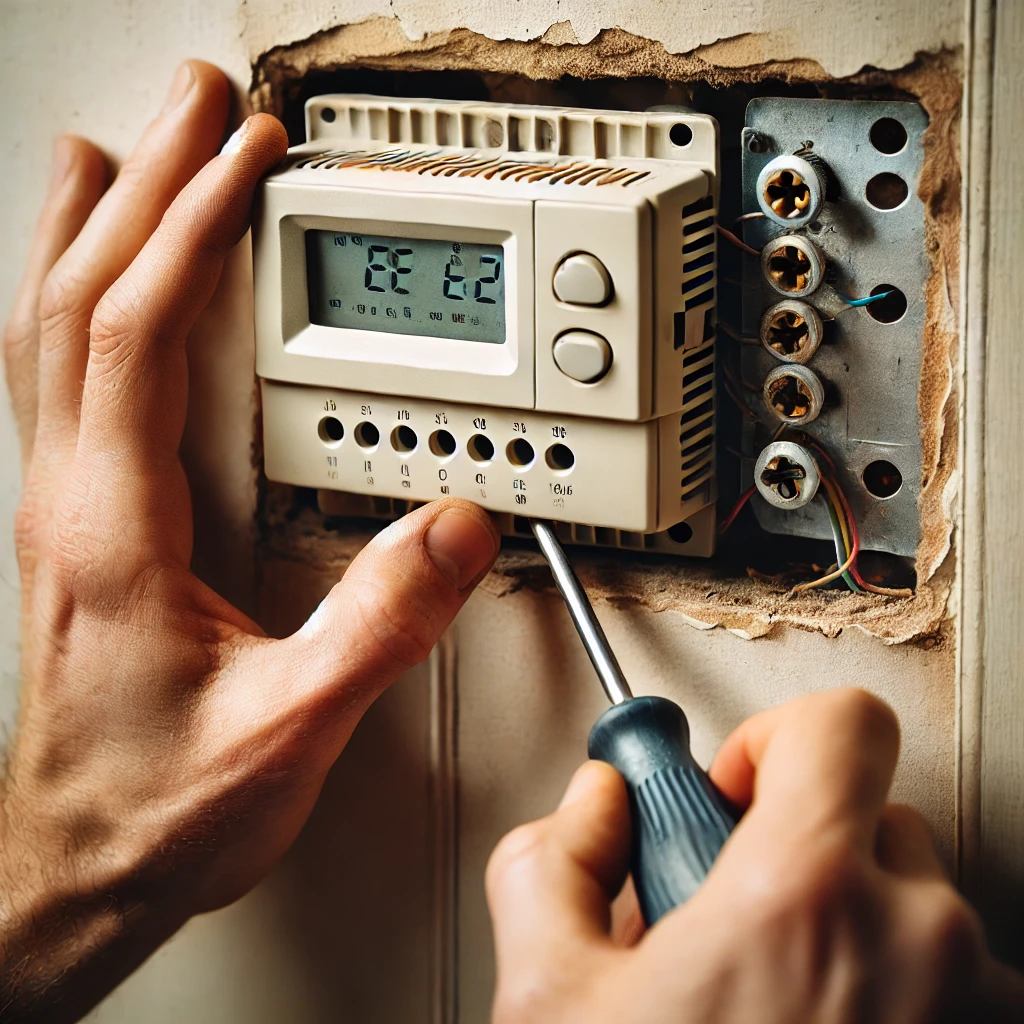
- Carefully remove the cover of your old thermostat. Take a photo of the wiring for reference, as this will help you when connecting the new thermostat. Unscrew the old thermostat from the wall and gently pull it away, exposing the wires.
3. Label the Wires
- Use the labels that come with your new thermostat to mark each wire according to the terminal it connects to on the old thermostat. Common wire labels include “R,” “W,” “Y,” and “G.” This step is crucial to ensure correct wiring later on.
4. Disconnect the Wires
- Once labeled, disconnect the wires from the old thermostat. Be careful not to let the wires slip back into the wall, as retrieving them can be difficult.
5. Install the New Thermostat Base
- Mount the new thermostat base to the wall using the screws provided. Make sure it’s level before tightening the screws completely. If necessary, drill new holes and use wall anchors to secure the base firmly.
6. Connect the Wires to the New Thermostat
- Match each labeled wire to the corresponding terminal on the new thermostat. Secure the wires by tightening the screws or using the push-in connectors, depending on the model. Double-check that all connections are tight and secure.
7. Attach the Thermostat Cover
- Once the wiring is complete, snap or screw the thermostat cover onto the base. Ensure it’s properly aligned and fits snugly.
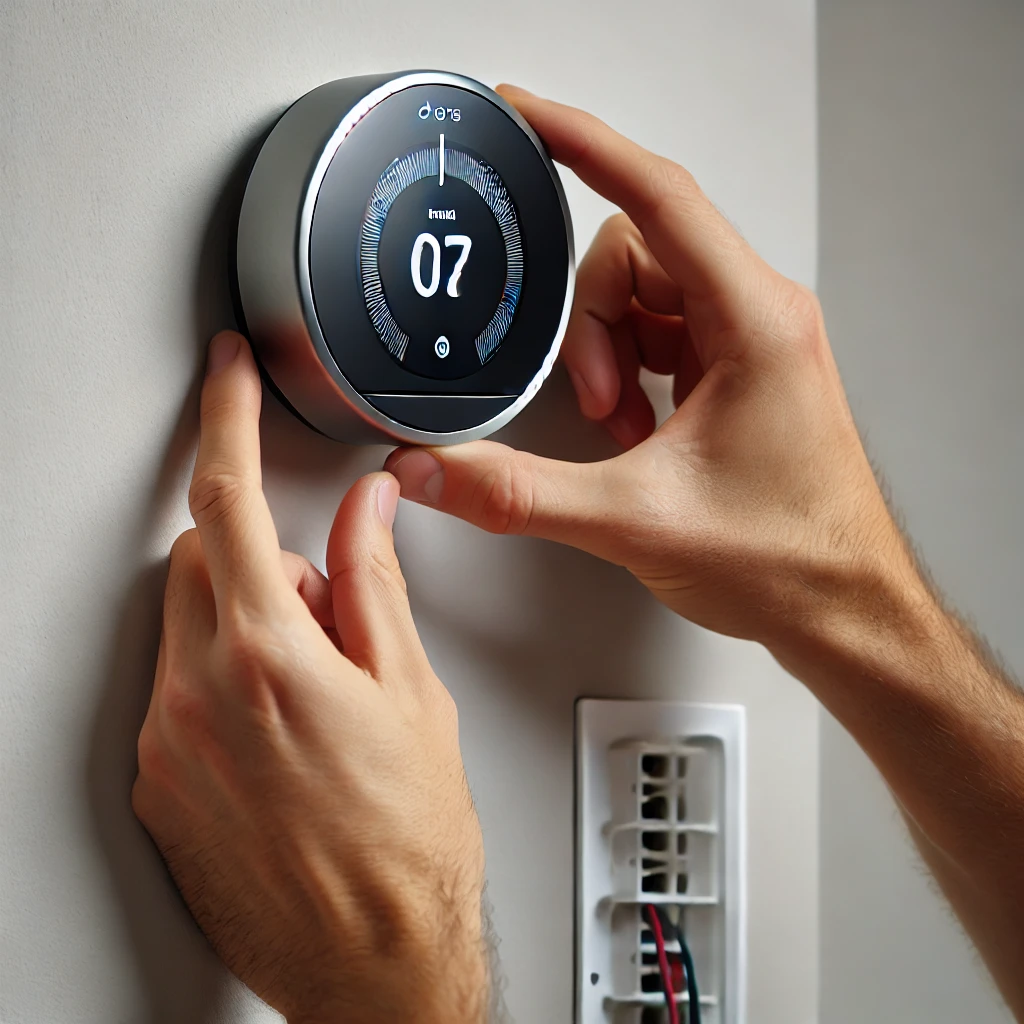
8. Restore Power and Configure the Thermostat
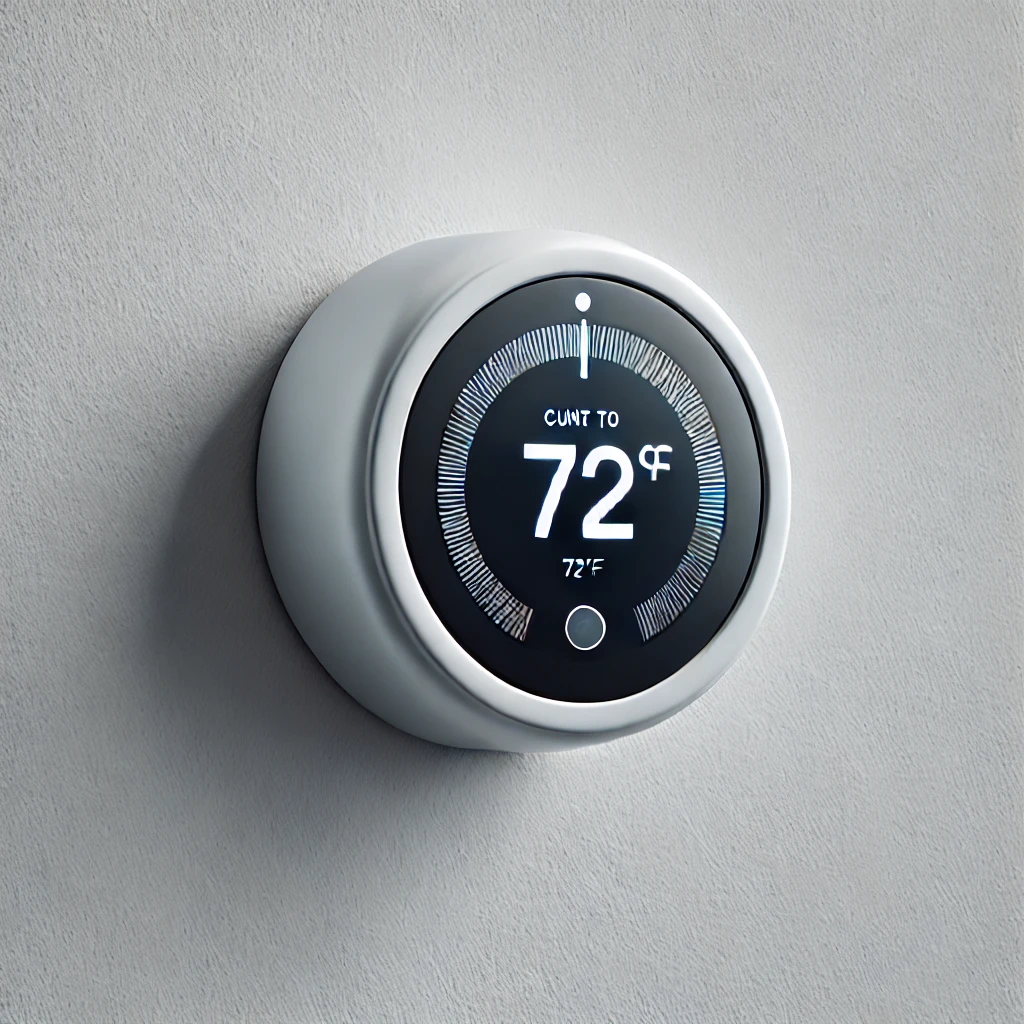
- Turn the power back on at the breaker box. Follow the manufacturer’s instructions to configure your new thermostat. This may include setting the date and time, connecting to Wi-Fi (for smart thermostats), and programming your desired temperature settings.
9. Test the Thermostat
- Test your thermostat by adjusting the temperature settings and ensuring your heating or cooling system responds accordingly. Make any necessary adjustments to the settings for optimal performance.
Why Choose The Handy Geeks?
When it comes to thermostat installation, The Handy Geeks are the experts you can trust. Here’s why:
- Professional Service: Our technicians are highly trained and experienced in installing all types of thermostats, ensuring a hassle-free and safe installation process.
- Affordable Pricing: We offer competitive rates without compromising on the quality of our work, making professional thermostat installation accessible to everyone.
- Convenience: We work around your schedule to provide the most convenient service possible, so you don’t have to worry about finding time for installation.
- Satisfaction Guarantee: Your satisfaction is our priority, and we stand by our work. If you’re not happy with the installation, we’ll make it right.
You can check our all 5-star review google maps page.

Here’s our phone number : +1 818-835-0556
Submit your request for installing a thermostat here by filling the form. You can look at our other services and their forms here.
Benefits of Choosing The Handy Geeks
Choosing The Handy Geeks for your thermostat installation ensures that your home’s climate control system is set up correctly and efficiently. Our team’s expertise guarantees that your new thermostat will be installed with precision, providing you with accurate temperature control and energy savings. Additionally, our competitive pricing and flexible scheduling make it easy to fit professional installation into your busy lifestyle. With our satisfaction guarantee, you can be confident that your thermostat will be ready to regulate your home’s temperature without any hassle.
Frequently Asked Questions (FAQ)
1. How long does it take to install a thermostat?
The installation process typically takes about 30 minutes to an hour, depending on the complexity of the thermostat.
2. Can I install a smart thermostat myself?
While it is possible to install a smart thermostat yourself, professional installation ensures proper wiring and configuration, especially if you’re unfamiliar with electrical work.
3. Do you offer same-day installation services?
Yes, The Handy Geeks offers same-day installation services depending on availability.
4. What if my home’s wiring is outdated?
Our technicians are experienced in working with various wiring setups and can often adapt to older wiring systems. If necessary, we can discuss potential upgrades.
5. Is there a warranty on the installation?
Yes, we offer a satisfaction guarantee on all our services, including thermostat installation.
Conclusion
Installing a thermostat is an excellent way to enhance your home’s comfort and energy efficiency. By following the steps outlined above, you can install a thermostat that will keep your home’s temperature just right all year round. For those who prefer professional assistance, The Handy Geeks offer expert thermostat installation services that prioritize safety, efficiency, and customer satisfaction. Trust us to handle your installation needs with the care and expertise you deserve.

