Step-by-Step Guide To Easily Install a Shelf
Adding a shelf to your space can be a game-changer, offering both functionality and style. Whether you’re looking to display your favorite books or need extra storage in your kitchen, installing a shelf is a straightforward DIY project. In this guide, we’ll walk you through the process step by step to install a shelf, ensuring you have everything you need to get the job done right.
Tools and Materials You’ll Need
Before we dive in, let’s gather the necessary tools and materials:
- Shelf and brackets
- Level
- Measuring tape
- Pencil
- Drill and drill bits
- Screwdriver
- Wall anchors (if needed)
- Screws
Step 1: Choose the Perfect Spot
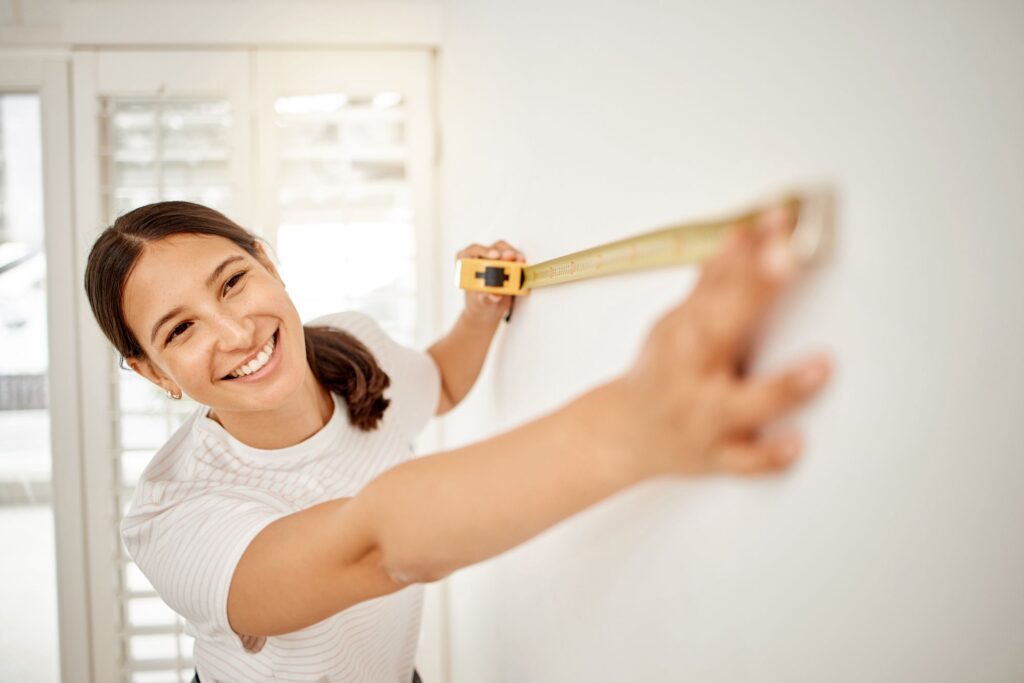
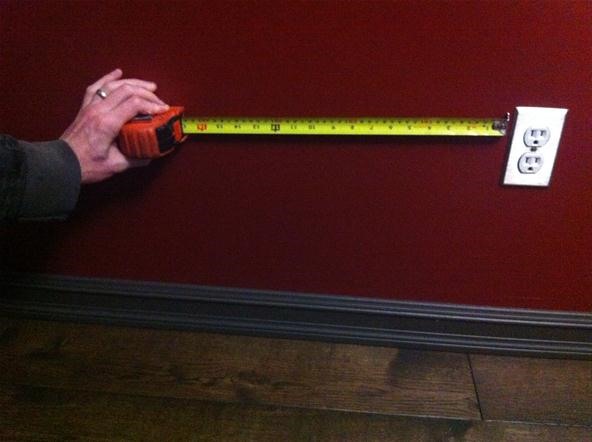
First things first, decide where you want to install your shelf. Consider both aesthetics and functionality. Use a level and a pencil to mark where the shelf will go, ensuring it’s straight and at the desired height.
Step 2: Find the Studs
Using a stud finder, locate the studs in your wall. Mark these locations with a pencil. Anchoring your shelf brackets into studs will provide the most support. If you can’t find studs where you want your shelf, you’ll need to use wall anchors.
Step 3: Mark and Drill Holes for the Brackets
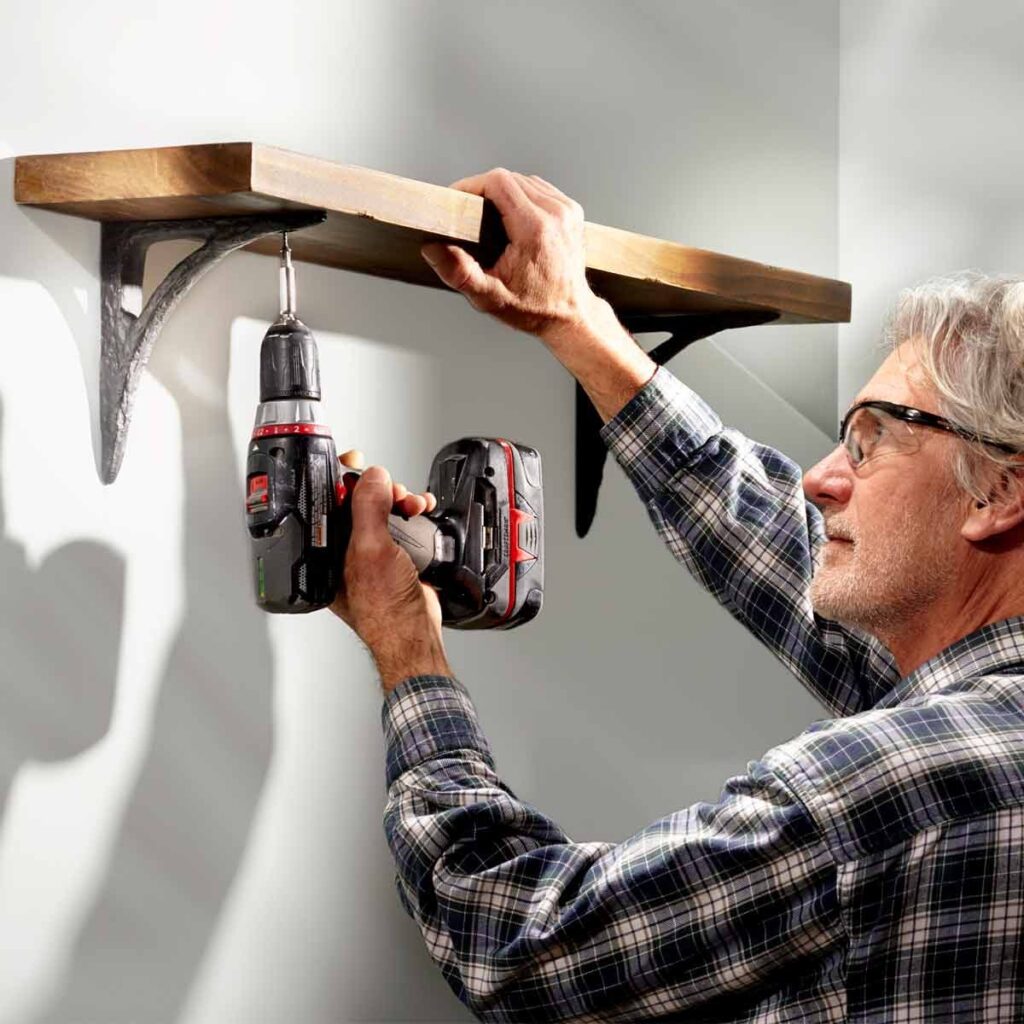
Hold the brackets up to your marked spots and mark where the screws will go. Double-check that everything is level. Using your drill, make pilot holes for the screws. This will make it easier to drive the screws in and ensure your shelf is secure.
Step 4: Attach the Brackets
Now, it’s time to attach the brackets to the wall. Align them with the pilot holes and use screws to secure them in place. Make sure they’re firmly attached, as they will bear the weight of the shelf and its contents.
Step 5: Mount the Shelf
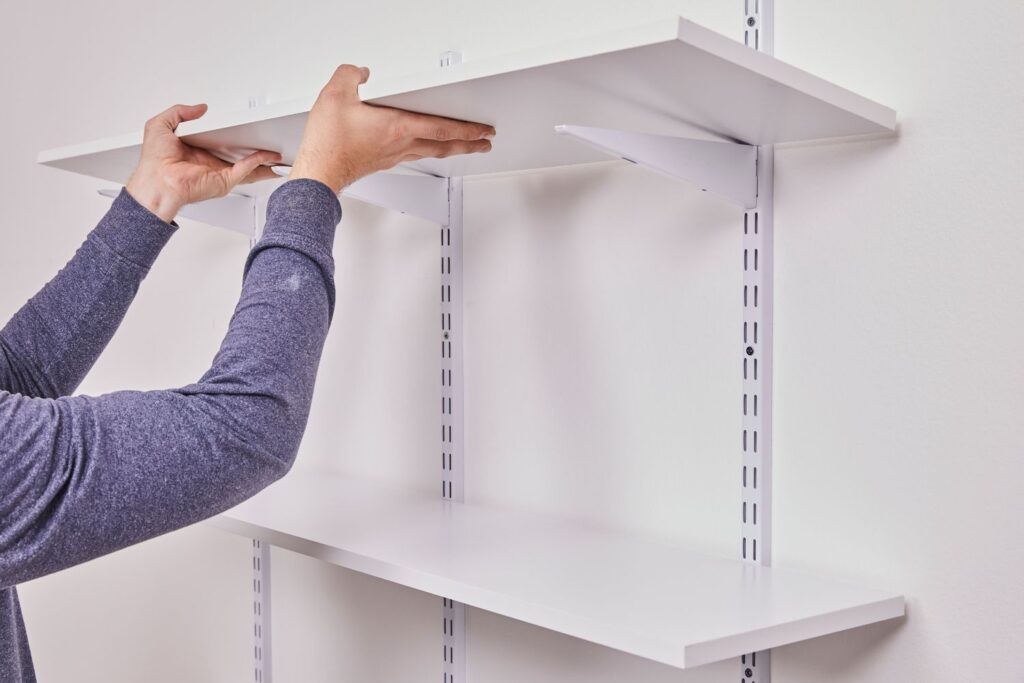
Once the brackets are securely in place, you can place the shelf on top. Use screws to attach the shelf to the brackets if needed, ensuring it’s stable and won’t wobble.
Step 6: Final Adjustments
Give your new shelf a good shake to make sure it’s secure. If it wobbles, double-check the screws and make sure everything is tightened properly. Use a level to ensure it’s perfectly straight.
Why Choose TheHandyGeeks?
At TheHandyGeeks, we understand that not everyone has the time or tools to tackle DIY projects. That’s where we come in. Our team of professionals is here to help with all your installation needs. We offer:
- Expertise: Our skilled technicians have years of experience in home improvement.
- Efficiency: We complete projects quickly and correctly the first time.
- Convenience: Schedule a time that works best for you, and we’ll handle the rest.
You can check our all 5-star review google maps page.

Here’s our phone number : +1 818-835-0556
Submit your request for the installation of shelf here by filling the form. You can look at our other services and their forms here
FAQs
Q1: What if I can’t find studs in my wall? If you can’t find studs where you want to install your shelf, you can use wall anchors to provide the necessary support. Wall anchors help distribute the weight and prevent the shelf from pulling out of the drywall.
Q2: How much weight can my shelf hold? The weight a shelf can hold depends on the type of brackets and the wall anchors used. Generally, brackets secured into studs can hold more weight than those using wall anchors. Always check the manufacturer’s specifications for weight limits.
Q3: What type of drill bit should I use? For most drywall installations, a standard twist drill bit will work fine. If you’re drilling into studs, use a wood drill bit. For masonry walls, you’ll need a masonry drill bit.
Q4: How high should I install my shelf? The height of your shelf depends on its intended use. For a bookshelf, consider eye level for easy access. For kitchen shelves, make sure they are within reach but not obstructing counter space.
Q5: Can TheHandyGeeks help with custom shelving projects? Absolutely! TheHandyGeeks can assist with any custom shelving projects, ensuring your specific needs and design preferences are met.
Wrapping Up
Installing a shelf is a simple yet rewarding project that can enhance any room in your home. With the right tools and a bit of patience, you can achieve a professional-looking result. However, if you find yourself short on time or unsure about any step, don’t hesitate to reach out to the experts at TheHandyGeeks. We’re here to make your life easier, one shelf at a time.
For more tips and professional assistance, contact TheHandyGeeks today!

