Removing veneer from furniture can be a delicate process, and it’s important to proceed with care to avoid damaging the underlying wood. Here’s a step-by-step guide on how to remove veneer from furniture:
Materials Needed:
- Heat gun
- Putty knife or scraper
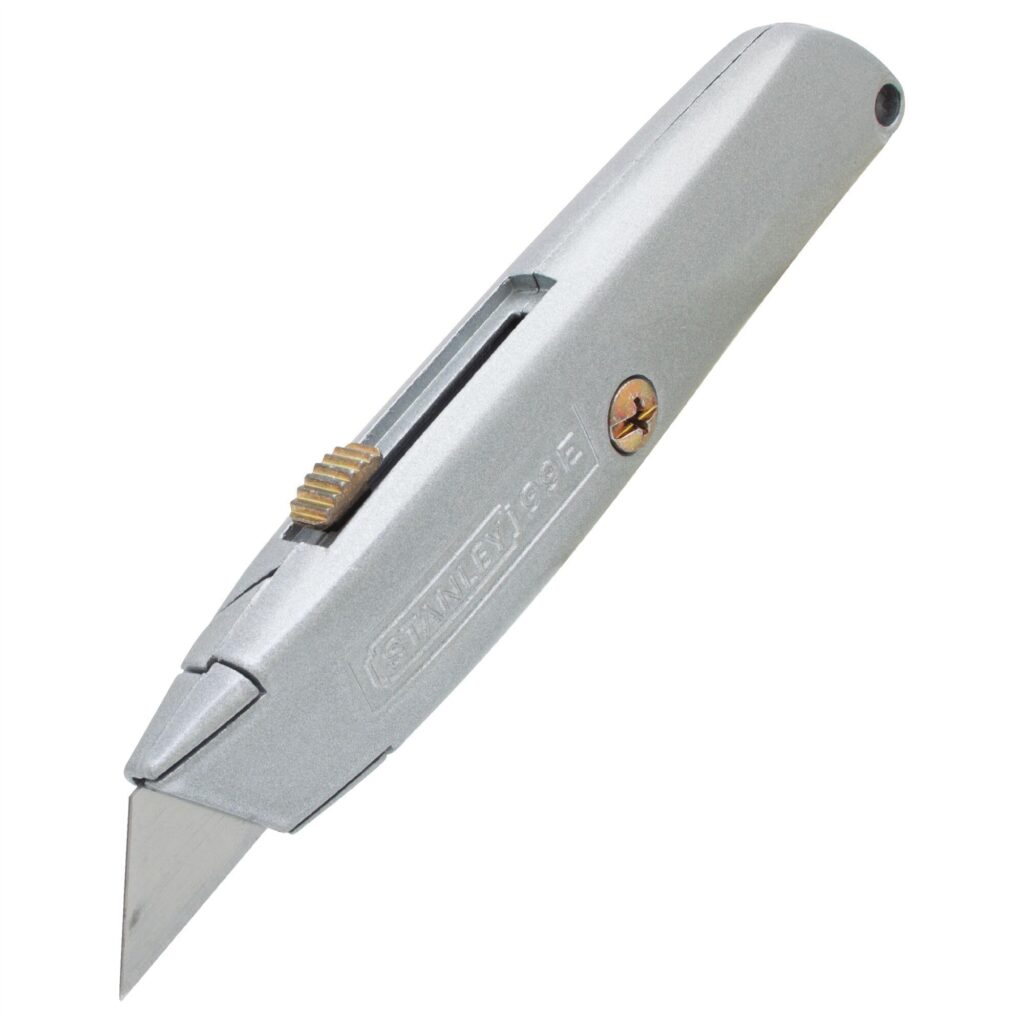
- Utility knife
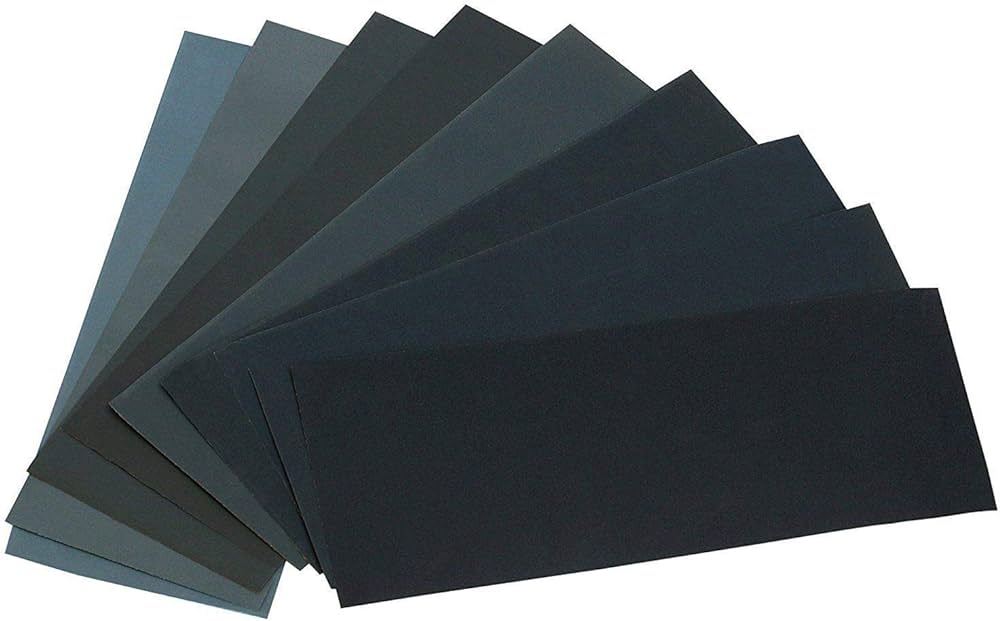
- Sandpaper (medium and fine grit)
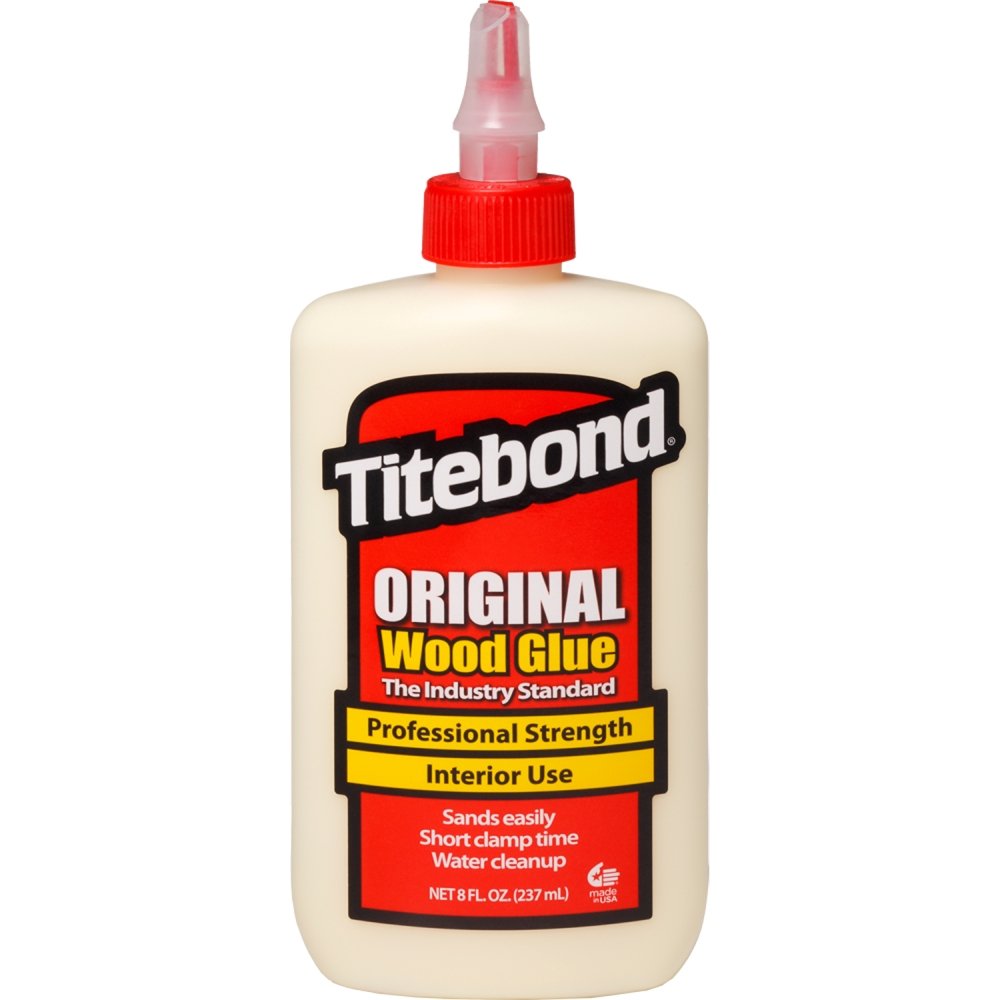
- Wood glue
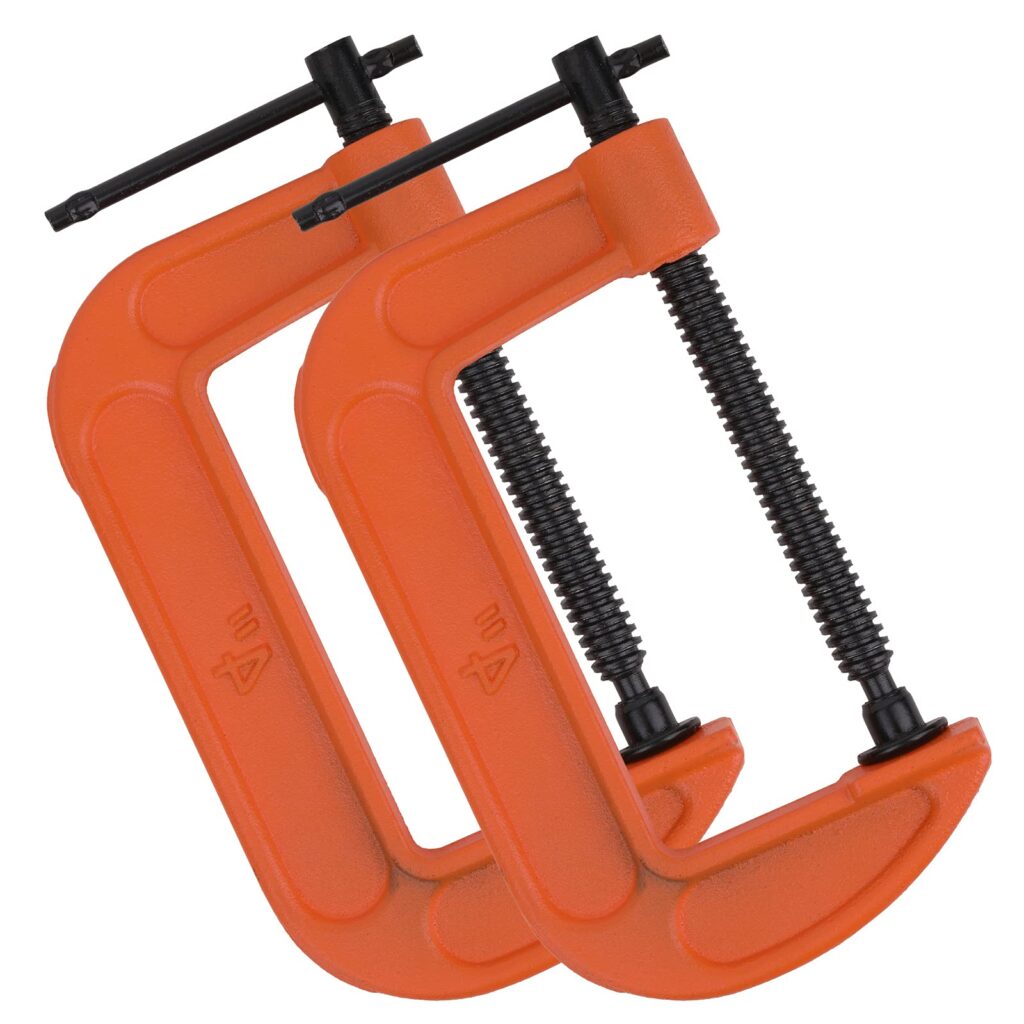
- Clamps
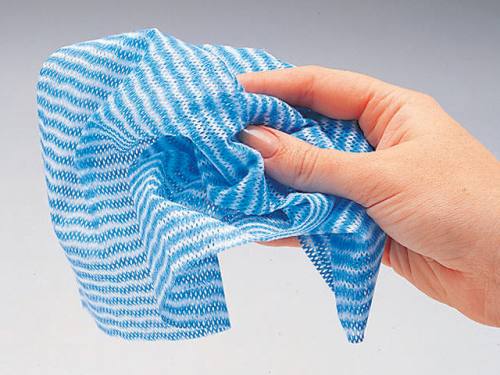
- Damp cloth
- Safety gear (gloves, safety glasses)

Procedure:
Step 1: Furniture Veneer Removal – Prioritize Safety and Inspection:
- Begin by prioritizing safety with the use of protective eyewear and sturdy gloves. Mitigate potential dust exposure by wearing a mask. Conduct a thorough inspection, identifying and gently removing any loose veneer sheets by hand. This meticulous approach lays the groundwork for a seamless veneer removal process.
Step 2: Gentle Lift with a Precision Tool
- Locate a raised edge, typically near a corner or along an edge. Utilize a putty knife or a plastic scraper for a delicate and precise lift. Ensure the tool is kept parallel to the surface to prevent inadvertent scratches or damage to the underlying wood. Adopt a methodical approach for a controlled and clean separation.
Step 3: Tackling Stubborn Areas
- For stubborn areas, employ a hammer to lightly tap the knife at the edge. This strategic tapping aids in breaking the adhesive bond, facilitating veneer removal. Exercise caution to minimize the force applied, preventing unnecessary damage to the wood beneath.
Step 4: Applying Heat for Adhesive Breakdown
- Combat resilient glue by dampening a towel and placing it on the targeted veneer section. Heat an iron to its highest setting and press it against the towel for 30 seconds. The heat softens the glue, enhancing pliability for easier veneer lifting. Exercise care while handling the iron to prevent burns or damage to the surroundings.
Step 5: Retry After Glue Softening
- With the glue softened, retry using the putty knife for precise slipping underneath the veneer. Repeat the heating process for persistent areas, taking breaks as needed. This approach ensures a gradual and effective removal process without overexertion.
Step 6: Residual Glue Cleanup
- Post-veneer removal, inspect the wood for residual adhesive. Employ the putty knife to gently scrape off any remnants. For stubborn residues, apply heat to loosen the glue before scraping. This meticulous cleanup ensures a pristine wood surface.
Step 7: Sanding to smoothen surface
- Address rough spots with 80-grit sandpaper or an electric sander, preparing the wood surface for a new veneer or finishing. Wearing a dust mask during sanding safeguards against inhalation of fine particles.
Step 8: Polishing Surface with Fine Sandpaper
- Transition to a fine 200-grit sandpaper for a polished and even surface. Detail-oriented attention ensures effective correction of imperfections introduced during the veneer removal process, contributing to a professional finish.
Step 9: Wiping Down
- Finalize the process by wiping away sawdust with a damp cloth, ensuring thorough cleaning of both the top and edges. This meticulous cleanup readies the surface for the application of a new veneer or subsequent crafting projects, resulting in a refreshed and restored furniture appearance.
Exercise patience and caution throughout each step. Seek professional advice or refer to online resources if uncertainties arise. Experience the satisfaction of crafting and revitalizing your furniture with this detailed guide.
You can also get this service done from us, The Handy Geeks. With an all 5-star Google Reviews page, we are confident in our ability in satisfying the needs of the customers with impeccable quality.
You can submit your request by clicking on the service needed and filling in the form.

