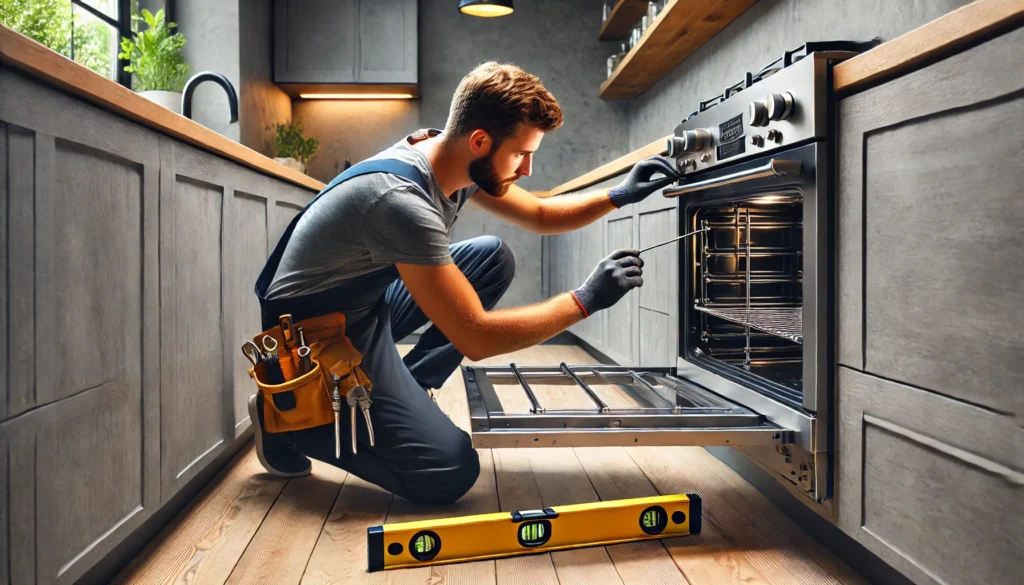
When it comes to installing a new stove, safety and precision are key. Proper installation not only guarantees the appliance’s functionality but also ensures your home’s safety. In this guide, The Handy Geeks will walk you through the steps of stove installation while highlighting the advantages of hiring a professional.
Step-by-Step Guide to Stove Installation
Step 1: Gather the Necessary Tools
Before starting, ensure you have all the required tools and materials, including a wrench, a gas line connector, a power drill, and a level. Safety gear like gloves and goggles is also essential to protect yourself during the process.
Step 2: Turn Off the Power and Gas Supply
For electric stoves, turn off the electricity from your home’s breaker box. If installing a gas stove, ensure the gas valve is completely shut off. This step is crucial for safety.
Step 3: Remove the Old Stove
If you’re replacing an old stove, carefully disconnect it from the power or gas line. Loosen any screws or brackets holding it in place, then slowly pull it away from the wall.
Step 4: Connect the Gas Line or Electrical Hookup
For gas stoves, connect the new flexible gas line to the stove’s gas inlet using a wrench. Make sure the connection is tight but not overtightened. For electric stoves, align the stove’s power cord with the wall outlet and plug it in.
Step 5: Position the Stove
Carefully slide the new stove into place. Use a level to ensure it is sitting evenly on the floor. Adjust the stove’s legs if needed to achieve a balanced position.
Step 6: Test the Connections
For gas stoves, turn the gas valve back on and test for leaks using soapy water. For electric stoves, switch the power back on at the breaker box and test the stove’s functionality by turning it on briefly.
Step 7: Final Adjustments
Ensure that all burners or heating elements are working correctly. Once the stove is functioning properly, secure it in place using any provided brackets or screws.
Why Choose The Handy Geeks?
When it comes to stove installation, The Handy Geeks are the experts you can trust. Our professional team is trained to handle both gas and electric stove installations with precision and care. We understand the importance of safety, and our technicians follow all required safety protocols to ensure your appliance is installed correctly. From start to finish, we provide a seamless experience, ensuring your stove is installed to the highest standards.
You can check our all 5-star review google maps page.

Here’s our phone number : +1 818-835-0556
Submit your request for installing a stove here by filling the form. You can look at our other services and their forms here
Benefits of Choosing The Handy Geeks
By choosing The Handy Geeks for your stove installation, you’re not only ensuring a flawless setup but also saving yourself time and hassle. Our experienced technicians guarantee that your stove will function efficiently and safely, providing you with peace of mind. We offer competitive pricing, meaning you get top-notch service without breaking the bank. Additionally, our flexible scheduling options allow us to fit the installation around your busy lifestyle. Plus, with our satisfaction guarantee, you can rest easy knowing that we won’t consider the job complete until you’re 100% satisfied.
Conclusion
Installing a stove might seem straightforward, but ensuring it’s done safely and correctly is crucial. Hiring a professional team like The Handy Geeks guarantees that your appliance will be installed efficiently, saving you both time and stress. With our skilled technicians, competitive pricing, and satisfaction guarantee, The Handy Geeks are the perfect choice for your stove installation needs.
FAQs
Q: How long does it take to install a stove?
A: On average, stove installation can take 1-2 hours, depending on whether it’s gas or electric and the condition of the existing connections.
Q: Do I need to prepare anything before the technician arrives?
A: Ensure the space around the stove is clear, and if possible, turn off the power and gas supply beforehand.
Q: Can The Handy Geeks install both gas and electric stoves?
A: Yes, our team is trained to handle the installation of both gas and electric stoves safely and efficiently.
Q: Is it necessary to check for gas leaks after installing a gas stove?
A: Absolutely. Our technicians will test for gas leaks after installation to ensure your safety.
Q: What should I do if my stove isn’t working after installation?
A: Contact us immediately, and we’ll send a technician to assess and resolve the issue at no additional cost.

