Introduction
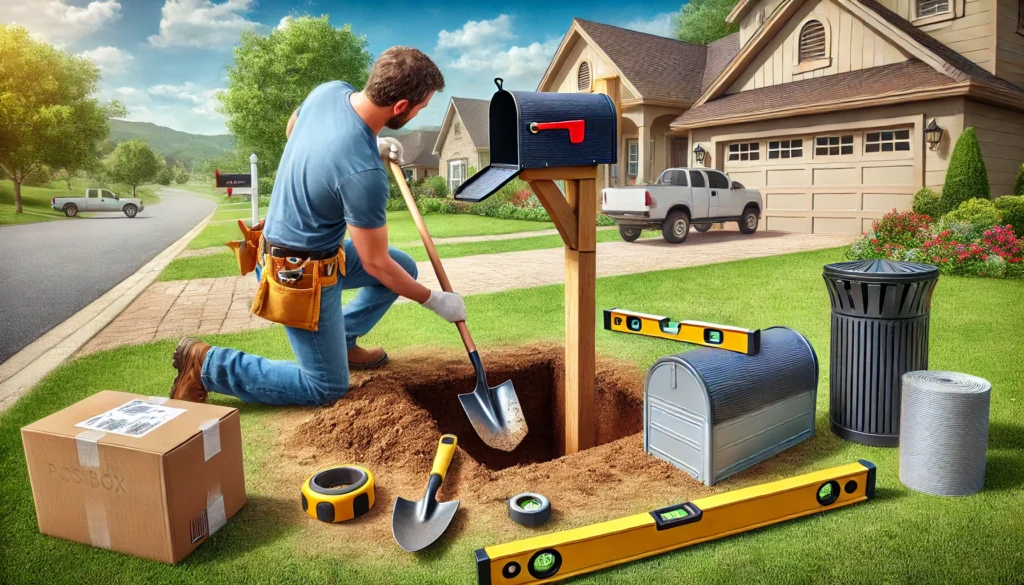
Ever found yourself wondering how to install a mailbox without making a mess of it? You’re not alone! This guide is here to help you install your mailbox like a pro, ensuring it’s both functional and aesthetically pleasing. Let’s dive in and get that mailbox up in no time.
Tools and Materials You’ll Need
Before you start, gather the following tools and materials:
- Posthole digger or shovel
- Level
- Tape measure
- Quick-setting concrete
- Screwdriver
- Wrench
- Mailbox and post kit
- Gravel (optional)
- Wooden support stakes (optional)

Step-by-Step Installation Guide
- Choose the Location
- Select a location that meets USPS regulations. Typically, the mailbox should be positioned 6-8 inches from the curb and 41-45 inches above the ground.
2) Dig the Post Hole
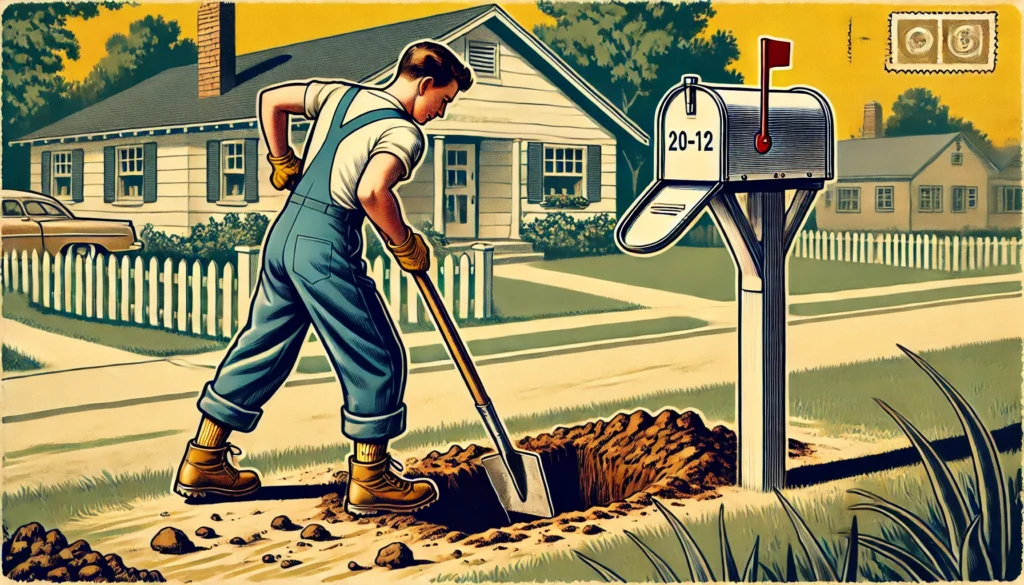
- Use a posthole digger or shovel to dig a hole approximately 20-24 inches deep and 10-12 inches wide. This ensures your post will be stable and secure.

3) Prepare the Post
- If you’re using a wooden post, treat the end that will be in the ground with a wood preservative to prevent rot. For metal posts, ensure it’s rust-resistant.
4) Set the Post
- Place the post in the hole, checking its height against USPS guidelines. Pour gravel into the bottom of the hole for drainage, then fill around the post with quick-setting concrete. Use a level to make sure the post is perfectly vertical. Brace the post with wooden stakes if necessary until the concrete sets.
5) Attach the Mailbox
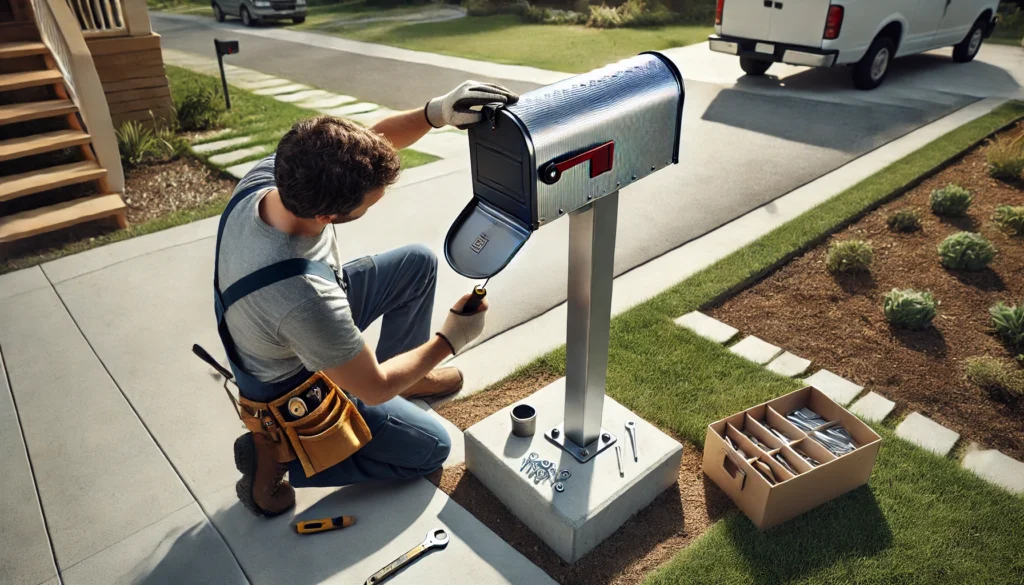
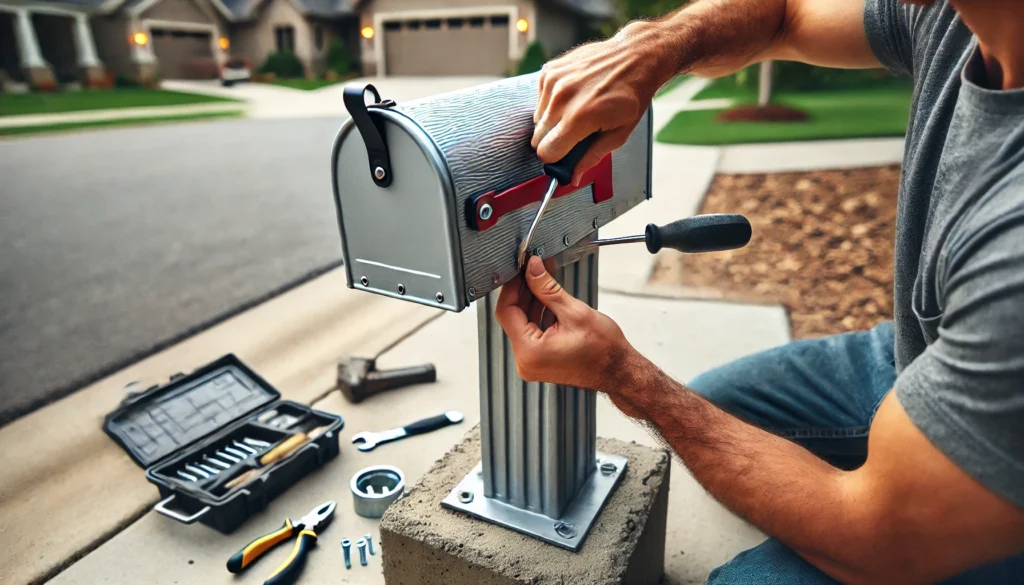
- Once the concrete is set and the post is secure, attach the mailbox according to the manufacturer’s instructions. Typically, this involves screwing the mailbox to the mounting plate on the post.
6) Final Adjustments
- Double-check the height and distance from the curb. Ensure the mailbox door opens freely and that the mailbox is level.
Why Choose The Handy Geeks?
When it comes to mailbox installation, The Handy Geeks are the experts you can trust. Here’s why:
- Professional Service: Our technicians are highly trained and experienced.
- Affordable Pricing: We offer competitive rates without compromising quality.
- Convenience: We work around your schedule to provide the most convenient service possible.
- Satisfaction Guarantee: Your satisfaction is our priority, and we stand by our work.
You can check our all 5-star review google maps page.

Here’s our phone number : +1 818-835-0556
Submit your request for installing a mailbox here by filling the form. You can look at our other services and their forms here
Benefits of Our Service
Opting for The Handy Geeks for your mailbox installation ensures peace of mind. We handle the entire process from start to finish, ensuring the job is done correctly the first time. Our team brings expertise and precision, giving you a sturdy and perfectly installed mailbox.
Frequently Asked Questions
Q: How long does it take to install a mailbox? A: Typically, it takes a couple of hours, including the time for the concrete to set.
Q: Can I install a mailbox without concrete? A: While it’s possible, using concrete ensures the post remains stable and secure over time.
Q: Do I need a permit to install a mailbox? A: Generally, you don’t need a permit, but it’s always a good idea to check with your local regulations.
Q: What if my mailbox gets damaged? A: Contact The Handy Geeks! We offer repair and replacement services to keep your mailbox in top shape.
Wrapping Up
Installing a mailbox doesn’t have to be a daunting task. With this step-by-step guide and the expert services from The Handy Geeks, you can rest easy knowing your mailbox is installed correctly and securely. Ready to get started? Give us a call today and let The Handy Geeks take care of your mailbox installation needs!

