Introduction
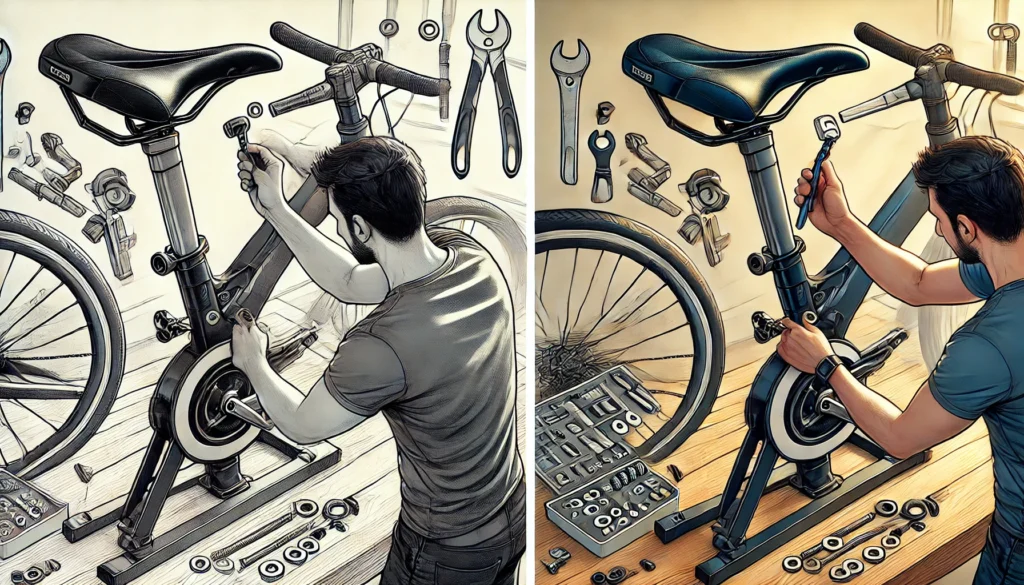
Assembling an exercise bike at home can be a daunting task, but with the right guidance, it becomes a straightforward process. This blog will take you through a detailed, step-by-step guide on how to assemble an exercise bike, ensuring you have a functional and safe piece of fitness equipment ready to use. Whether you are a novice or have some experience with assembling furniture and equipment, this guide is designed to be easy to follow and comprehensive.
Step-by-Step Guide to Assembling an Exercise Bike
Step 1: Unpack and Inventory
Begin by carefully unpacking your exercise bike and laying out all the parts and tools. Check the inventory list provided in the manual to ensure all parts are included. This step is crucial to avoid any frustration during the assembly process.

Step 2: Assemble the Base Frame
Start with the base frame. Connect the stabilizers to the main frame, usually using bolts and washers. Ensure the frame is level and stable before tightening the bolts fully.
Step 3: Attach the Pedals
Next, attach the pedals to the crank arms. Pay attention to the labels indicating the right (R) and left (L) pedals. Tighten them securely using a wrench, ensuring they are screwed in the correct direction to avoid cross-threading.
Step 4: Install the Seat
Attach the seat post to the main frame and adjust the seat height to your preference. Secure the seat using the provided bolts and washers. Ensure it is tightly fastened and does not wobble.

Step 5: Handlebar Assembly
Attach the handlebars to the front post. Depending on your model, you might need to connect the cables for the display or resistance system. Secure the handlebars in place, making sure they are firmly attached and at a comfortable height.
Step 6: Console and Electronics
If your bike includes a console, attach it to the designated mount on the handlebars. Connect any necessary wires as per the manual instructions. Ensure all connections are secure to avoid malfunction.
Step 7: Final Adjustments
Once all parts are assembled, make final adjustments to the seat and handlebars for optimal comfort. Double-check all bolts and screws to ensure everything is tight and secure.
Step 8: Test the Bike
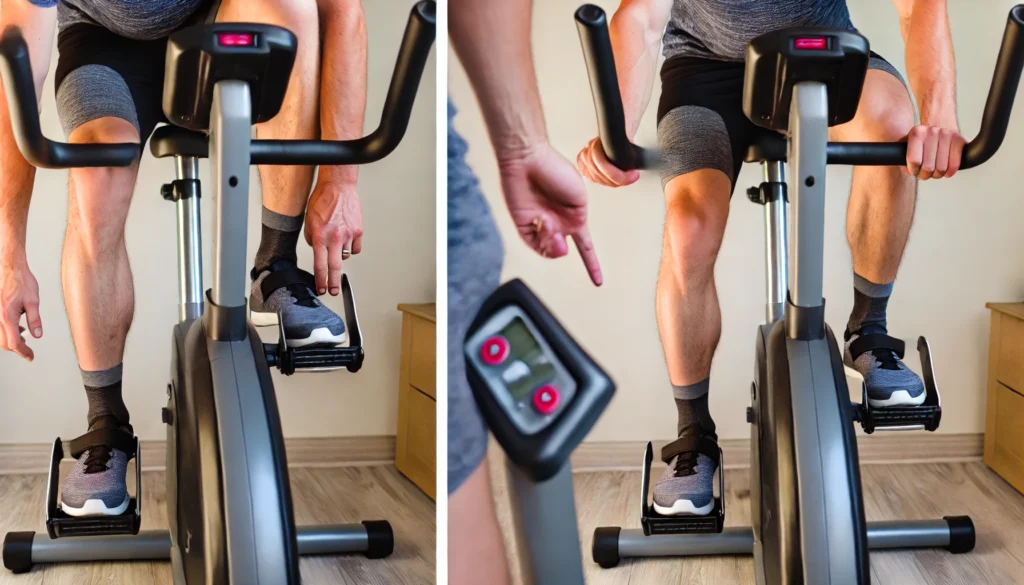
Before you start your workout, test the bike to ensure it functions correctly. Check the pedal resistance, console readings, and overall stability. Make any necessary adjustments.

Why Choose The Handy Geeks?
When it comes to exercise bike assembly, The Handy Geeks are the experts you can trust. Here’s why:
- Professional Service: Our technicians are highly trained and experienced.
- Affordable Pricing: We offer competitive rates without compromising quality.
- Convenience: We work around your schedule to provide the most convenient service possible.
- Satisfaction Guarantee: Your satisfaction is our priority, and we stand by our work.
You can check our all 5-star review google maps page.

Here’s our phone number : +1 818-835-0556
Submit your request for assembling an exercise bike here by filling the form. You can look at our other services and their forms here.
Benefits of Choosing The Handy Geeks
Choosing The Handy Geeks for your exercise bike assembly ensures that your equipment is assembled correctly and efficiently. Our team’s expertise guarantees that all components are securely attached, providing a safe and enjoyable workout experience. Additionally, our competitive pricing and flexible scheduling make it easy to fit professional assembly into your busy lifestyle. With our satisfaction guarantee, you can be confident that your exercise bike will be ready for use without any hassle.
Frequently Asked Questions (FAQs)
Q1: How long does it take to assemble an exercise bike?
A: Typically, it takes about 1 to 2 hours to assemble an exercise bike, depending on the model and your familiarity with the process.
Q2: Do I need any special tools to assemble the bike?
A: Most exercise bikes come with the necessary tools included. However, having a basic toolkit can be helpful.
Q3: Can The Handy Geeks assemble the bike if I have lost some parts?
A: Yes, our technicians can assist in identifying and ordering missing parts to complete the assembly.
Q4: Is there a warranty on the assembly service?
A: Yes, we offer a satisfaction guarantee on all our services, including assembly.
Q5: Can I adjust the bike after it has been assembled?
A: Yes, you can make adjustments to the seat height and handlebar position as needed for comfort.
Conclusion
Assembling an exercise bike doesn’t have to be a challenging task. By following this step-by-step guide, you can set up your bike quickly and correctly. For those who prefer professional assistance, The Handy Geeks provide expert assembly services to ensure your equipment is ready to use. Enjoy a seamless and hassle-free experience with our professional team.

