Step-By-Step Guide On How To Install A Cabinet
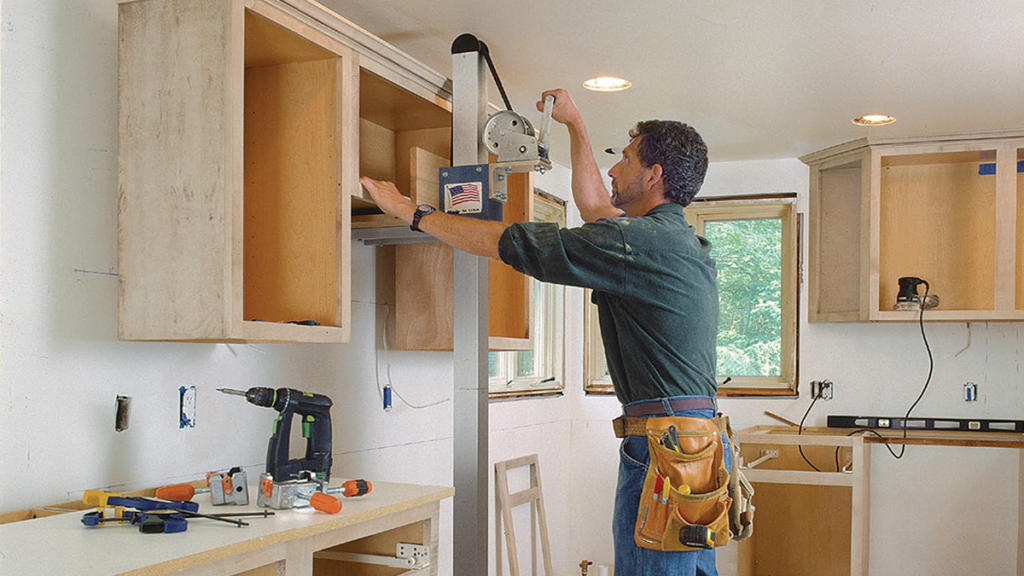
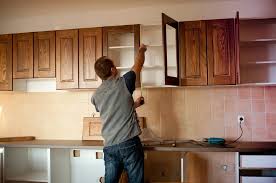
Installing a cabinet might seem like a daunting task, but with the right tools and guidance, it’s entirely doable. In this blog, we’ll break down the steps to help you install a cabinet like a pro. Plus, we’ll show you why TheHandyGeeks is the best choice for all your installation needs.
Tools and Materials Needed
Before you begin, gather the following tools and materials:
- Tape measure
- Level
- Stud finder
- Drill
- Screws
- Screwdriver
- Clamps
- Pencil
- Safety gear (gloves, goggles)
Having these tools at your disposal will make the installation process smoother and more efficient.
Pre-Installation Prep
- Measure the Space: Measure the height, width, and depth of the space where the cabinet will go. Make sure the cabinet will fit perfectly.
- Locate Studs: Use a stud finder to locate the studs in the wall. Mark them with a pencil.
- Prepare the Area: Clear the installation area of any obstacles and ensure the wall is clean and dry.
Step-by-Step Installation Guide
1. Mark the Wall
Use a level and pencil to draw a horizontal line on the wall where the top of the cabinet will sit. This ensures your cabinet will be straight.
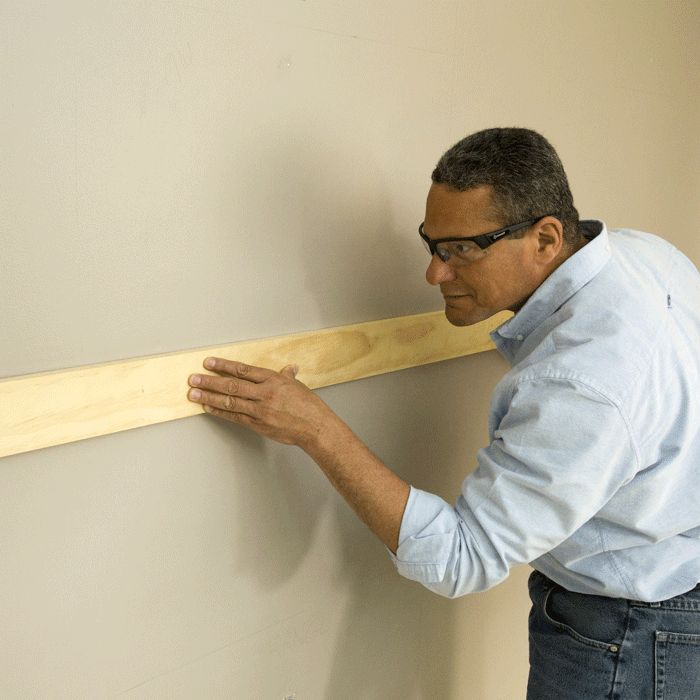
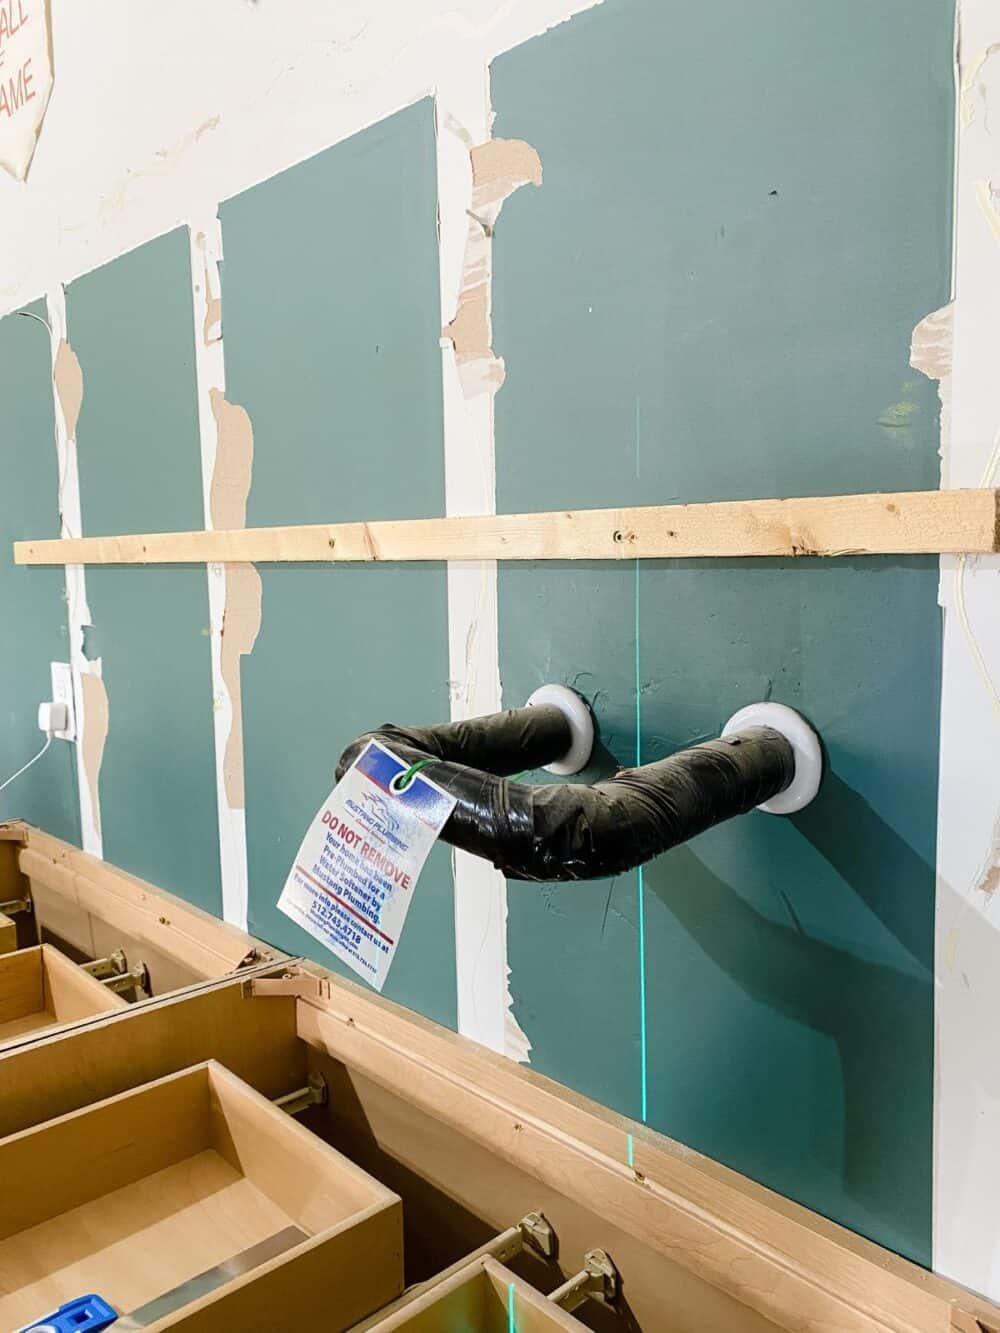
2. Attach the Ledger Board
Secure a temporary ledger board along the line you marked. This will support the weight of the cabinet during installation.
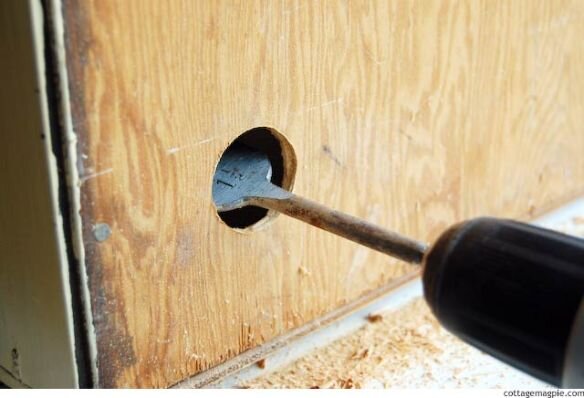
3. Drill Pilot Holes
Drill pilot holes into the studs where the cabinet screws will go. This helps prevent the wood from splitting.

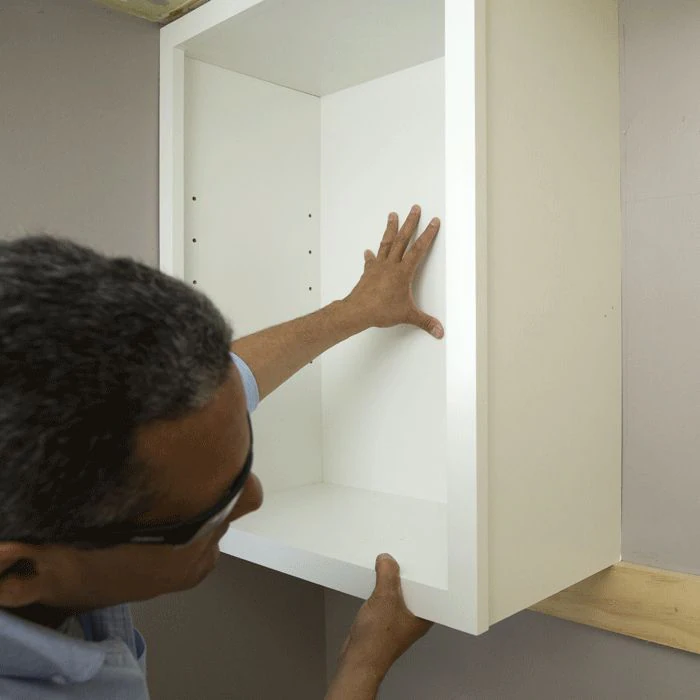
4. Position the Cabinet
Lift the cabinet onto the ledger board. Use clamps to hold it in place and ensure it aligns with the pilot holes.
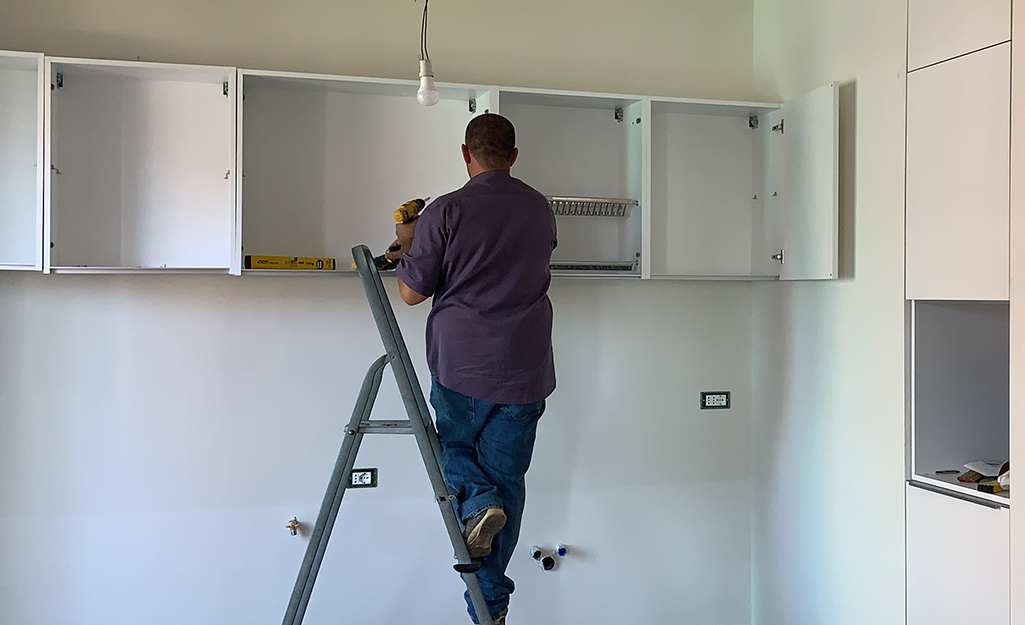
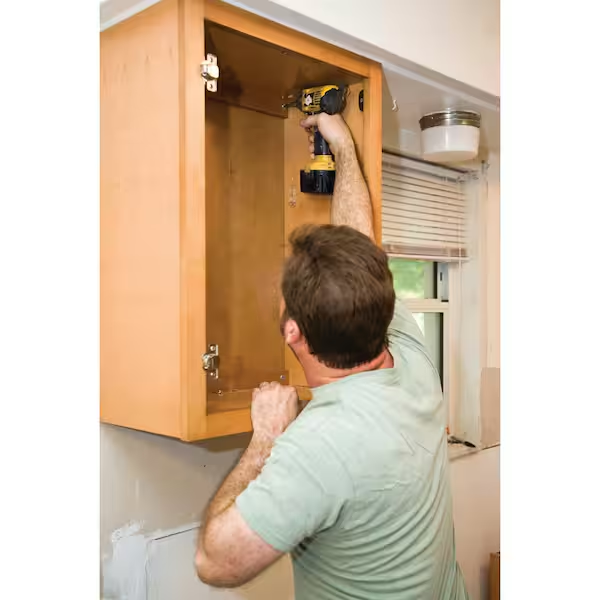
5. Secure the Cabinet
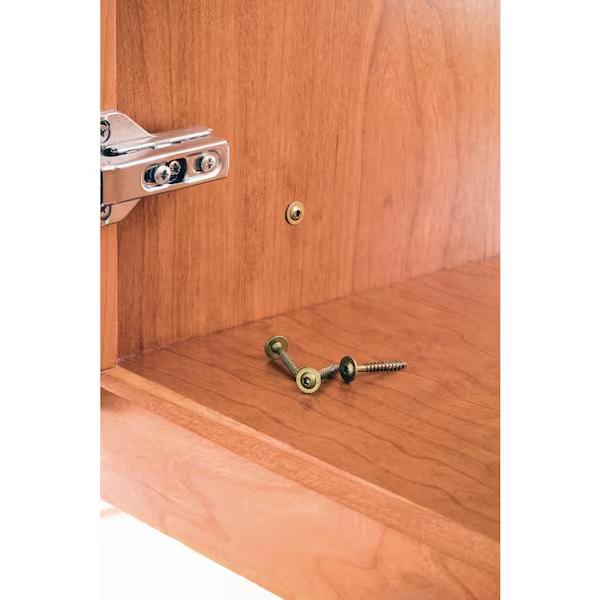
Drive screws through the back of the cabinet into the studs. Ensure the cabinet is level and secure.
6. Remove the Ledger Board
Once the cabinet is securely in place, remove the temporary ledger board.
7. Adjust the Doors
If your cabinet has doors, adjust them to ensure they open and close smoothly.
Common Mistakes to Avoid
- Skipping the Stud Finder: Always locate and mark studs. Installing into drywall alone won’t support the weight.
- Ignoring Leveling: Double-check your levels before securing the cabinet. A crooked cabinet can cause issues down the line.
- Rushing the Process: Take your time with each step to ensure accuracy and stability.
Why Choose TheHandyGeeks
When it comes to cabinet installation, TheHandyGeeks are the experts you can trust. Here’s why:
- Experience: Our team has years of experience in installing cabinets of all shapes and sizes.
- Quality Service: We use top-notch materials and tools to ensure a flawless installation.
- Customer Satisfaction: We prioritize your satisfaction and won’t rest until you’re happy with the result.
By choosing TheHandyGeeks, you’re not just getting a service; you’re getting a partner dedicated to making your home improvement projects a success.
You can check our all 5-star review google maps page.

Here’s our phone number : +1 818-835-0556
Submit your request for the cabinet installation here by filling the form. You can look at our other services and their forms here
FAQs
Q: How long does it take to install a cabinet? A: On average, it takes about 2-3 hours to install a single cabinet, depending on your skill level and the complexity of the installation.
Q: Can I install cabinets on my own? A: Yes, with the right tools and instructions, you can install cabinets on your own. However, if you’re unsure or uncomfortable, it’s best to hire professionals like TheHandyGeeks.
Q: What if my wall isn’t level? A: If your wall isn’t level, you may need to use shims to adjust the cabinet and ensure it’s installed straight.
Q: Do I need to remove the old cabinet first? A: Yes, you should remove any old cabinets before installing new ones. This ensures a clean and secure installation.
Wrapping Up
Installing a cabinet can be a rewarding DIY project when done right. With the proper tools, preparation, and patience, you can achieve professional results. However, if you prefer leaving it to the pros, TheHandyGeeks are here to help. Our expertise and dedication ensure that your cabinet installation is seamless and stress-free.
Don’t hesitate to reach out for professional assistance with your next home improvement project. Contact TheHandyGeeks today and let us handle the heavy lifting!

