Hey there! Thinking about how to install security cameras to beef up your home’s safety? It’s a smart move, especially in today’s world. Whether you’re keeping an eye on your property or ensuring the safety of your loved ones, security cameras are a must-have. This guide will walk you through the entire process, from selecting the right system to mounting and connecting your cameras. Get ready to enhance your home security with ease! Ready to dive in?
Why Install Security Cameras?
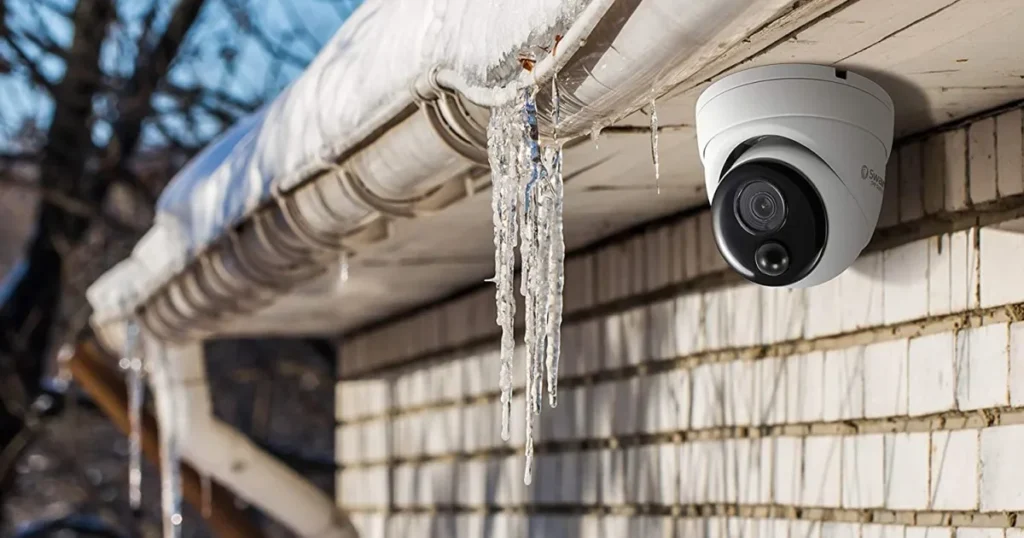
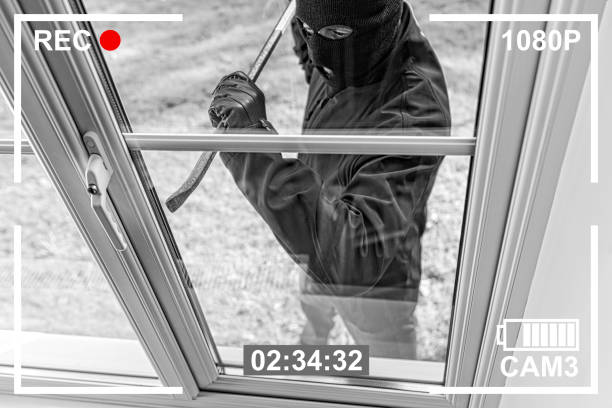
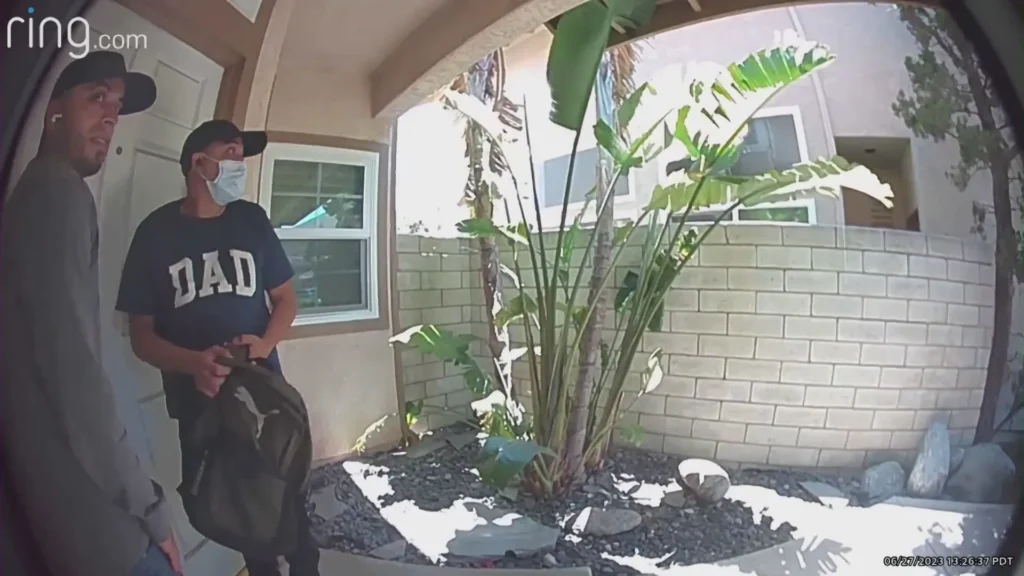
Before we get into the nitty-gritty, let’s talk about why you need security cameras. They deter burglars, help monitor your home remotely, provide evidence if something does go wrong, and give you peace of mind. Who wouldn’t want that?
Choosing the Right Security Camera System
First things first, you’ve gotta pick the right system. Here’s what to consider:
- Wired vs. Wireless: Wired cameras are reliable and don’t need frequent battery changes. Wireless cameras, on the other hand, are easier to install and can be moved around effortlessly.
- Indoor vs. Outdoor: Make sure you get the right type for your needs. Outdoor cameras need to be weatherproof.
- Resolution: Go for at least 1080p for clear images.
- Field of View: A wider field of view means fewer cameras are needed to cover the same area.
- Night Vision: Crucial for 24/7 security.
- Storage: Decide between cloud storage and local storage.
Gathering Your Tools
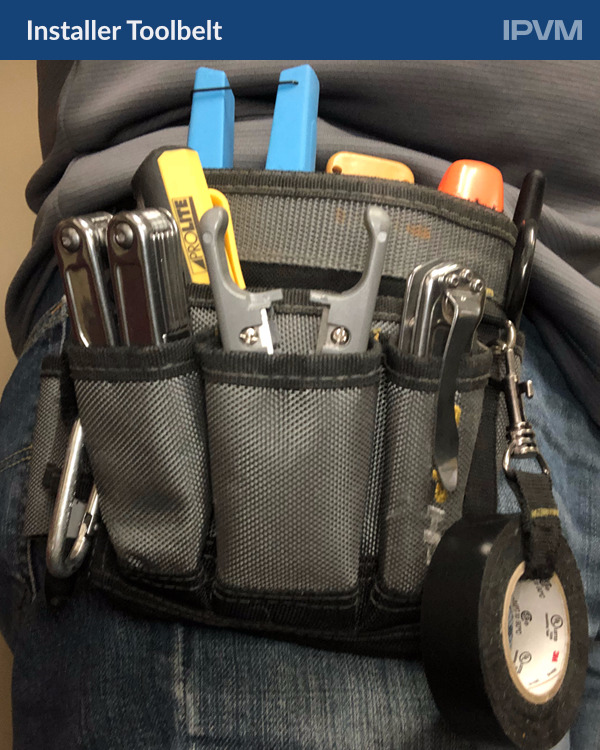
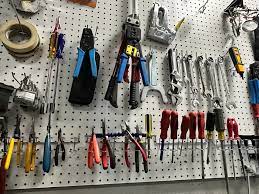
Once you’ve chosen your system, it’s time to gather your tools. Here’s a quick checklist:
- Security Camera System
- Drill
- Screwdriver
- Ladder
- Ethernet cables (for wired systems)
- Screws and anchors
- Cable clips
- Power drill with bits
Step-by-Step Installation Guide
Alright, let’s get down to business. Here’s how you install your security cameras:
1. Plan Your Camera Locations
Walk around your property and figure out where you need the cameras. Common spots include:
- Front and back doors
- First-floor windows
- Driveways
- Garages
- Backyards
Make sure your cameras are high enough to avoid tampering but low enough to capture clear footage.

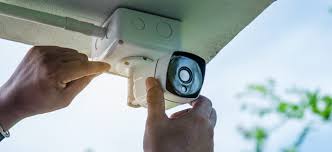
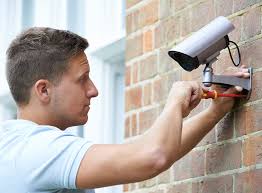
2. Mount the Cameras
For wired cameras:
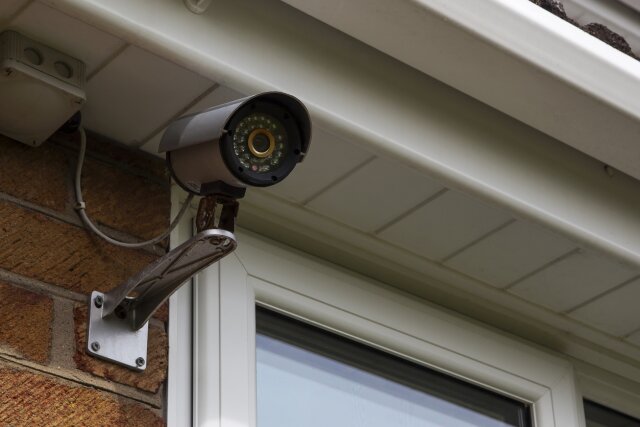
- Drill holes for the mounting screws and any necessary cables.
- Secure the mounting bracket with screws and anchors.
- Thread the cables through the holes.
For wireless cameras:
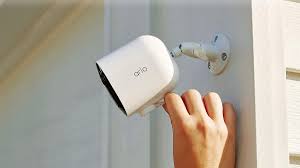
- Simply attach the mounting bracket and camera as per the manufacturer’s instructions.
3. Run the Cables (if needed)
For wired systems:
- Run the cables from your cameras to your DVR or NVR.
- Use cable clips to secure them along walls or ceilings.
4. Connect the Cameras
Wired cameras:
- Connect the cables to the DVR/NVR and power supply.
Wireless cameras:
- Follow the manufacturer’s instructions to connect to your Wi-Fi network.
5. Set Up the Software
Install the provided software or app on your computer or smartphone. Follow the setup wizard to configure your cameras. This usually involves:
- Naming your cameras
- Setting up motion detection zones
- Configuring recording schedules
- Testing the camera feeds
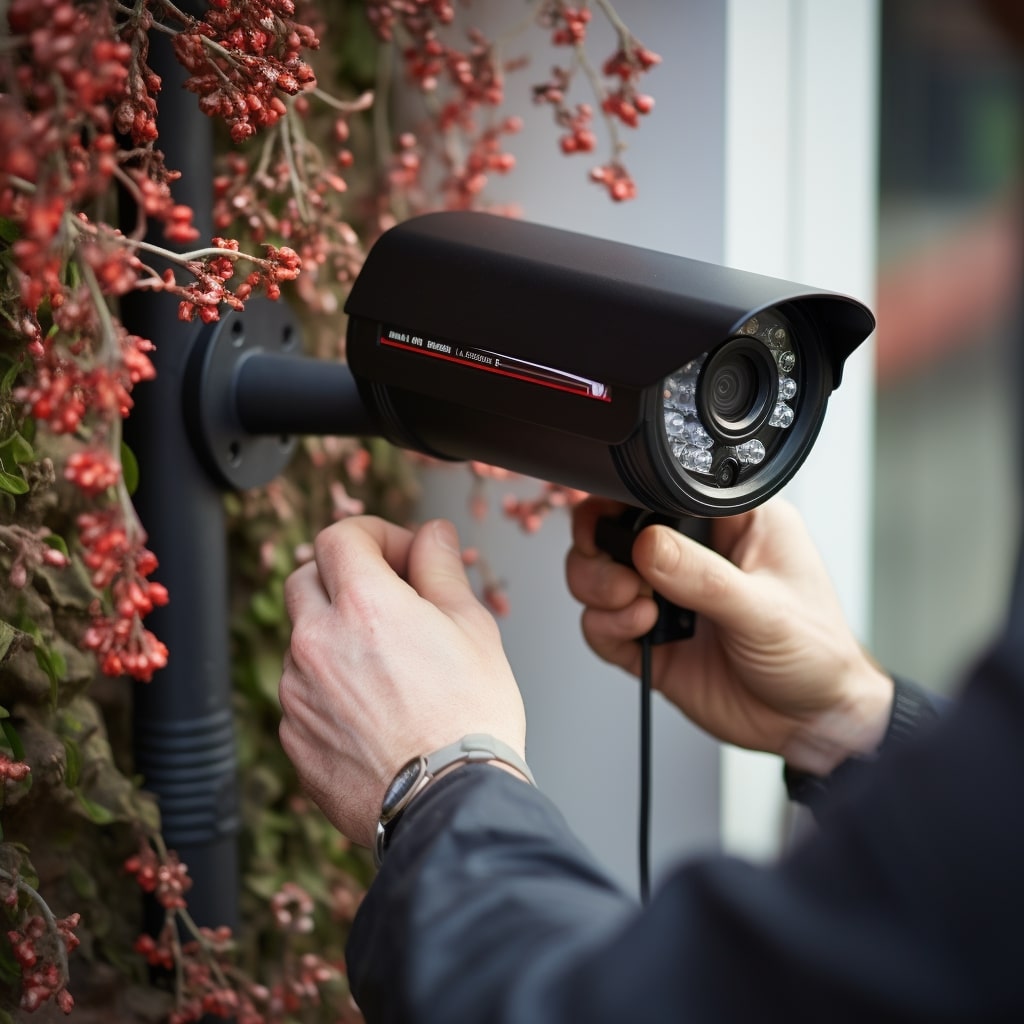
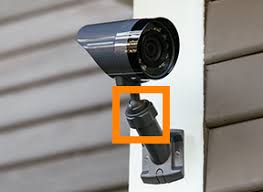
6. Adjust the Camera Angles
Check the camera feeds and adjust the angles as needed to cover the desired areas. Ensure you have a clear, unobstructed view.
Maintenance Tips
- Regularly check for updates: Keep your camera software up to date to ensure you have the latest features and security patches.
- Clean the lenses: Dust and dirt can obscure your camera’s view.
- Check the power supply: Ensure all cables and connections are secure.
FAQs
Q: Are The Handy Geeks services reliable?
A: Of course! We guarantee our customer 100% satisfaction by fulfilling their demands to the best possible degree.
Q: Can I install security cameras myself?
A: Absolutely! With a bit of patience and the right tools, you can set up your security system without professional help.
Q: How high should I mount my security cameras?
A: Ideally, 8-10 feet above the ground to avoid tampering and get a clear view.
Q: Do wireless cameras need the internet?
A: Yes, for remote viewing and alerts, an internet connection is required.
Wrapping Up
There you have it – a complete guide to installing security cameras. It’s not as daunting as it seems, right? With this step-by-step approach, you’ll have your home security system up and running in no time. Now, go ahead and give yourself that peace of mind!
Feeling stuck? Call The HandyGeeks!
Installing your own security cameras can be a difficult task. If DIY isn’t your style, The HandyGeeks are here to make your project a reality.
You can check our all 5-star review google maps page.

For assistance, call us at +1 818-835-0556
Submit your request for installing security cameras by filling out the form here. You can also explore our other services and their forms here.

