Introducing the TV Wall Mounting Guide by The Handy Geeks:
Just got a new TV and feeling a bit lost in the setup? No worries, The Handy Geeks are here to guide you through each step of the TV wall mounting process. Let’s break it down:
Materials/Equipment Required:
- Cordless Drill
- Level
- Pencil
- Screwdriver
- Socket/Ratchet Set
- Stud Finder
- Tape Measure
- Utility Knife (for cutting cardboard)
- Cardboard
- Flat Screen TV Mount
- Lag Bolts (if not included in mounting kit)
- Masking Tape
- Plyers or Socket Wrench
- Knife (for cable hiding)
- Metal Coat Hanger/Metal Wire
Tips:
- When drilling for cable management, avoid areas with electric sockets or cable/satellite outlets.
- Opt for in-wall rated wires to maintain a clean and compliant installation.
Warnings:
- Prioritize the secure mounting of the TV to prevent accidents or damage.
- Exercise caution during drilling to avoid damaging hidden wires or pipes.
- Adhere to building codes and safety standards, avoiding the practice of running the power cord inside the wall.
Part 1: Mount the Brackets to Your Flat Screen TV
Step 1: Obtain a Correctly-Sized Bracket:
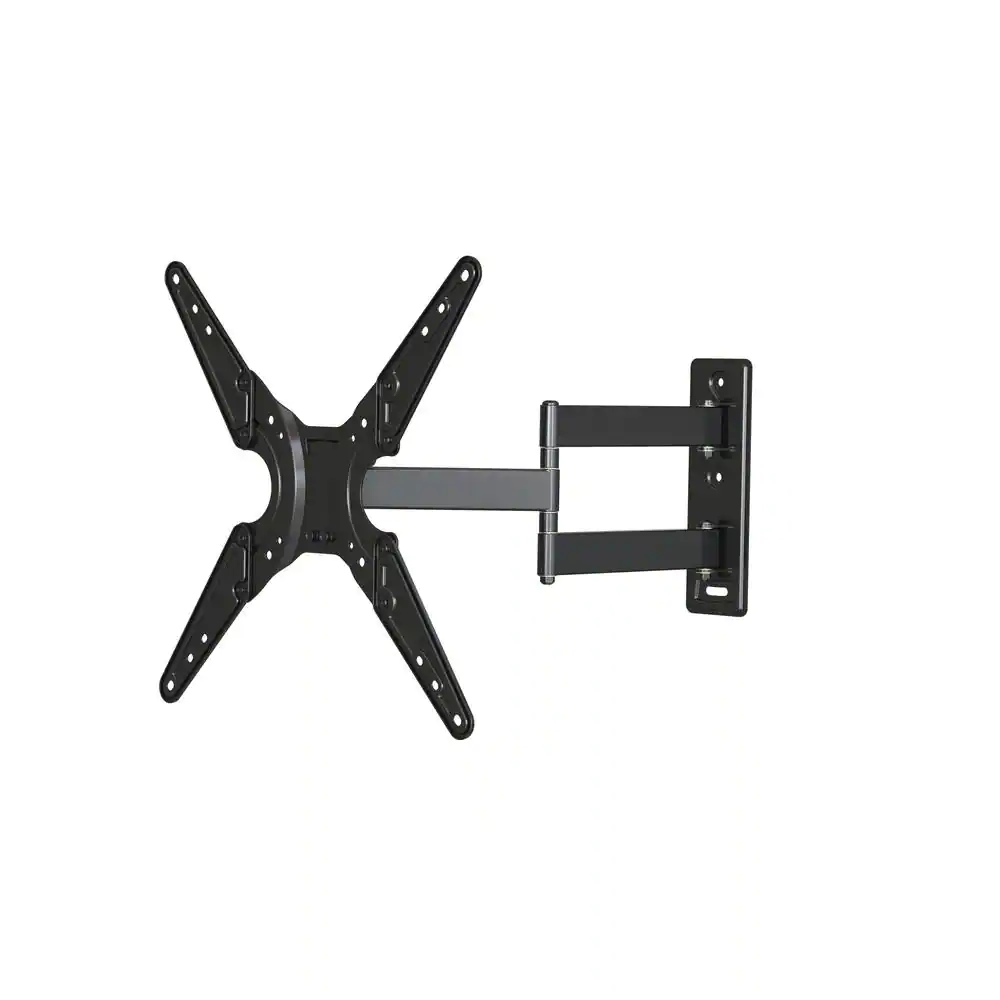
Begin by choosing a bracket suitable for your TV’s size range. For instance, opt for a bracket designed to accommodate 32 to 56-inch televisions. If you have any uncertainties during this purchase, feel free to seek assistance from a major electronic retailer.

Step 2: Remove the TV Base:
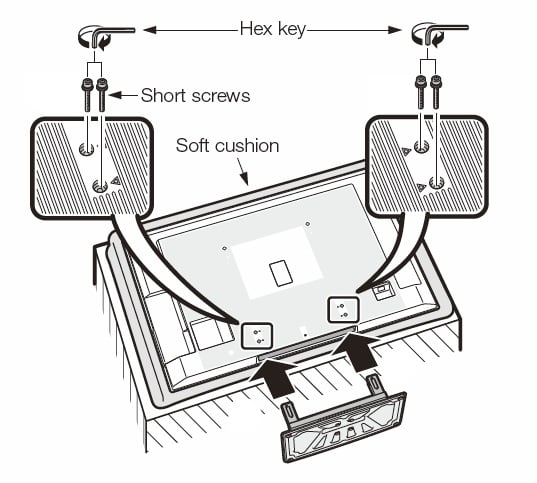
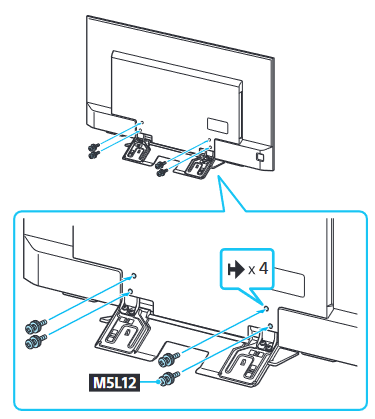
Check whether your TV comes with a base attached. If so, it’s crucial to remove it before proceeding with the mounting process. Leaving the base on, if not required, can lead to additional steps and adjustments later.
Step 3: Position the TV
Lay the flat-screen TV face-down on a soft, padded, and flat surface. It’s important to ensure that the glass surface is protected during this step. Refer to the owner’s manual for guidance, especially if you have reservations about placing the TV glass-down on the carpet or floor.
Step 4: Identify Mounting Holes:
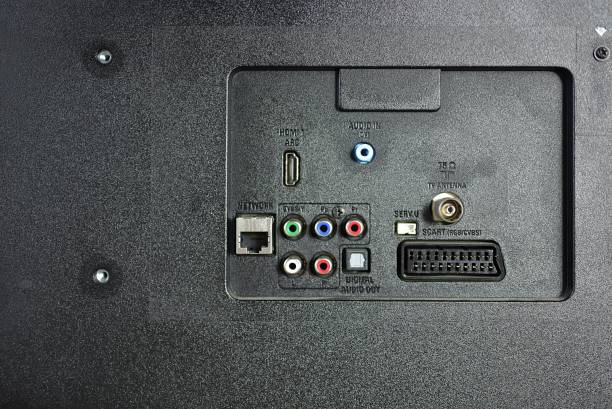
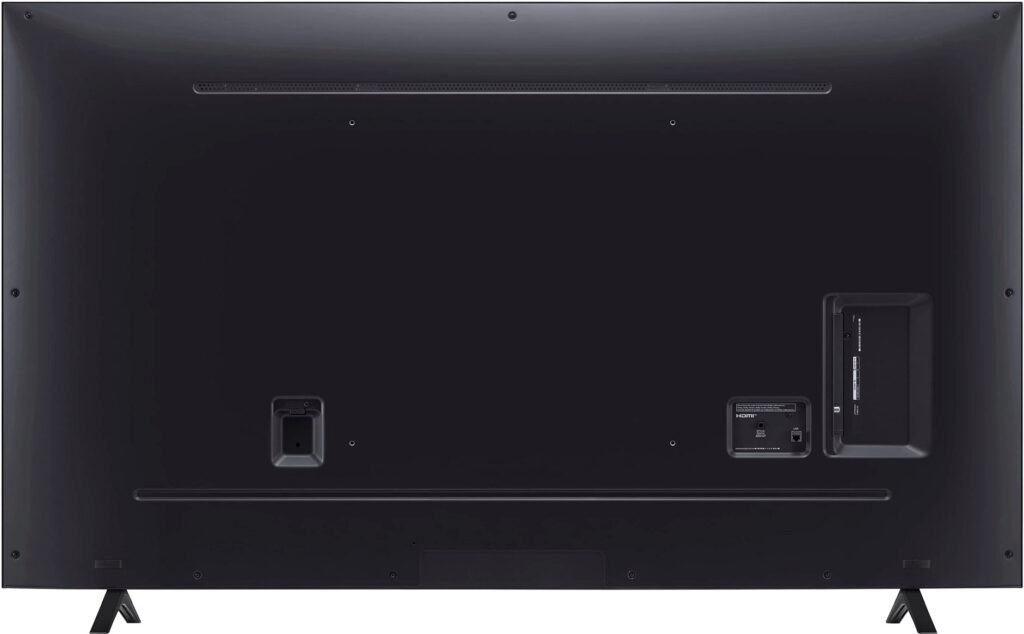
Turn your attention to the back of the TV and locate the four holes designated for mounting. In some cases, these holes might be plugged with screws from the manufacturing process. If so, remove these screws to prepare the TV for mounting.
Step 5: Attach Mounting Brackets:
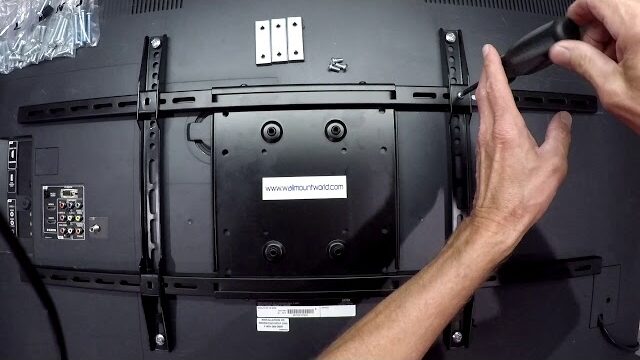
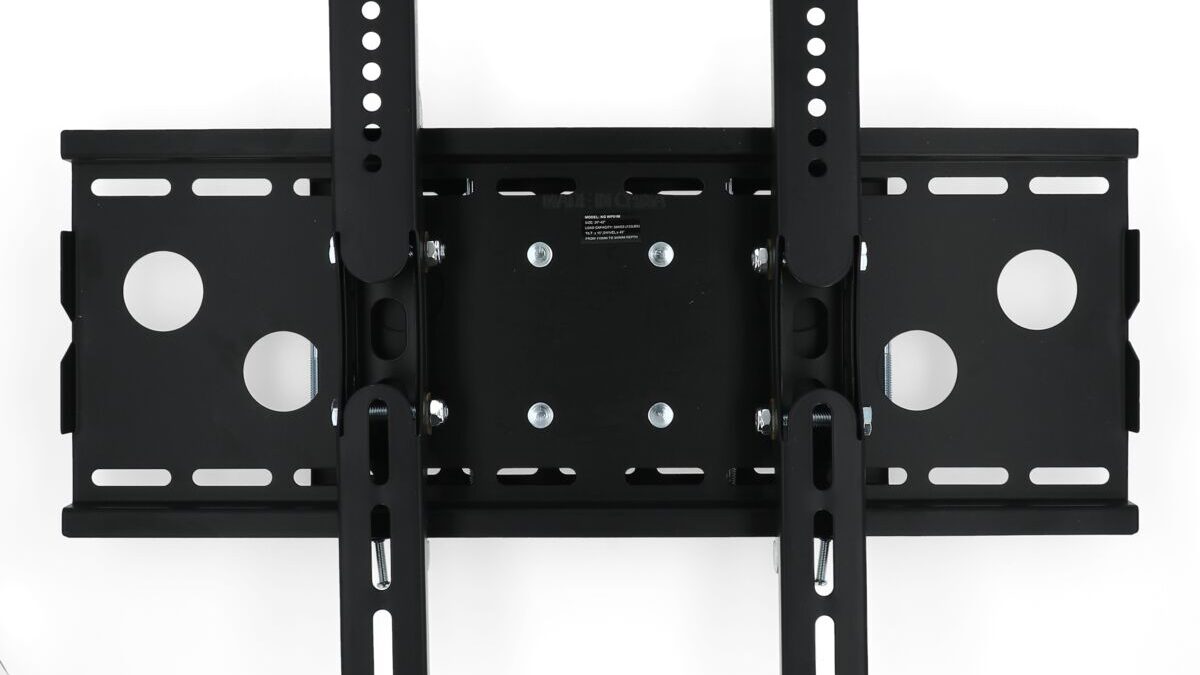
Now, affix the mounting brackets to the back of the TV according to the provided directions. Pay close attention to the alignment and positioning specified in the mounting instructions. Use any included washers to achieve a snug and secure fit.

Step 6: Tighten Bolts:
Using a screwdriver, meticulously tighten any remaining bolts. It’s crucial to ensure that the bracket is firmly bolted to the TV without any wiggle room. If necessary, use washers to achieve a tight fit, providing additional stability to the mounted TV.
Part 2: Mount the Flat Screen TV to the Wall
Step 1: Find Wall Studs:
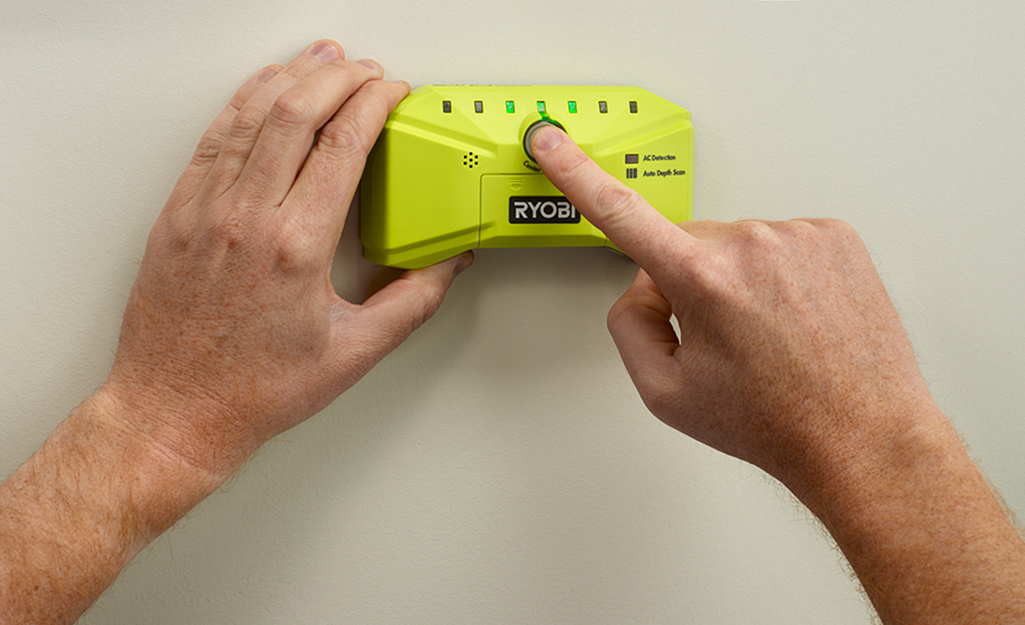
Employ a reliable stud finder to locate the wall studs where you will anchor the TV mount. Mark the centers of these studs, and keep in mind that wooden studs in modern homes are typically 1.5 inches thick.

Step 2: Drill Pilot Holes:
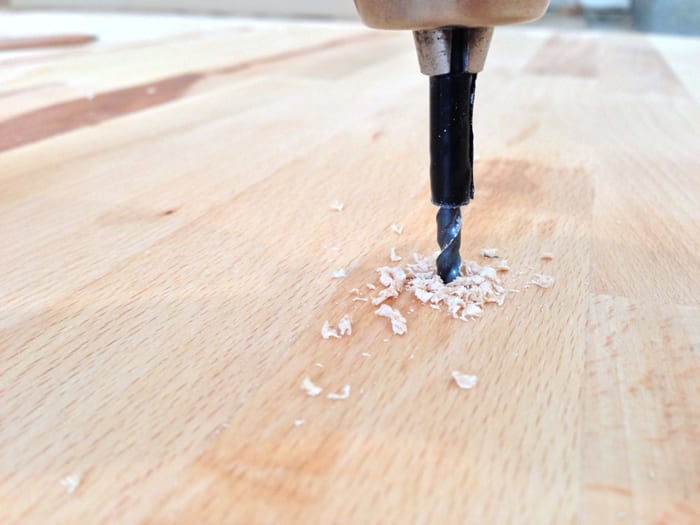
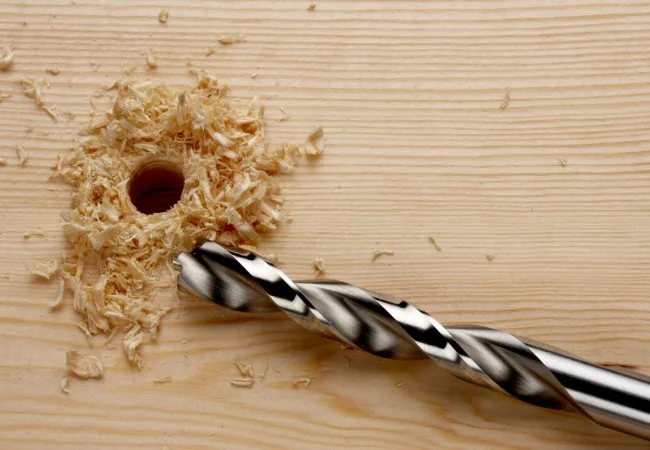
Armed with the information from your stud finder, drill pilot holes into the marked spots. The diameter of these holes should align with the specifications provided in the mounting instructions.
Step 3: Attach Mounting Bracket to Wall:
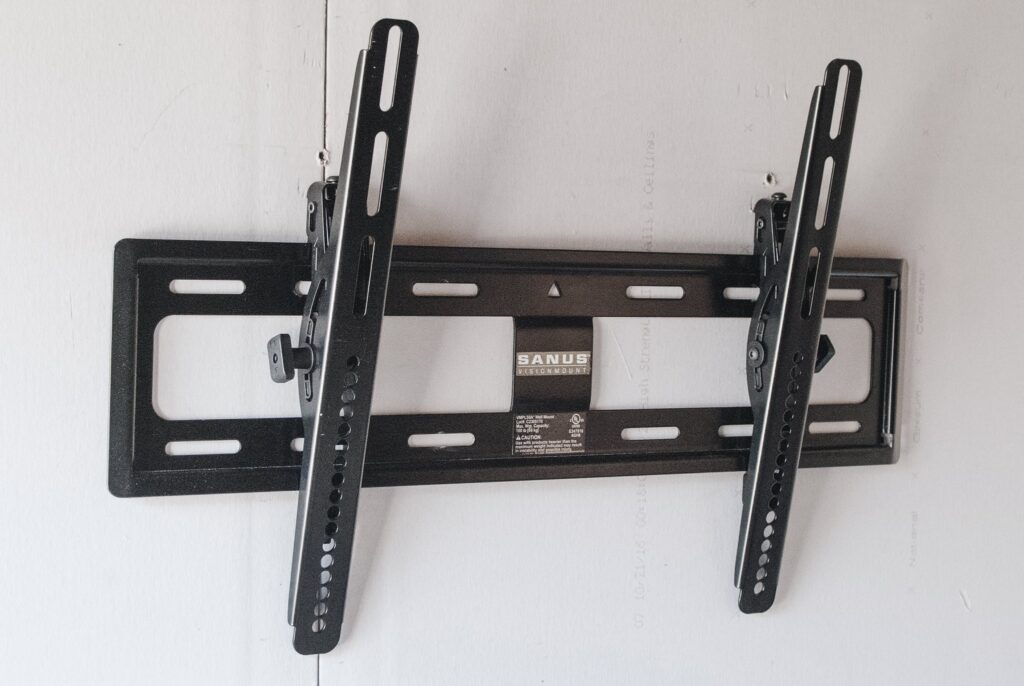
Place the mounting bracket on the wall, aligning it with the drilled pilot holes. Secure the bracket to the wall by driving in lag bolts using a socket wrench. It’s crucial to ensure the bracket is level during this step.
Step 4: Run Cables (Optional):
For a cleaner aesthetic, consider running cables through the wall. Cut holes strategically to accommodate cable management. Feed the cords through these holes to keep them hidden and organized.


Step 5: Hang the TV:
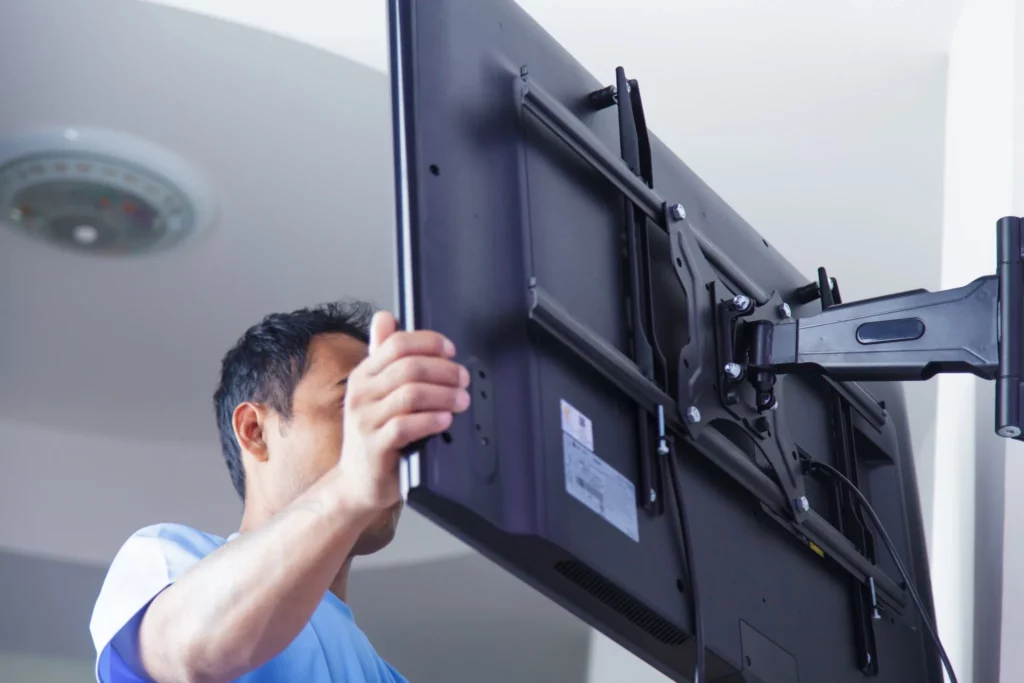
Lift the flat-screen TV and carefully hang it on the mounted bracket. This step may require assistance from another person, given the size and weight of the TV. Once in place, tighten the nuts or set screws to secure the TV to the bracket.
Step 6: Check Stability:
Before fully releasing the TV, perform a stability check. Ensure that the bracket is robust and capable of supporting the weight of the TV. Only let go once you are confident in the stability of the mounted TV. Proceed to plug in cables and power on the TV to complete the installation.
For a cleaner aesthetic, consider running cables through the wall. Cut holes strategically to accommodate cable management. Feed the cords through these holes to keep them hidden and organized. Our work:
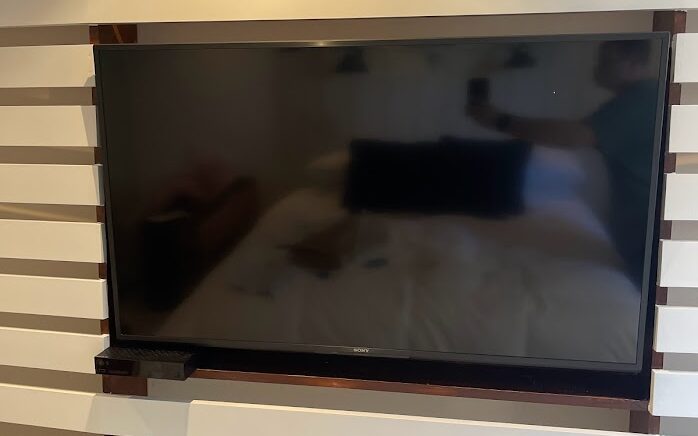
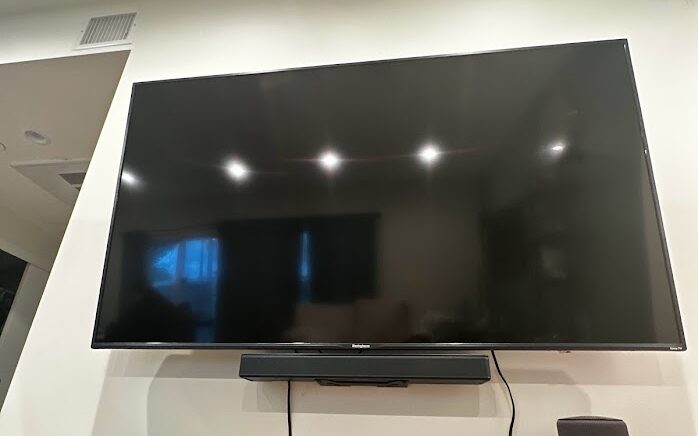
Discover the ease and satisfaction with our all-inclusive TV wall mounting guide, courtesy of The Handy Geeks. We’re not just your go-to experts; we’re your trusted companions in crafting top-tier handyman solutions!
Why Choose The Handy Geeks?
We take pride in our exceptional services, reflected in our exclusive 5-star Google reviews. Join our satisfied customers who have experienced the expertise of The Handy Geeks!
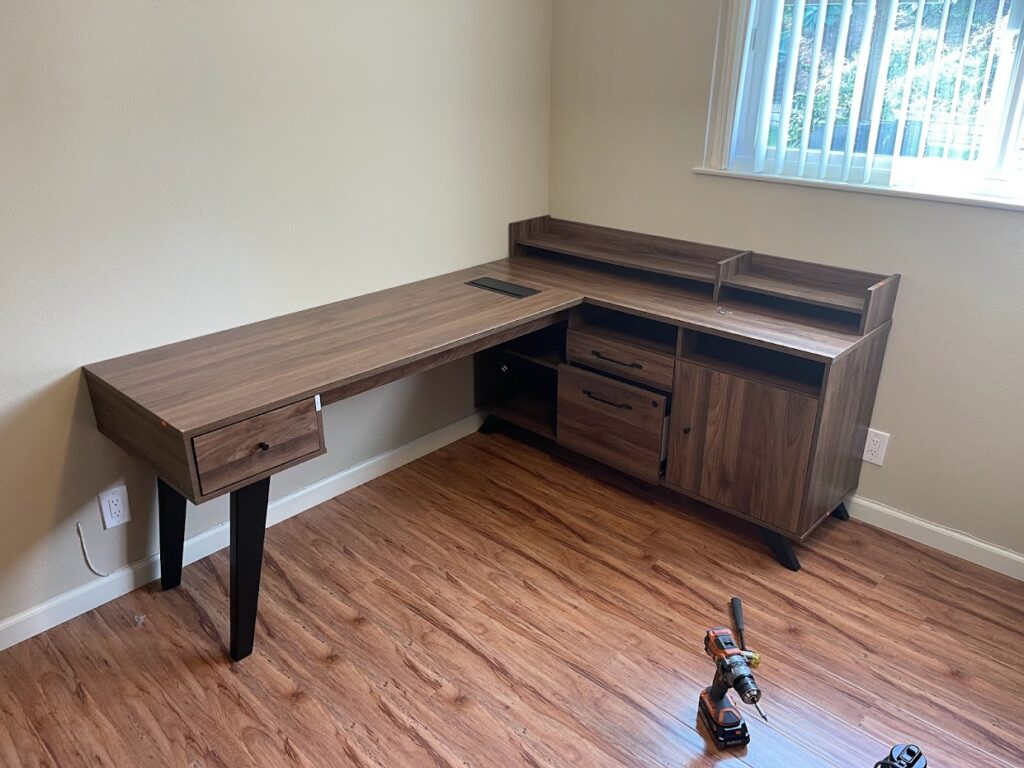
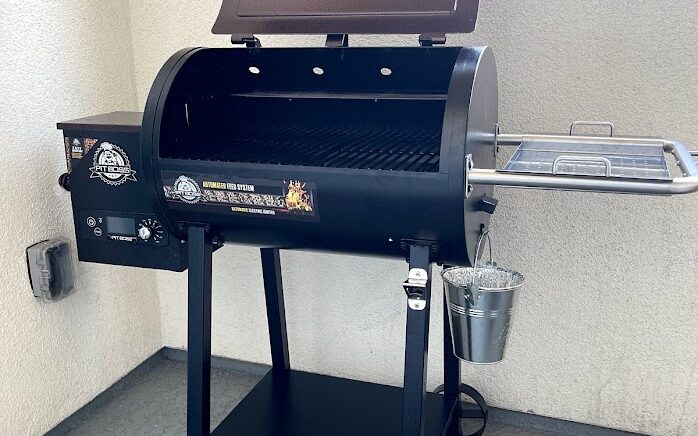
We also offer a wide ranger of services including:
- Furniture Assembly
- TV Wall Mounting
- General Handyman Services
- Gazebo and Pergola Assembly
- Wall Hanging Installation
- Gym Equipment Assembly
- Playground Assembly
- Appliances Installation
- Home Security Installation
- Lighting Installation
- Home Organization Services
- Pet-care items
- Car Charger Mounting
- Plumbing Services
- Electrical Wiring
- Gardening Services
Remember, if you ever encounter challenges during the process, feel free to reach out to The Handy Geeks at +1 818-835-0556 for expert assistance. We’re here to make your handyman work effortless.

