Introduction
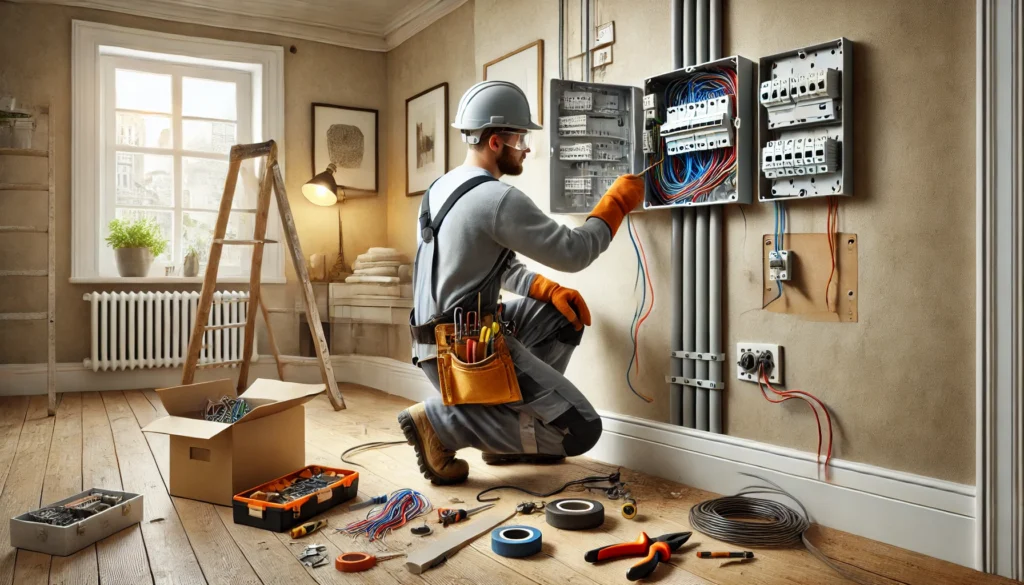
Maintaining a safe and reliable electrical system in your home is a necessary. This is why when aging or damage gets to your wiring, you might have power outages, inefficiency and in worse case – even fire hazards! This is why replacing old and faulty wiring is so important. White it does seem easy, its a very risky operation and we recommend you to hire a professional like us to do it for you! However, if you are able to do it, you may take the DIY approach.
Tools You’ll Need:
- Wire stripper (for removing insulation from wires)
- Voltage tester (to confirm circuits are de-energized)
- Screwdriver (Phillips and flathead, for opening outlets and panels)
- Needle-nose pliers (for gripping and bending wires)
- Electrical tape (for insulation and securing wires)
- Wire connectors (to join new wires safely)
- Circuit tester (to check wiring connections)
Steps to Replace Wiring
1) Turn Off Power and Test Circuits:
- Switch Off the Power: Locate the circuit breaker that controls the wiring you’re replacing and turn it off to avoid any risk of electrical shock. This is a mandatory step required for your safety.
- Test for Voltage: Another safety measure to use a voltage tester on your wiring and outlets to ensure no electricity is flowing before you begin your work. This is highly recommended.
2) Remove Old Wiring:
- Access the Wiring: Using a screwdriver, you will now remove outlet covers, switches, or fixtures that contain the wiring you want to replace.
- Label and Disconnect Wires: Label each wire if needed to remember where connections go, then use pliers to carefully disconnect them from terminals. Be careful to not mix up any wires and not to risk anything.
3) Install New Wiring:
- Measure and Cut the Wires: Measure the length needed for each new wire and cut it with wire cutters. Strip the insulation off each end using a wire stripper.
- Connect Wires: Attach the new wires to their designated terminals, using wire connectors to join them with other wires as needed. Wrap exposed connections with electrical tape for added safety. Do not risk your safety at any step.
4) Test and Secure Connections:
- Secure the Wiring: Once all connections are made, use pliers to ensure each one is tight and stable. Reattach outlet covers, switches, or fixtures.
- Turn the Power Back On: Now you can go back to the breaker panel and turn your power back on. Test the new wiring with a circuit tester to ensure proper functionality.
5) Final Inspection:
- Double-Check Connections: Ensure all outlets, switches, and fixtures are securely attached and functioning correctly. If you notice any flickering or loose connections, immediately turn off the power and make adjustments.
Why Choose us?
At The Handy Geeks, we are understanding of your need to save time and ensuring quality. Our team of professionals ensures that every project is handled with care. Whatever your needs may be, we’re here to cater. Why would anyone want to struggle with all of this hassle, when we are just a call away?
You can check our all 5-star review google maps page.

Here’s our phone number : +1 818-835-0556. Hit us up.
Submit your request for replacing faulty wiring here by filling the form. You can look at our other services and their forms here
Conclusion
Our guide offers the basics of wiring replacement, but remember that every electrical project has its risks and requires specific knowledge. So If you’d prefer a safe and reliable solution, we, The Handy Geeks are always available! Contact us today to schedule a professional wiring replacement that ensures your home’s electrical system is safe, secure, and up to code.
