A Step-by-Step Guide To Assembling a Shed
Building a shed can be a fantastic DIY project that not only adds valuable storage space but also enhances the aesthetics of your backyard. In this guide, we’ll walk you through the entire process, from preparing the site to putting on the finishing touches. And remember, if you ever feel overwhelmed or just want to save time, TheHandyGeeks are always ready to step in and get the work done!
Materials and Tools You’ll Need
Before you start, gather all the necessary materials and tools:
- Shed kit (with pre-cut materials and instructions)
- Foundation materials (gravel, concrete blocks, or a pre-made foundation kit)
- Screws and nails
- Drill and drill bits
- Hammer
- Level
- Measuring tape
- Ladder
- Safety gear (gloves, goggles)
Step 1: Choose the Perfect Location
First things first, you need to select a suitable location for your shed. Ideally, it should be a flat, dry area with good drainage and easy access. Ensure you check local building codes and regulations, as you might need a permit.
Step 2: Prepare the Foundation
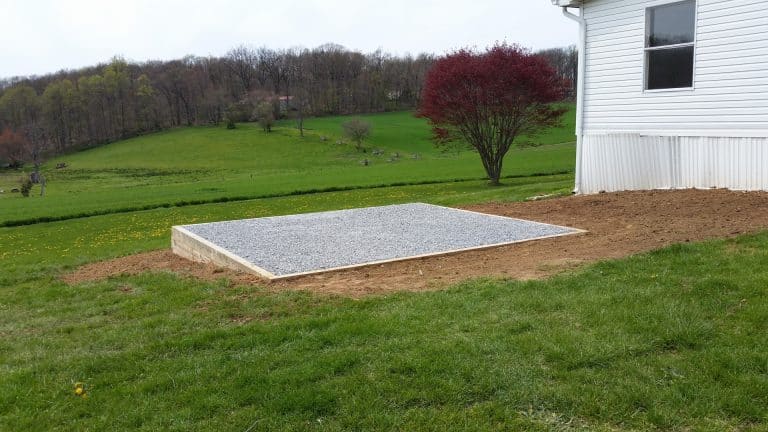
A solid foundation is crucial for the stability of your shed. Depending on your preference and budget, you can choose from several types of foundations:
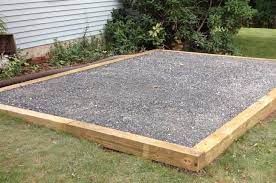
- Gravel Foundation: Easy and cost-effective. Spread a layer of gravel to provide a stable base.
- Concrete Block Foundation: Provides more stability. Arrange the blocks evenly to support the shed.
- Concrete Slab Foundation: The most durable but requires more effort and expense.
Level the foundation to ensure your shed stands evenly.
Step 3: Assemble the Base
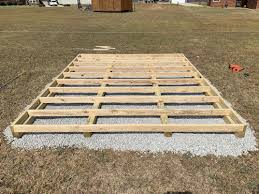
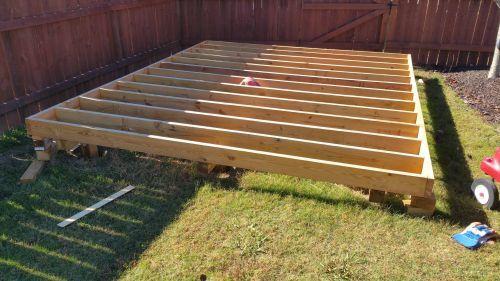
Begin by assembling the base frame of your shed. Follow the instructions provided with your shed kit. Use your level to make sure everything is even before securing the frame with screws.
Step 4: Build the Walls
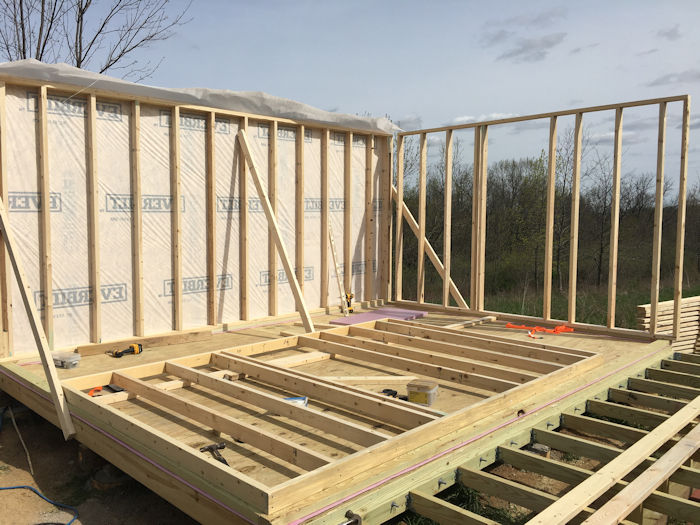
Next, assemble the walls. This step usually involves connecting pre-assembled wall panels. Start with the back wall, followed by the side walls, and finally the front wall. Ensure each wall is securely attached to the base and to each other.
Step 5: Install the Roof
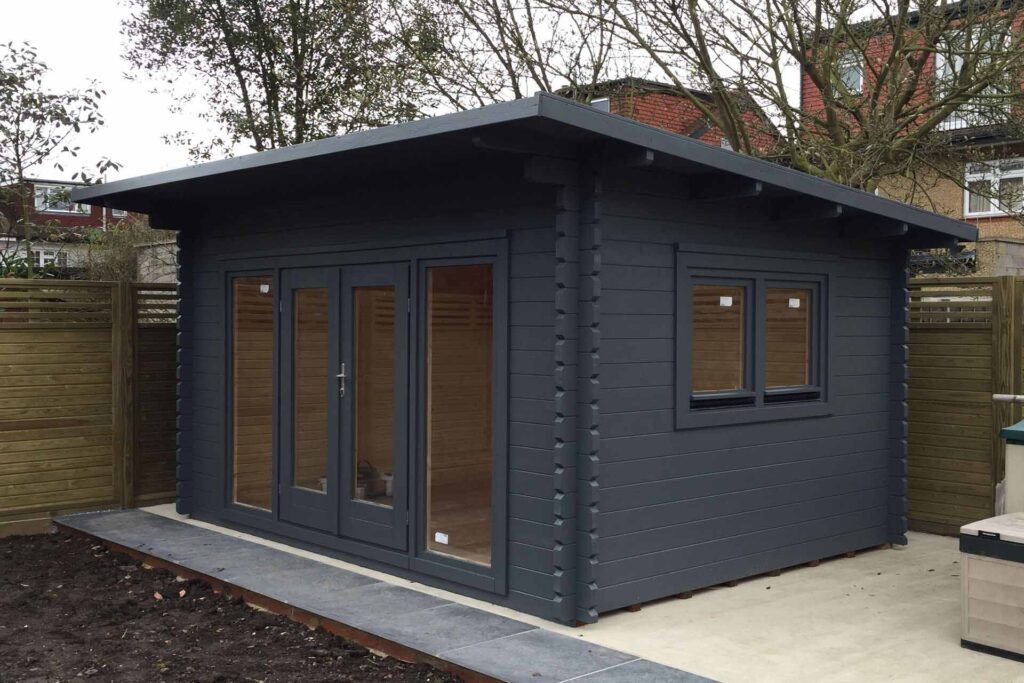
With the walls in place, it’s time to install the roof. This typically involves attaching roof trusses or rafters, then securing the roof panels. Ensure the roof is aligned properly and fasten it securely to protect your shed from the elements.

Step 6: Add the Doors and Windows
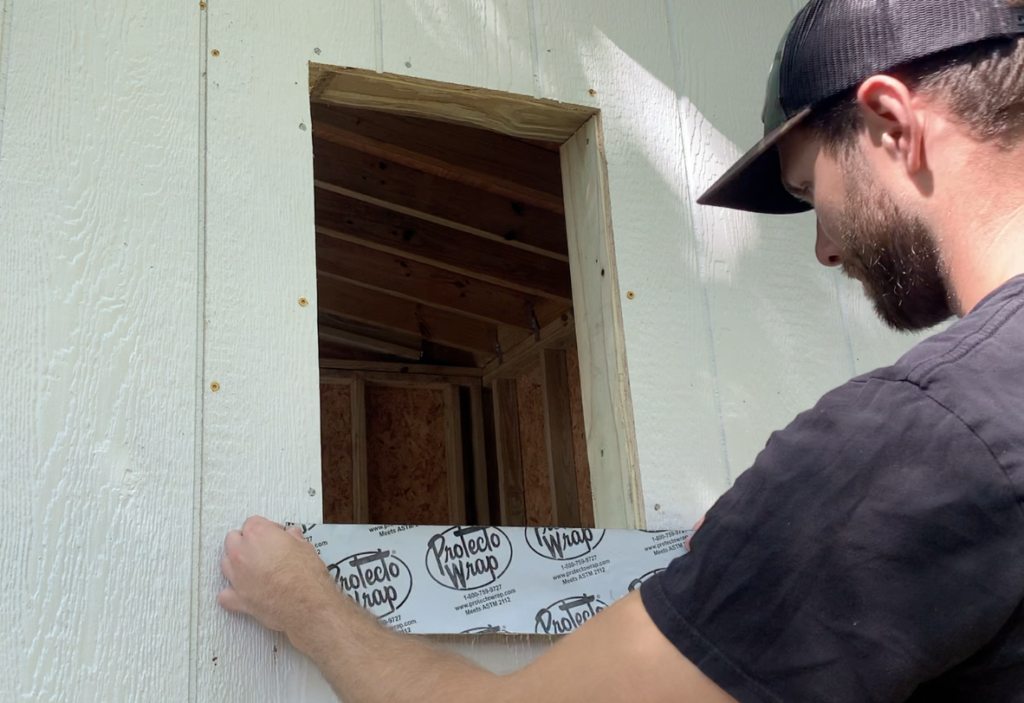
Now, attach the doors and windows. Follow the instructions to ensure they are aligned correctly and operate smoothly. This step might require some adjustments, so be patient and precise.

Step 7: Final Touches
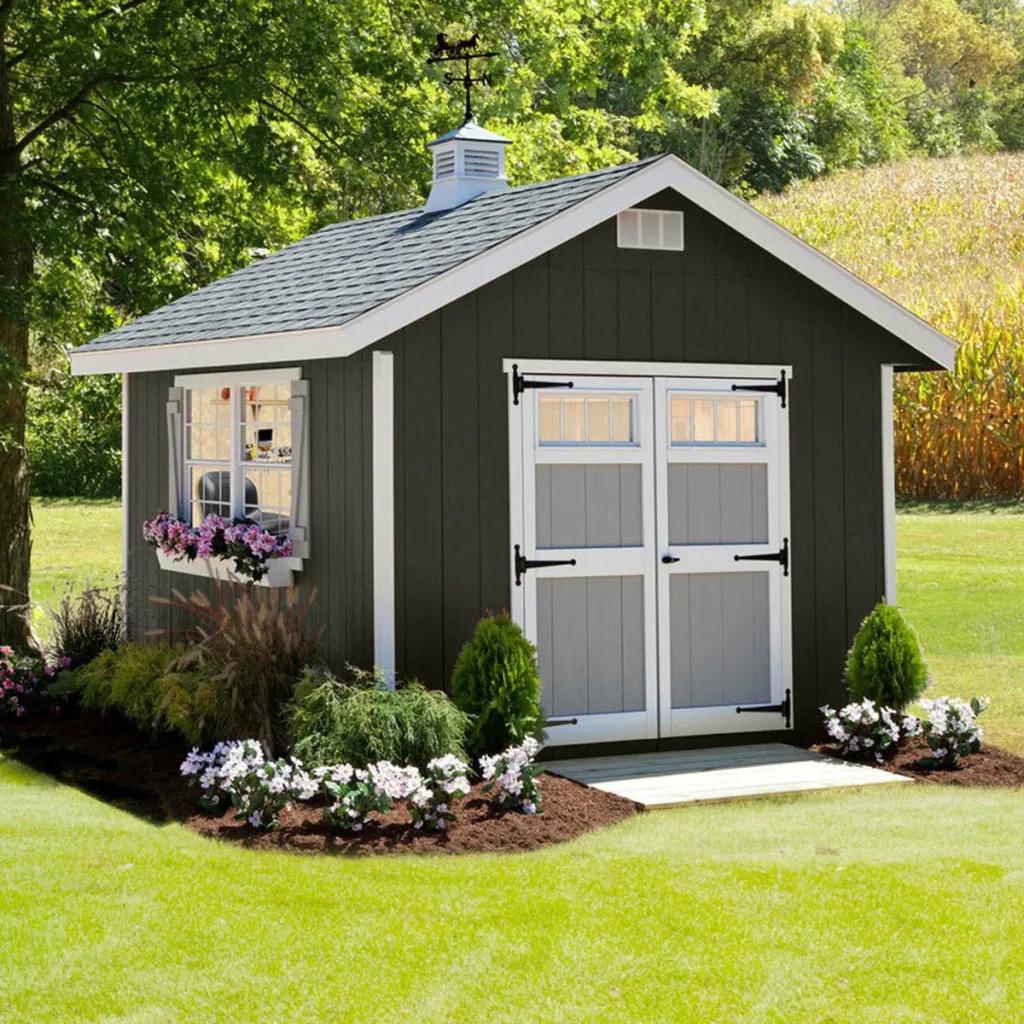
Lastly, add any finishing touches like trim, shingles, or paint. This is your chance to personalize your shed and make it blend seamlessly with your yard’s aesthetics.
Why Choose TheHandyGeeks?
Building a shed can be a rewarding project, but it’s not without its challenges. That’s where TheHandyGeeks come in. We offer professional shed assembly services that save you time and ensure your shed is built to perfection. Here’s why you should choose us:
- Expertise: Our team has years of experience in shed assembly, ensuring your project is in capable hands.
- Efficiency: We work quickly and efficiently, so you can start using your shed sooner.
- Quality: We use the best materials and techniques to ensure your shed is durable and long-lasting.
- Convenience: Sit back and relax while we handle all the hard work.
You can check our all 5-star review google maps page.

Here’s our phone number : +1 818-835-0556
Submit your request for assembling a shed here by filling the form. You can look at our other services and their forms here
Q1: Do I need a permit to build a shed?
A: It depends on your local building codes and regulations. Some areas require permits for sheds over a certain size. Check with your local building department to be sure.
Q2: How long does it take to assemble a shed?
A: The time required can vary based on the size of the shed and your level of experience. On average, a small to medium-sized shed can take one to two days to assemble.
Q3: What type of foundation is best for my shed?
A: The best foundation depends on your budget, the shed’s size, and the ground conditions. Gravel is a cost-effective option, while concrete slabs offer the most durability.
Q4: Can I assemble a shed by myself?
A: While it’s possible to assemble a shed on your own, having an extra set of hands can make the process easier and faster. For larger sheds, it’s often necessary to have help.
Conclusion
Assembling a shed can be a fulfilling DIY project that enhances your outdoor space. By following these steps, you can build a sturdy and functional shed with confidence. However, if you’d rather leave it to the professionals, TheHandyGeeks are here to help. Contact us today to learn more about our shed assembly services and how we can make your life easier.
