Step-by-Step Guide to Installing Ceiling Lights
Install ceiling lights with the right guidance and it can be a straightforward task. This comprehensive guide will walk you through each step of the process, ensuring a safe and efficient installation. Plus, we’ll explain why TheHandyGeeks are the best choice for all your professional installation needs.
Tools and Materials You’ll Need
Before diving into the installation process, make sure you have the following tools and materials on hand:
- Ladder
- Screwdriver (Phillips and flathead)
- Wire strippers
- Voltage tester
- Wire nuts
- Electrical tape
- Light fixture
- Light bulbs
- Safety goggles
1. Turn Off the Power
Safety first! Locate your home’s electrical panel and turn off the power to the circuit you’ll be working on. Use a voltage tester to double-check that the power is off at the light switch.
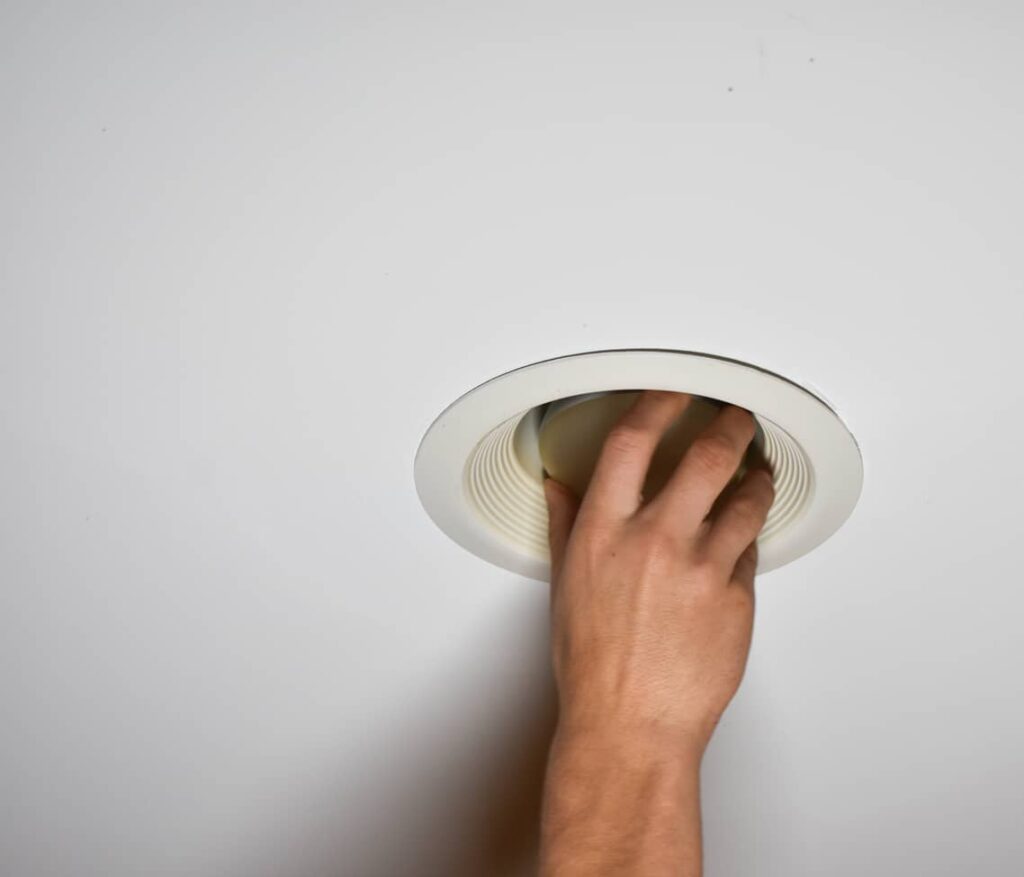
2. Remove the Old Fixture
Using a screwdriver, remove the screws that hold the old fixture in place. Carefully lower the fixture and disconnect the wires by unscrewing the wire nuts. Make sure to note how the wires are connected for reference later.

3. Inspect the Wiring
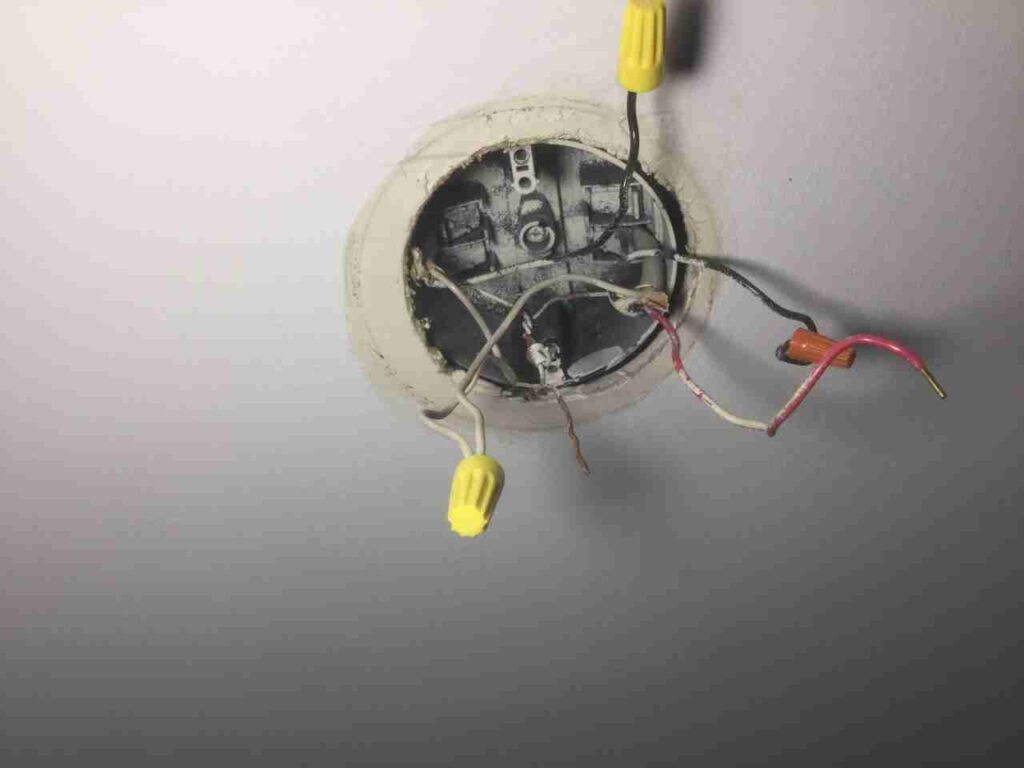
Check the condition of the existing wiring. If the wires are frayed or damaged, you might need to call a professional electrician. Otherwise, proceed by stripping about half an inch of insulation from the ends of the wires.
4. Install the Mounting Bracket
Most new light fixtures come with a mounting bracket. Attach this bracket to the electrical box in the ceiling using the provided screws. Ensure it is securely fastened.
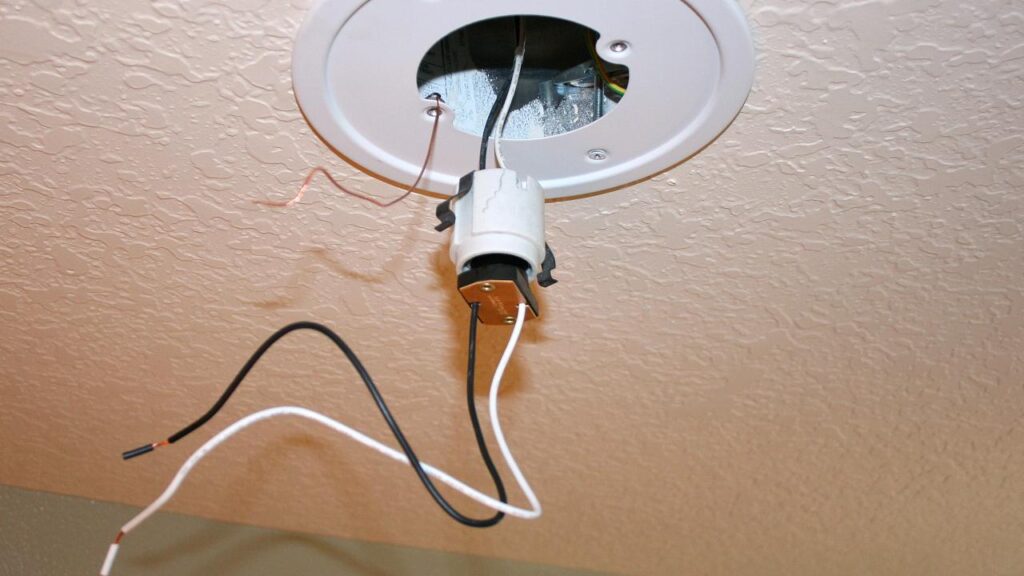
5. Connect the Wires
Match the wires from your new light fixture to the wires in the ceiling by color: typically, black to black (live), white to white (neutral), and green or bare copper to the ground wire. Twist the wires together and secure them with wire nuts. Wrap each connection with electrical tape for extra safety.
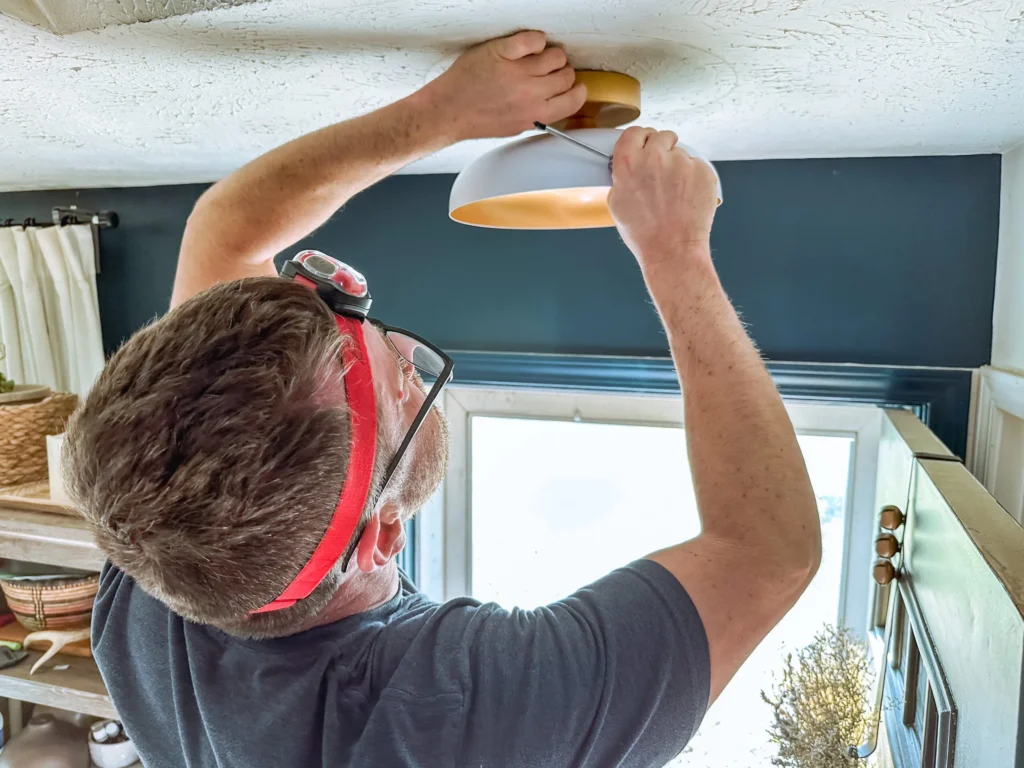
6. Attach the Light Fixture
Carefully tuck the wires into the electrical box and align the fixture base with the mounting bracket. Secure the fixture with screws. Make sure it is firmly attached and sits flush against the ceiling.
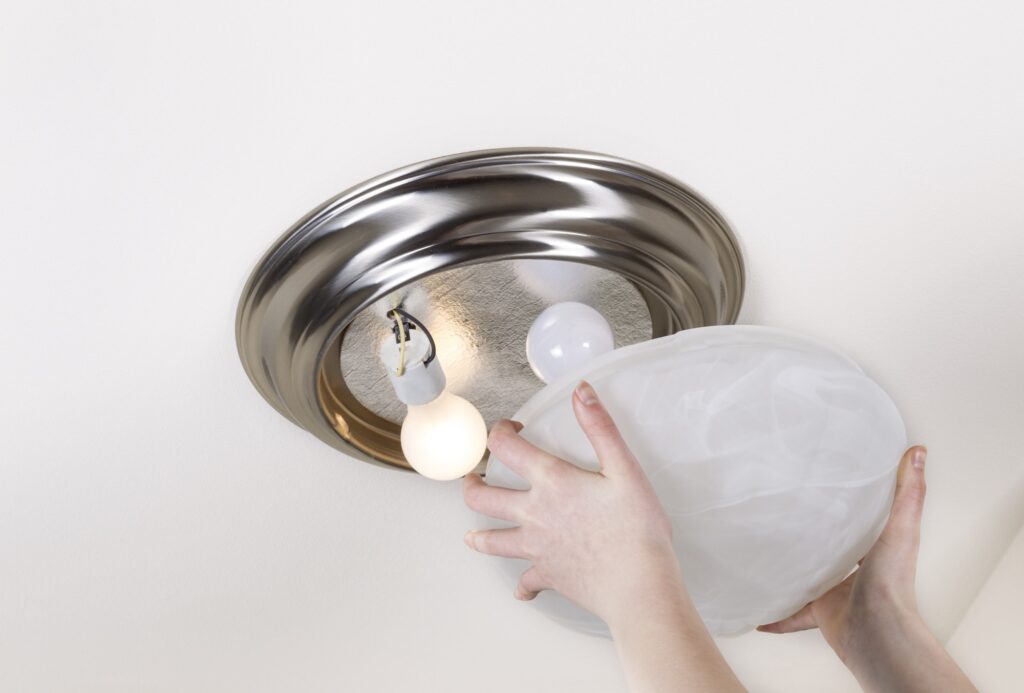
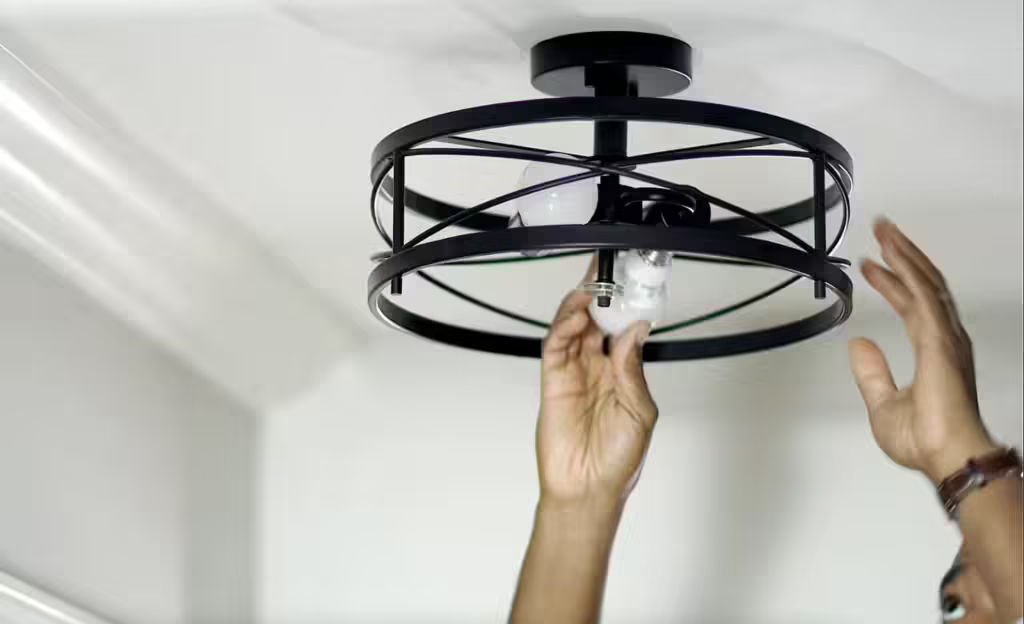
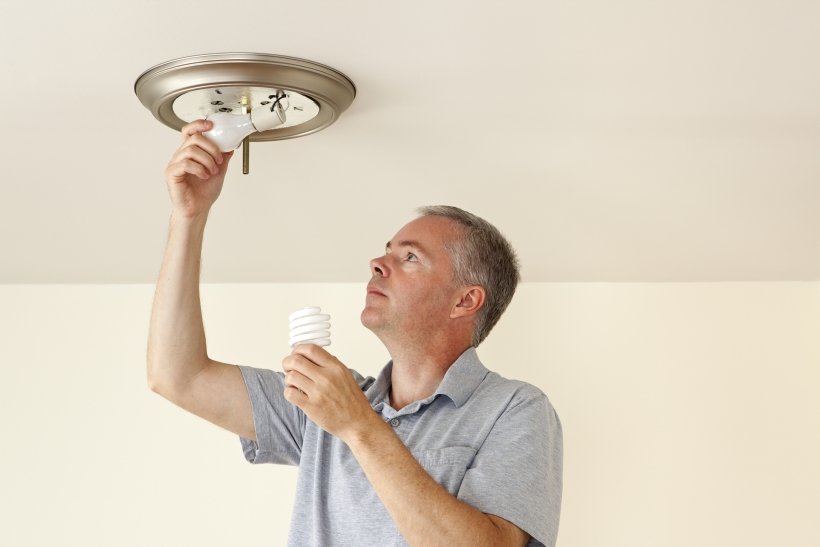
7. Install Light Bulbs and Cover
Screw in the appropriate light bulbs and attach any covers or shades that come with your fixture. Follow the manufacturer’s instructions for any additional assembly steps.
8. Turn the Power Back On
Return to the electrical panel and switch the power back on. Test your new ceiling light by flipping the switch to ensure everything is working correctly.
Why Choose TheHandyGeeks?
While installing a ceiling light can be a DIY project, there are several reasons to consider hiring professionals like TheHandyGeeks:
- Safety: Electrical work can be dangerous. Our experienced technicians ensure your installation meets all safety standards.
- Efficiency: We get the job done quickly and correctly the first time, saving you time and hassle.
- Expertise: Our team has extensive knowledge of different light fixtures and installation techniques, ensuring a perfect fit for your home.
Common Mistakes to Avoid
- Not Turning Off the Power: Always double-check that the power is off before starting any electrical work.
- Using the Wrong Tools: Ensure you have the proper tools to avoid damaging the fixture or wiring.
- Incorrect Wire Connections: Mismatched or loose connections can cause short circuits or even fires.
You can check our all 5-star review google maps page.

Here’s our phone number : +1 818-835-0556
Submit your request for installing ceiling lights here by filling the form. You can look at our other services and their forms here
FAQs
Q: Can I install ceiling lights myself? A: Yes, with the right tools and instructions, you can install a ceiling light yourself. However, if you’re uncomfortable with electrical work, it’s best to hire a professional.
Q: How long does it take to install ceiling lights? A: On average, it takes about 1-2 hours to install ceiling lights, depending on your experience and the complexity of the fixture.
Q: What if my ceiling wiring is outdated? A: If your wiring is outdated or damaged, it’s crucial to hire a professional electrician to ensure safety and compliance with current electrical codes.
Conclusion
Installing a ceiling light is a manageable task with the right preparation and instructions. However, for those who prefer to leave it to the professionals, TheHandyGeeks are here to help. Our team provides safe, efficient, and expert installation services, ensuring your home is well-lit and up to code. Contact us today to schedule your installation! Your satisfaction is our priority!
