Elevate your home effortlessly with a window replacement – a DIY project made simple with our expert guide and essential tools.

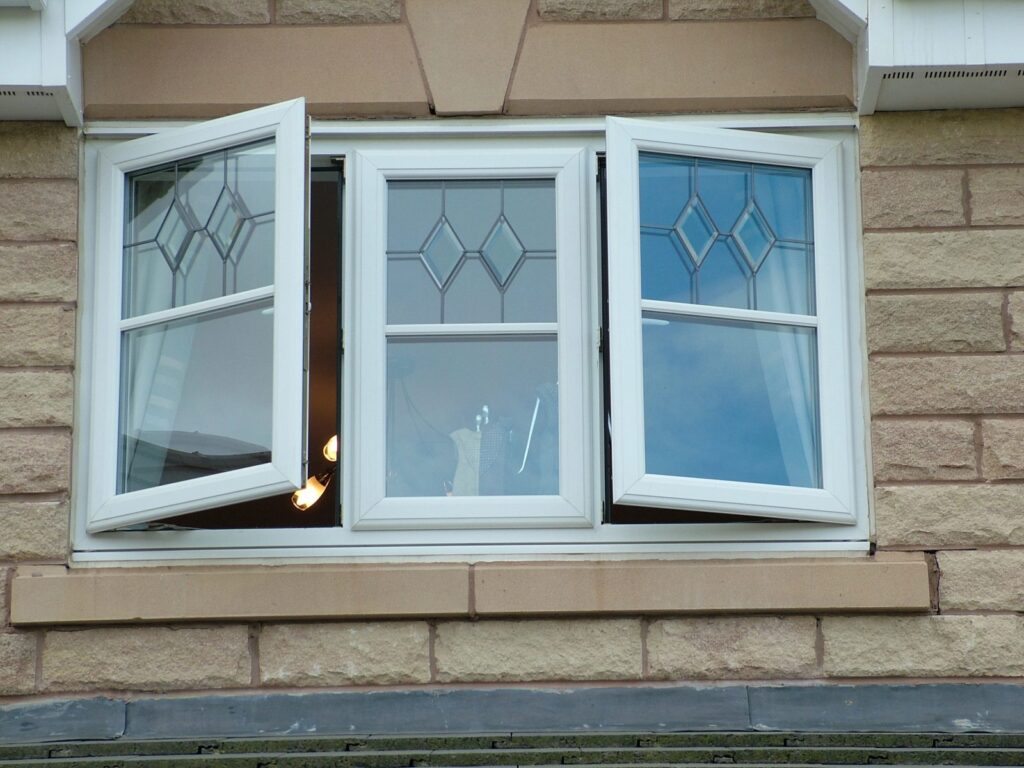
Step 1: Gather Your Tools and Materials Before you begin, gather the necessary tools and materials:
- New window
- Measuring tape
- Screwdriver
- Utility knife
- Pry bar
- Hammer
- Caulk gun
- Level
- Insulation foam
- Shims
- Exterior trim (if needed)
Step 2: Measure and Find Your Perfect Match
- Accurate measurements are crucial for ensuring the new window fits properly. Measure the width and height of the window opening at multiple points to account for any discrepancies. Once you have the measurements, purchase a replacement window that fits these dimensions.
Step 3: Replace old window
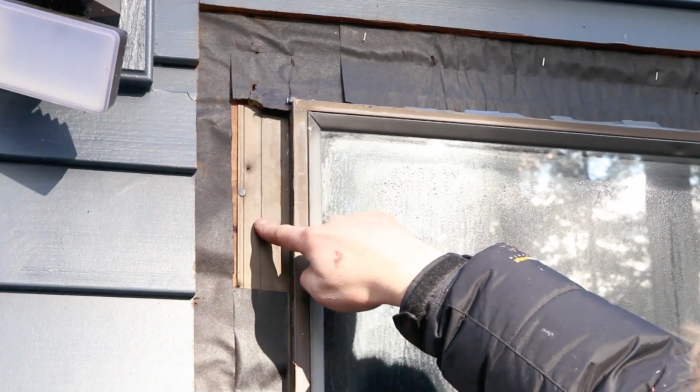
- Start by removing the window trim both inside and outside the house. Use a utility knife to cut through any caulking or paint around the window. Then, carefully pry the window sash and frame away from the wall using a pry bar. Remove any remaining screws or nails holding the window in place.
Step 4: Prepare Your Canvas
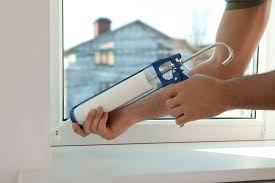
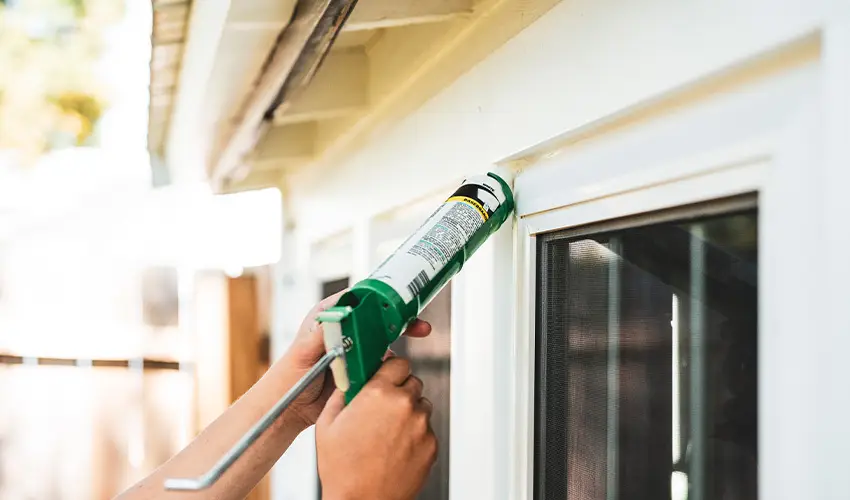
- Inspect the window opening for any damage or rot. Replace any damaged wood and clean the area thoroughly. Apply a bead of caulking around the perimeter of the opening to create a seal against moisture.
Step 5: Let’s Install Your New Window
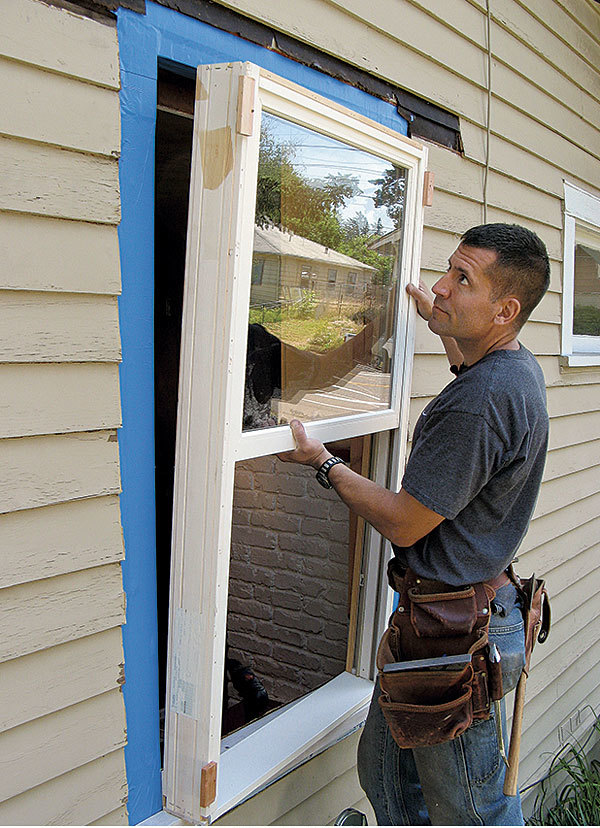
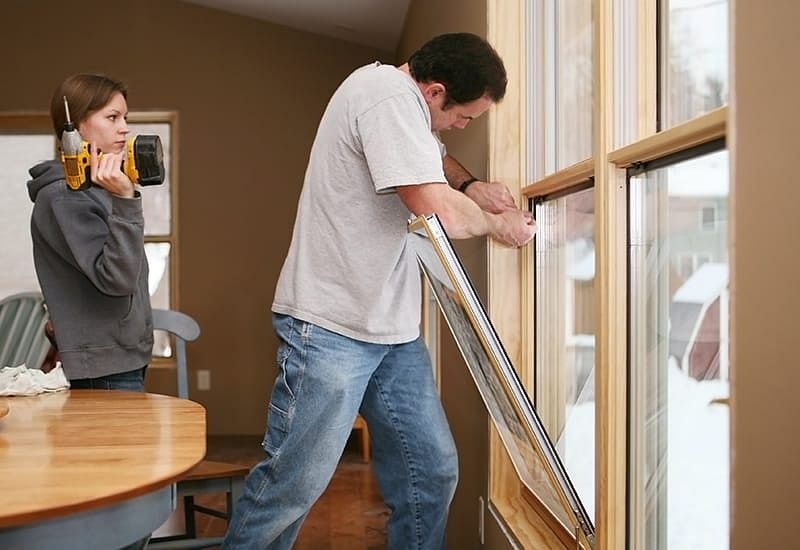
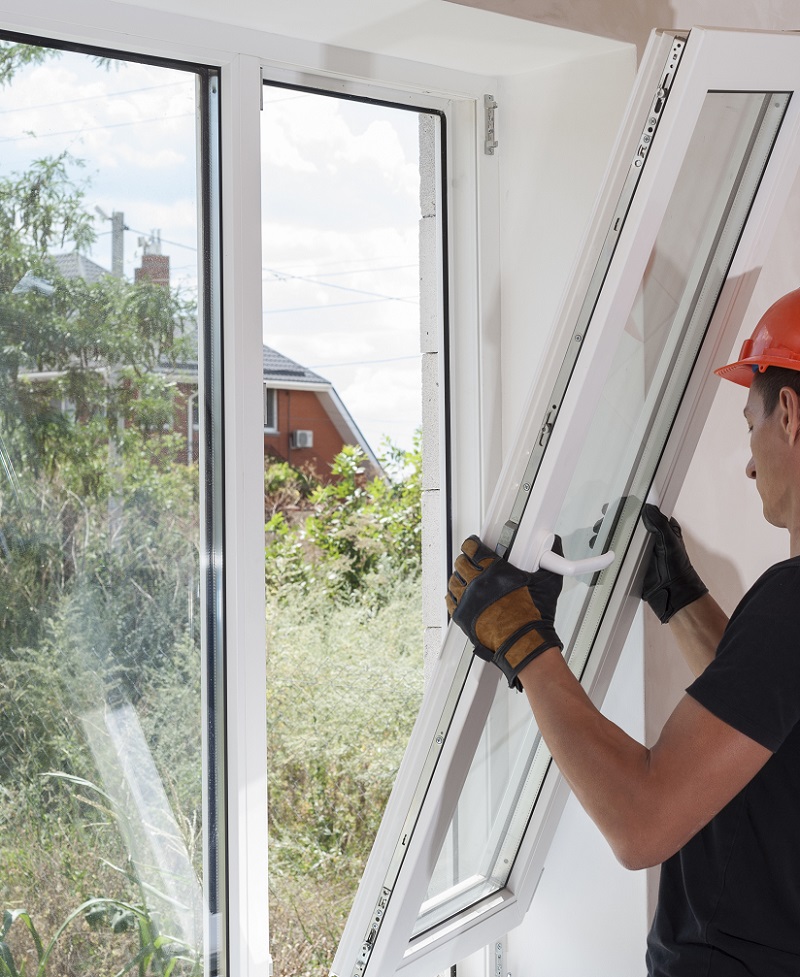
- Carefully place the new window into the opening, ensuring it is level and centered. Use shims to adjust the window as needed to achieve a snug fit. Once the window is in position, secure it in place by driving screws through the pre-drilled holes in the frame.
Step 6: Insulate and Seal for Efficiency
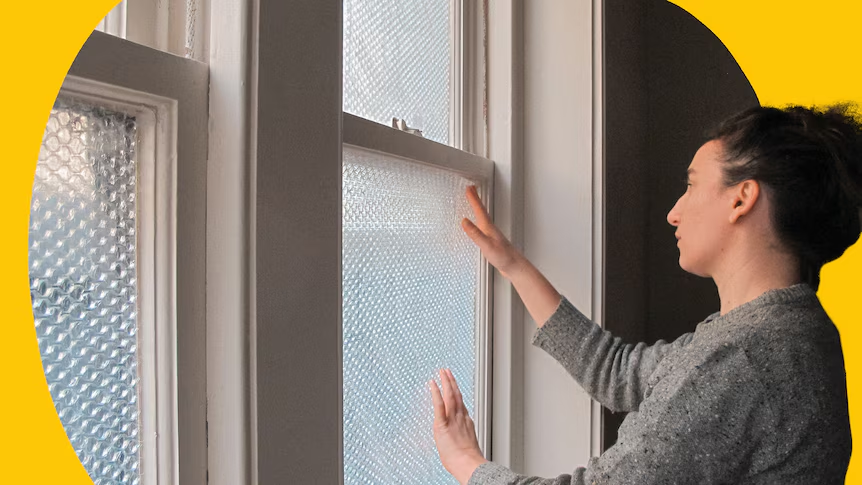
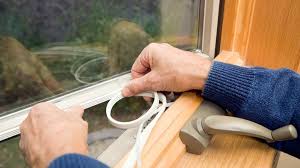
- Fill any gaps between the window frame and the opening with insulation foam to prevent drafts and improve energy efficiency. Trim away any excess foam once it has cured. Apply a generous bead of caulking around the exterior perimeter of the window to create a weatherproof seal.
Step 7: Exterior Trim for the Final Touch
- If your window requires exterior trim, measure and cut pieces to fit around the window frame. Secure the trim in place using screws or nails, making sure it is flush with the wall surface.
Step 8: Test, Adjust, and Revel in Your Success
- Once the caulking has dried, test the window to ensure it opens, closes, and locks properly. Make any necessary adjustments to the hardware or shims. Finally, apply a fresh coat of paint or stain to the interior and exterior trim to complete the installation.

Feeling Stuck? Call The HandyGeeks!
Replacing your own windows is a time consuming and complicated task, so it’s okay to ask for help! If DIY isn’t your style, TheHandyGeeks are here to make your project a reality.
You can check our all 5-star review google maps page.

Here’s our phone number : +1 818-835-0556
