Step-by-Step Guide: Assembling Your Gazebo
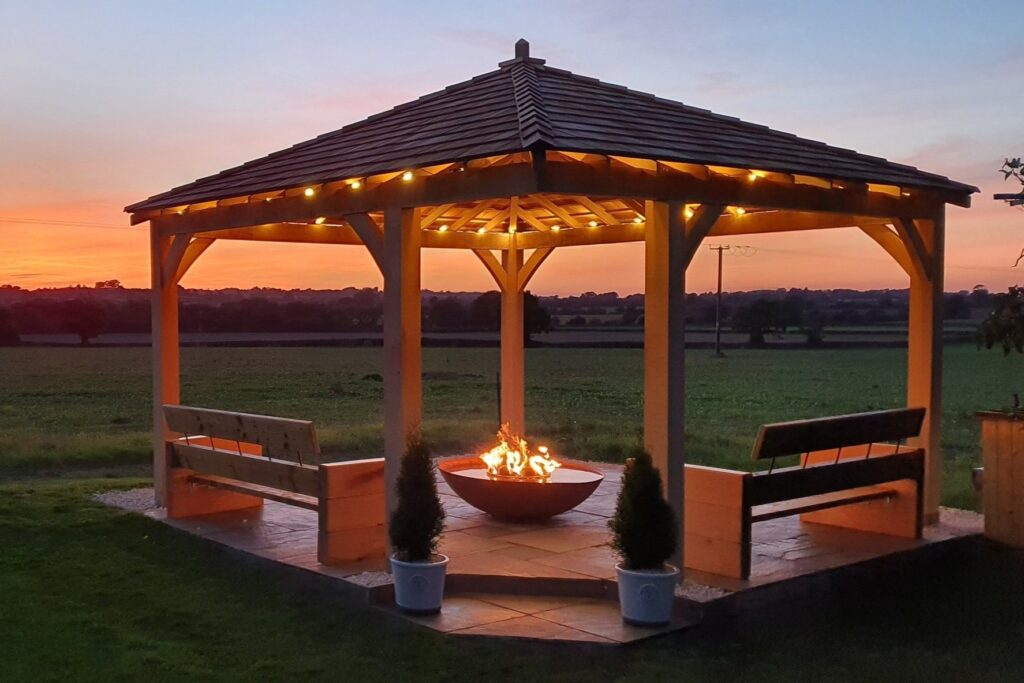
Putting together a gazebo might seem intimidating at first, but with the right approach, it can be a rewarding project. Let’s break it down into manageable steps.
What You’ll Need:
- Your gazebo kit (make sure all parts are included)
- Instruction manual
- Screwdriver (manual or electric)
- Wrench set
- Ladder
- Tape measure
- Level
- Rubber mallet
- Safety gloves
- Safety glasses
Step 1: Prepare the Site
- Pick a Spot:
- Find a flat, stable area in your yard, free from tree branches or other overhead obstacles. Make sure there aren’t any underground utilities where you’ll be working.
- Clear the Area:
- Remove any grass, rocks, or debris. If the ground isn’t level, you might need to do a bit of landscaping to get it flat.
- Mark Your Space:
- Use stakes and string to outline where the gazebo will go. This will help you visualize the space and ensure everything fits perfectly.

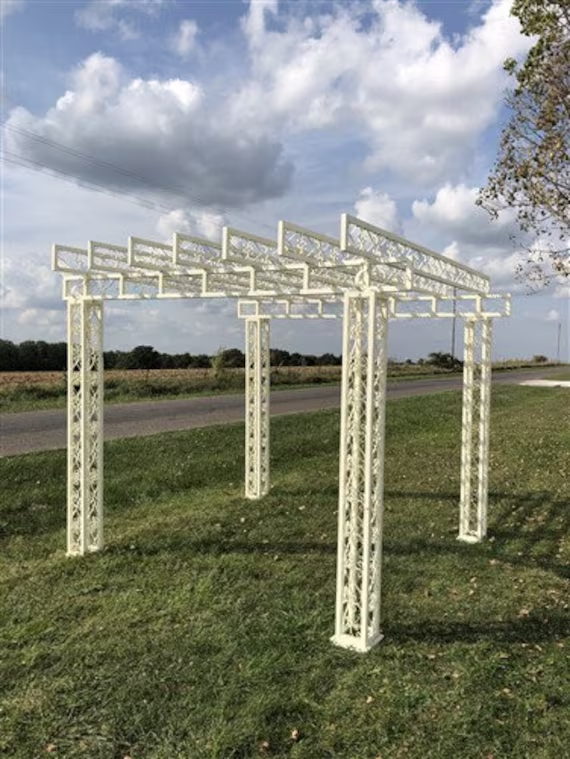
Step 2: Unpack and Organize Parts
- Open Your Kit:
- Carefully unpack all the parts from the boxes. Lay them out on the ground so you can see everything.
- Sort Everything:
- Organize the parts by type and label them if necessary. This will make the assembly process much smoother.
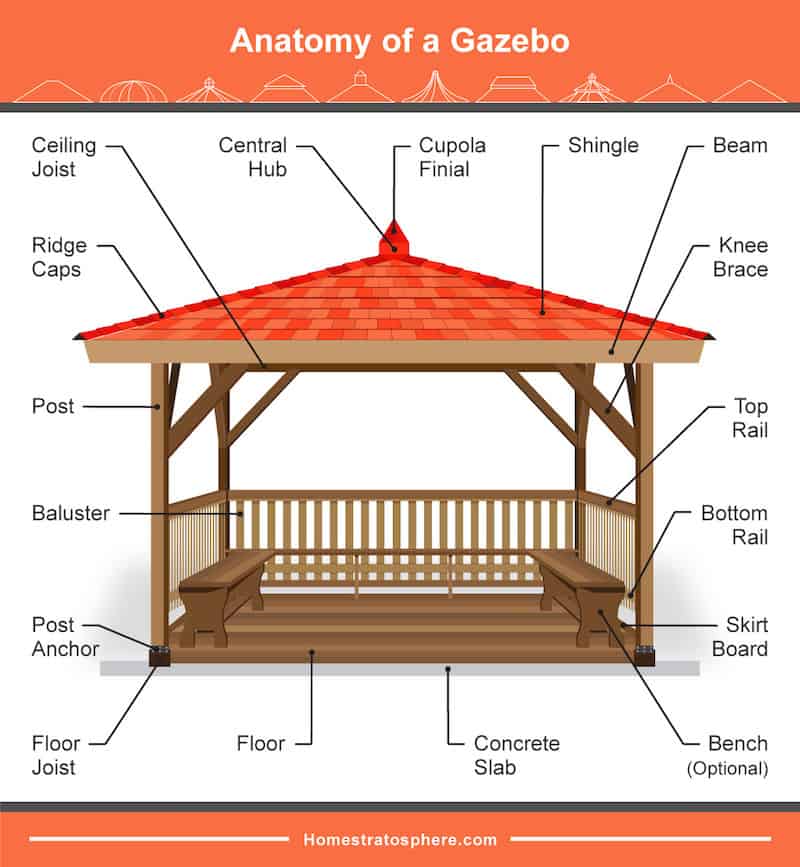
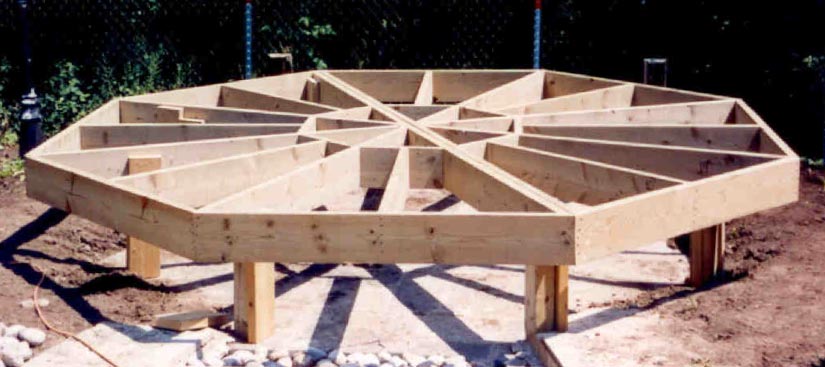
Step 3: Build the Base
- Lay Out the Base:
- Position the base parts on the ground according to the layout in the instruction manual.
- Connect the Sections:
- Use bolts and screws to join the base sections. Tighten them with a wrench, but don’t overtighten.
- Check for Level:
- Use a level to make sure the base is even. Adjust as needed to get it just right.
Step 4: Assemble the Frame
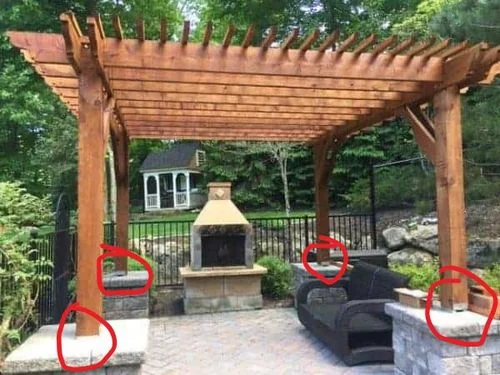
- Set Up the Corner Posts:
- Attach the corner posts to the base. Make sure they’re secure and standing straight.
- Add Horizontal Beams:
- Connect the horizontal beams to the top of the corner posts. Check each one to ensure it’s level and aligned.
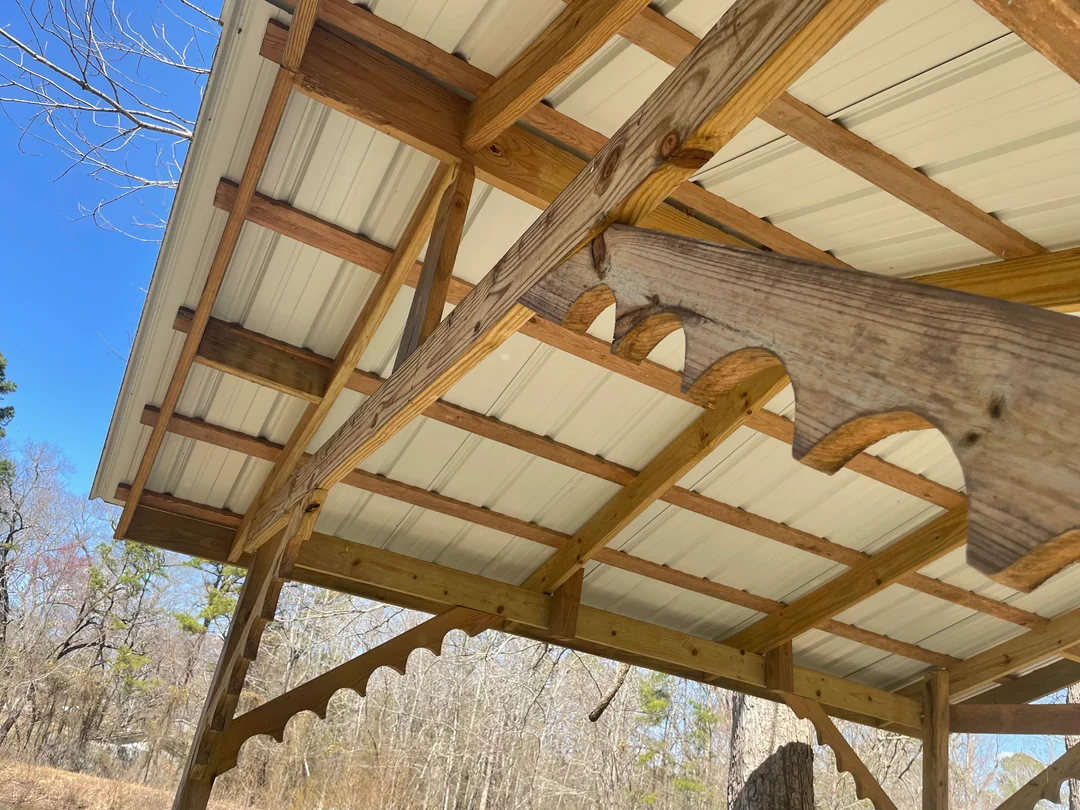
- Secure the Roof Supports:
- Attach the roof support beams. These might need some bracing, so follow the instructions closely.
Step 5: Attach the Roof
- Install Roof Panels:
- Start with the corner panels and then add the rest, moving towards the center. Secure each panel with screws or clips.
- Add the Roof Cap:
- Once all the panels are in place, attach the roof cap to seal the top.
Step 6: Anchor the Gazebo
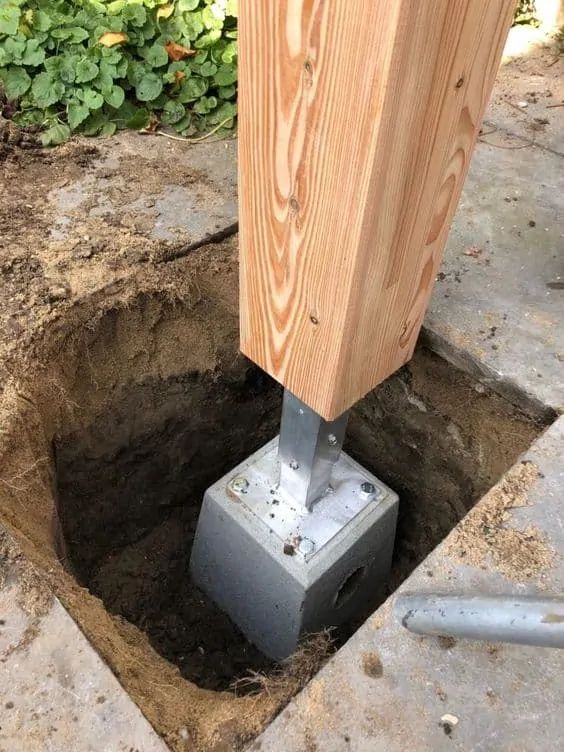
- Secure it to the Ground:
- Use ground stakes, bolts, or the recommended anchoring method to secure the gazebo.
- Check Stability:
- Make sure the gazebo is stable and all connections are tight.

Step 7: Final Touches
- Add Accessories:
- Install any additional features like screens, curtains, or lighting.
- Inspect and Enjoy:
- Do a final inspection to ensure everything is secure. Clean up any debris around your new gazebo.

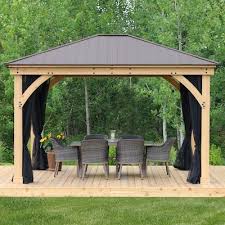
Safety Tips:
- Get a Helping Hand: It’s easier and safer to assemble a gazebo with a friend.
- Wear Safety Gear: Protect your hands and eyes with gloves and safety glasses.
- Follow the Manual: Stick to the instructions provided by the manufacturer.
Feeling Stuck? Call The HandyGeeks!
If you find yourself feeling overwhelmed or just want to ensure your gazebo is perfectly assembled, it’s a great idea to call in the pros. Assembling a gazebo can be a big job and sometimes it’s best to leave it to the experts.
You can check our all 5-star review google maps page.

Here’s our phone number : +1 818-835-0556
