Introduction
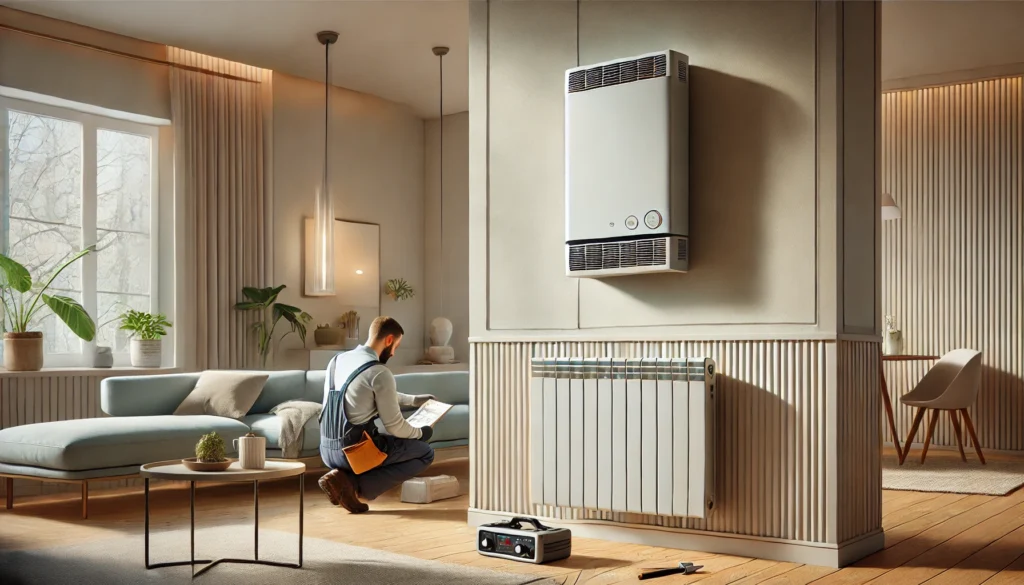
Setting up a heater is a pretty straight forward task but as we’re dealing with a “heater”, we must be careful to ensure our safety. Whether it be a space heater, electric wall heater, or any other type, properly assembling your heater is must to proper functional working heater. We, TheHandyGeeks have put together this simple guide that will give you a good idea of how to go on about this installation. But remember, all installations are different so refer to your manufacturers manual. And of course, if you so prefer, we are always here to take over your installation, for your ease and a perfect installation!
Tools You’ll Need:
- Screwdriver (Phillips head for most models)
- Wrench (for any bolts or nuts)
- Level (to ensure safe positioning)
- Measuring tape (for precise placement)
- Power drill (for mounting if required)
- Safety goggles (to protect your eyes during assembly)
- Gloves (to protect hands from sharp edges)
Steps to Assemble a Heater
1) Unpack and Inspect:
- Check Contents: We will begin with laying out all components, including screws, mounting brackets, and the heater itself. As a good safety step, you should cross check to see if you have everything written in the manufacturers manual.
- Inspect for Damage: This is another safety step to ensure your tools are safe from any damage. Inspect all your components are damage free and clean.
2) Choose Location and Position Heater:
- Measure Placement: Using a measuring tape, we will determine the exact placement on the wall or floor, ensuring the heater is near a power source.
- Maintain Clearance: Heaters need adequate clearance for safety so as a safety measure, place is away from any sort of flammable items or furniture. This is a must to your installation as your safety is non-negotiable.
- Level the Heater: Using a level ensure your heater sits evenly. If you are installaing a wall heater, ensure the brackets are leveled before you secure them.
3) Attach Heater to Mounting Brackets:
- Secure Brackets: For wall-mounted heaters, use a drill to secure mounting brackets into the wall. Double-check with a level to make sure they’re even.
- Mount the Heater: Attach the heater to the mounted brackets, following the manufacturer’s instructions. Use a screwdriver to secure the heater onto the wall or base if needed.
4) Connect Power:
- Plug in or Hardwire: For plug-in heaters, simply connect it to a nearby outlet. For hardwired models, consult the manual carefully, and remember that hardwiring may require a licensed electrician.
- Test Power and Settings: Turn on the heater to test that it’s working correctly. Test any adjustable settings to ensure they operate smoothly.
5) Final Safety Check:
- Inspect All Fastenings: Check all screws and bolts to ensure they’re tightly secured.
- Clear the Area: Make sure nothing is obstructing the heater and that it has the proper clearance.
- Test for Proper Functionality: Run the heater for a few minutes to ensure it’s heating evenly and safely.
Why Choose us?
At The Handy Geeks, we are understanding of your need to save time and ensuring quality. Our team of professionals ensures that every project is handled with care. Whatever your needs may be, we’re here to cater. Why would anyone want to struggle with all of this hassle, when we are just a call away?
You can check our all 5-star review google maps page.

Here’s our phone number : +1 818-835-0556. Hit us up.
Submit your request for your heater assembly by contacting us on our number. You can look at our other services and their forms here
Conclusion
These steps provide a general guide for heater assembly, but you must follow the manufacturer’s manual for specific instructions. If you’d prefer to avoid the hassle or are concerned about safety, call The Handy Geeks! Our team is ready to handle all your assembly needs so you can enjoy a warm, comfortable home without any stress.
