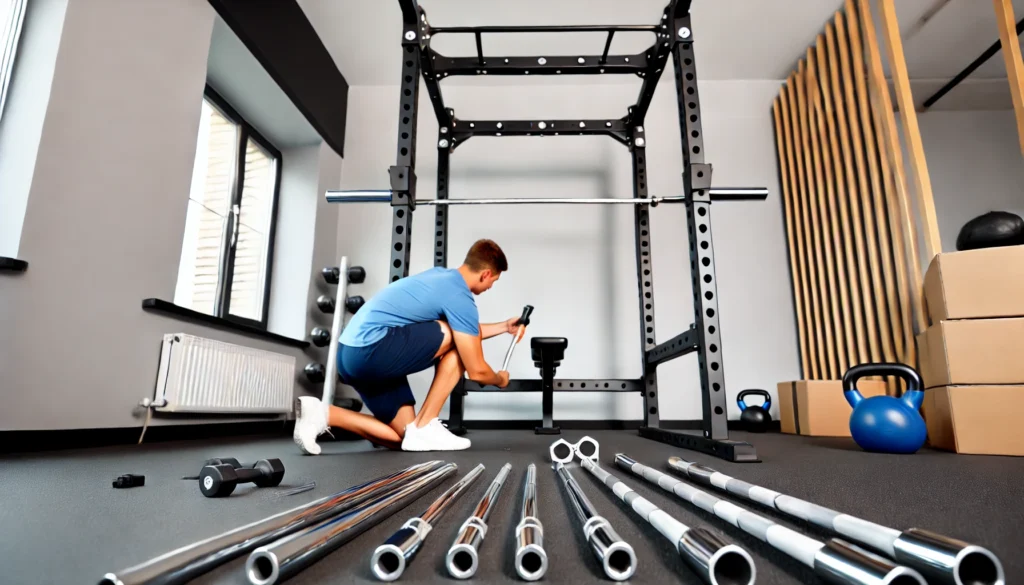
Learn how to assemble a weight rack step-by-step with The Handy Geeks. Enjoy expert guidance, professional services, and top-notch support for all your home gym needs.
Building your own home gym is a great way to stay fit and motivated, and one of the essential pieces of equipment you’ll need is a sturdy weight rack. Whether you’re a beginner or an experienced fitness enthusiast, assembling a weight rack can seem like a daunting task. However, with the right guidance, tools, and approach, it can be a straightforward process.
In this guide, we’ll walk you through the steps to assemble a weight rack and explain how The Handy Geeks can assist with your fitness equipment setup, ensuring a safe and efficient installation.
Step 1: Gather Your Tools and Components
Before starting, make sure you have all the necessary tools and components for the assembly. Most weight racks come with the following:
- Allen wrench (usually provided)
- Socket wrench set
- Screwdriver
- Bolts, nuts, and washers
- Instructions manual
It’s crucial to cross-check the parts list in the manual to ensure nothing is missing.
Step 2: Prepare the Assembly Area
Find a spacious, flat surface where you can lay out the components. Ensure the area is free from obstructions to avoid interruptions during the assembly process. It’s a good idea to have a helper, especially for heavy or large pieces.
Step 3: Assemble the Frame
Start by connecting the base and vertical uprights. Use the provided bolts and washers to secure the components. Tighten the bolts loosely at first to allow for adjustments as you continue the assembly.
Tips:
- Align all holes before tightening the screws completely.
- Use the socket wrench to ensure a firm fit without overtightening.
Step 4: Attach the Crossbars
Once the vertical frame is stable, attach the horizontal crossbars that will support the weights. Make sure these are level and tightly secured, as they bear the load of the weights.
Step 5: Install Safety Supports and J-Cups
After securing the frame, attach the safety supports and J-cups to hold the weights in place. These are crucial for preventing accidents and ensuring the proper functioning of your weight rack.
Step 6: Tighten All Bolts and Secure the Rack
Once all the parts are in place, double-check that all bolts and nuts are tightly secured. Shake the rack gently to ensure it doesn’t wobble. A stable rack is essential for safe use during workouts.
Step 7: Test the Rack
Before loading it with weights, test the rack by pressing down on various points to confirm it is steady. Once satisfied, you can begin loading your weights and start using your rack safely.
Why Choose The Handy Geeks?
When it comes to assembling complex equipment like weight racks, The Handy Geeks are the professionals you can rely on. Here’s why:
- Experienced Technicians: Our team is trained to handle all types of gym equipment, ensuring each component is properly installed and secured.
- Attention to Detail: We follow every step meticulously to make sure your weight rack is safe, stable, and ready for use.
- Convenience: We work around your schedule, providing flexible booking options that fit your timeline.
- Satisfaction Guaranteed: We prioritize customer satisfaction and guarantee that our installation services meet your expectations. If you’re not completely satisfied, we’ll make it right.
You can check our all 5-star review google maps page.

Here’s our phone number : +1 818-835-0556
Submit your request for assembling a weight rack here by filling the form. You can look at our other services and their forms here
Benefits of Choosing The Handy Geeks for Your Weight Rack Assembly
Opting for The Handy Geeks to assemble your weight rack means you’re choosing a team of experts who are committed to delivering precision and quality. Here’s what sets us apart:
- Professional Service: Our technicians ensure your weight rack is assembled safely and securely, preventing any potential mishaps during workouts.
- Affordable Pricing: We offer competitive rates, allowing you to get professional help without breaking the bank.
- Time-Saving Convenience: We handle the assembly from start to finish, saving you hours of frustration and potential errors.
- Guaranteed Safety: Your safety is our top priority. By assembling your weight rack with expert precision, we help you avoid accidents and equipment malfunctions.
Conclusion
Assembling a weight rack may seem complex, but with this step-by-step guide, you can do it with ease. However, if you want professional help to ensure everything is done right, The Handy Geeks are here for you. Our experienced team will take care of every detail, ensuring your weight rack is safe, sturdy, and ready for action.
FAQs
1. How long does it take to assemble a weight rack?
The time varies depending on the complexity of the rack, but typically, it takes 1-2 hours to assemble most standard weight racks.
2. Can I assemble the weight rack by myself?
It’s possible, but having a second person can make the process easier, especially when handling heavy or large parts.
3. What tools do I need to assemble a weight rack?
You will need a socket wrench, Allen wrench (usually provided), and a screwdriver. Some racks may also require additional tools, which will be specified in the manual.
4. Do The Handy Geeks offer any warranty on their assembly service?
Yes, The Handy Geeks offer a satisfaction guarantee. If you’re not happy with the assembly, we’ll make it right at no additional cost.
5. How much does it cost to hire The Handy Geeks for assembly?
Our pricing is competitive and depends on the complexity of the installation. Contact us for a custom quote based on your specific needs.
